Last Updated on November 2, 2025 by Kevin Collier
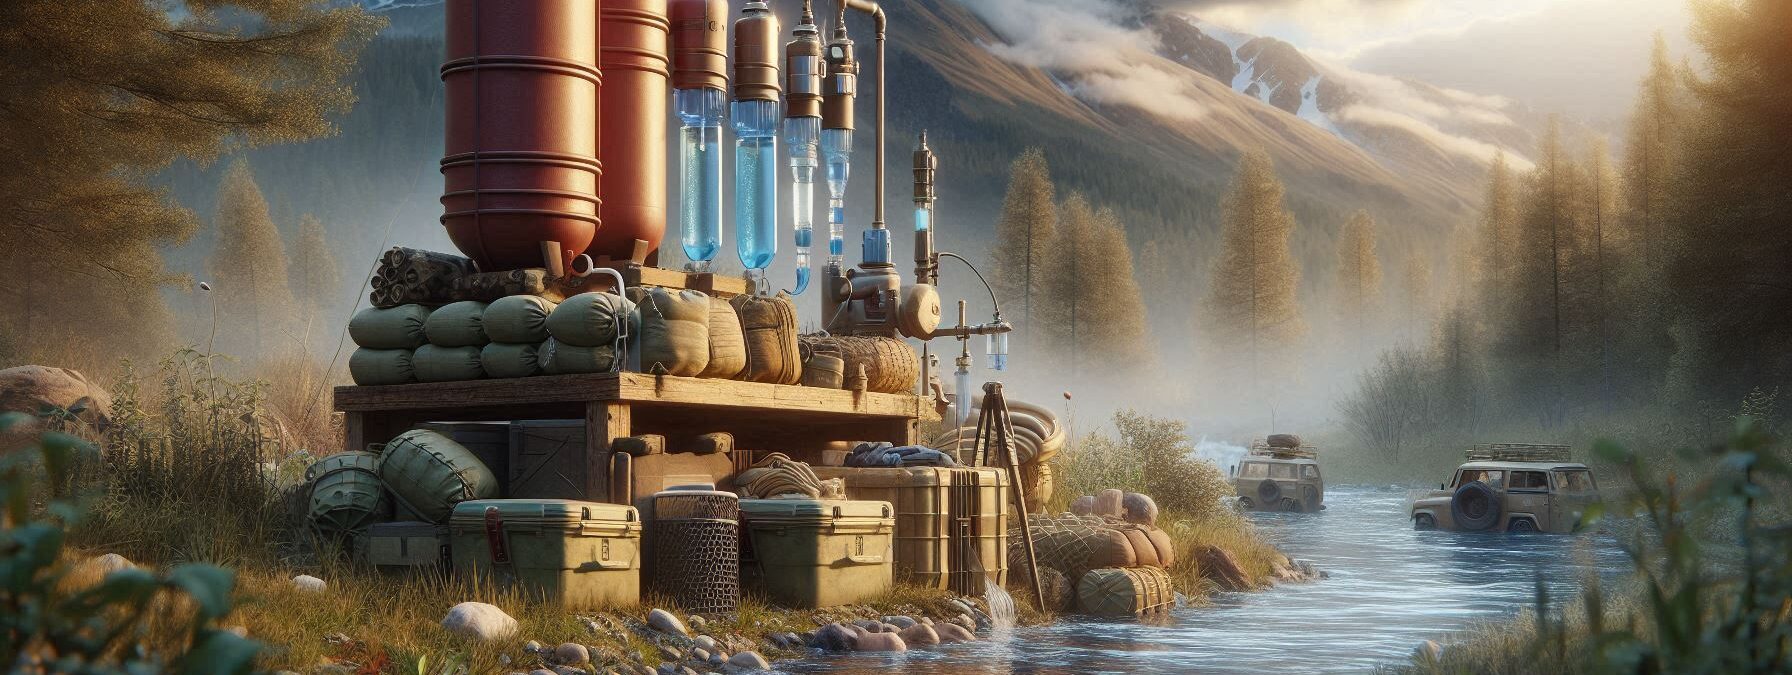
Top Takeaways and Key Concepts
– Choose appropriate filtration methods based on your water source and needs.
– Use activated charcoal filters to improve taste and remove contaminants.
– Store filtered water in clean, airtight containers to prevent contamination.
– Regularly replace filters according to manufacturer recommendations for effectiveness.
– Label stored water containers with the filtration date for easy tracking.
Water is life, right? You’ve heard it before. If you’ve ever taken a sip from something that looked like it came from a cartoon—like that murky pond with who-knows-what swimming in it—you totally get it.
Please Note: This post may contain affiliate links. If you click one of them, we may receive a commission at no extra cost to you. As an Amazon Associate, I earn from qualifying purchases.
Let’s dive into filtering and storing water. This stuff can be a game changer. It’s not just for prepping for some big apocalypse scene (though, hey, something could happen), but also for those fun camping trips. You know, when the nearest restroom is a trek away?
Filtering water isn’t as scary as it sounds. We can easily do it! A simple way is to use a cloth or a coffee filter to get out big bits. You may not catch any alligators this way. Just pour the water through and say goodbye to the floaties. But wait, that doesn’t mean it’s drinkable yet!
After that, you can use things like charcoal or sand to help clean it more. If you’ve got a water filtration system, that’s even better. Just set it up, and it does all the heavy lifting for you!
Storing your water is just as critical. Grab some clean bottles or jugs. Make sure they’re nice and dry before you fill them up. Think about keeping them cool and out of the sun, or they’ll get funky. Yuck!
You may even learn how to collect rainwater if you want to try something new. Imagine that fresh water suddenly falls from the sky! It feels like a gift from nature.
It might sound like a lot of work, but it doesn't have to be. Take a deep breath and maybe drink some clean water. Remember that being ready is the first step toward feeling safe. Let's delve into the aquatic realm together, and soon we'll be swimming in knowledge!
Contents of This Page
*** Shop for Survival Gear - Tools - Kits ***
Survival Gear - Bags and Backpacks - Knives - Boots/Footwear - Communication
Outdoor Cooking - Gloves - Hydration - Dry Boxes - Water Filtration Systems
Tents - Sleeping Bags - First Aid Kits - Multi-Tools - Flashlights - Fire Starters
Navigation - Survival Food - Night Vision - Headlamps - Stun Guns - Binoculars
1. Understanding Water Contaminants
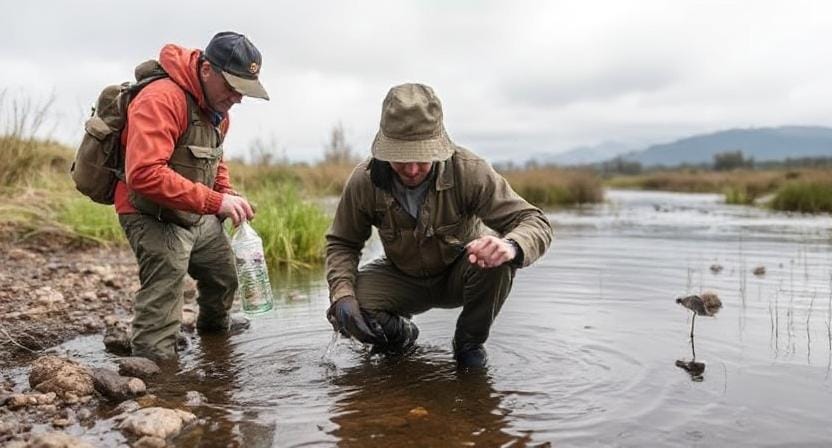
Let’s talk about what you might find in your water. Picture this: you’re out in the wild, feeling like Bear Grylls, but instead of sipping on pure mountain spring water, you’re staring down a creek filled with who-knows-what.
You could be dealing with bacteria, parasites, chemicals, or even those mysterious floaty things that make you question all your life choices.
By the way, did you know that some contaminants are so small they can only be seen under a microscope? That means if you're drinking untreated water from dubious sources, you might as well be inviting tiny monsters to a party in your stomach.
So, understanding these contaminants is step one in becoming your own personal water sommelier!
2. Types of Water Filtration Systems
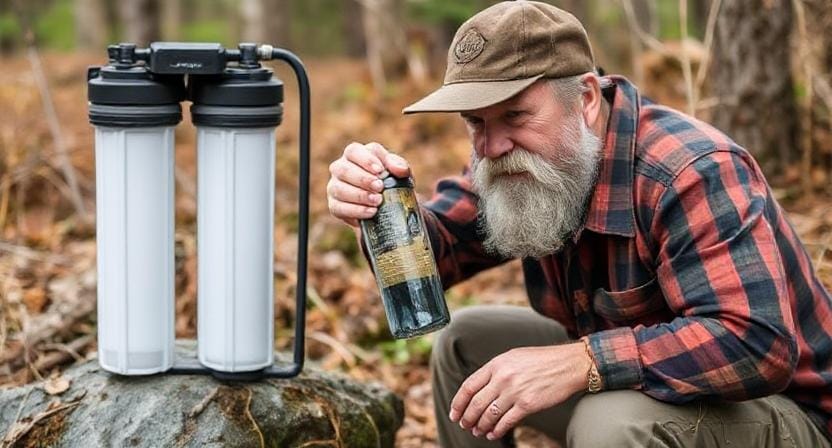
Now that we've established why we shouldn't drink whatever comes out of a questionable creek (seriously), let's look at different types of filtration systems available. There are several options out there—some more complicated than trying to assemble IKEA furniture without instructions.
Activated Carbon Filters: These are great for removing bad tastes and odors while also filtering out some chemicals. They work like magic—if magic were made from tiny pieces of charcoal and had a very specific job description.
Reverse Osmosis: This sounds fancy because it has “osmosis” in its name (which makes it sound scientific). It forces water through membranes to remove impurities and can eliminate everything from heavy metals to pesky microorganisms.
UV Light Purifiers: If you've ever seen sci-fi movies where aliens zap things with lasers—this is sort of like that! UV purifiers use light to kill bacteria and viruses without any chemicals involved.
3. DIY Filtration Methods
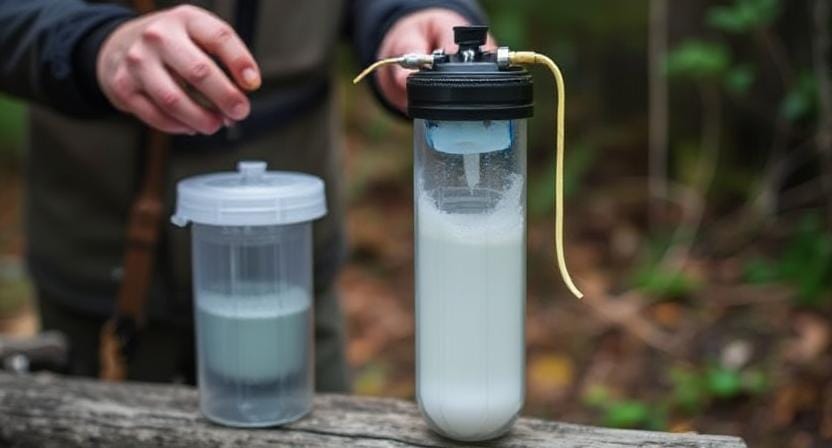
Maybe you're not ready to invest in high-tech gadgets yet? No problem! There are plenty of DIY methods for filtering water using items you probably have lying around the house—or at least hiding in your garage beneath last year’s Christmas decorations.
One popular method involves using sand and gravel layered inside a clean container (think coffee filter meets science experiment). Start by adding some fine sand on top followed by layers of coarse sand and gravel until you've created something resembling an art project gone wrong.
Pouring dirty water through this setup will filter out larger particles; just remember it's not foolproof against bacteria!
Interestingly enough, boiling your water is another effective way to ensure it's safe for drinking—even if it does take longer than waiting for microwave popcorn to finish popping!
Just bring it to a rolling boil for about one minute (or three minutes at higher altitudes), and voilà! You've got yourself drinkable H2O.
4. Storing Your Clean Water
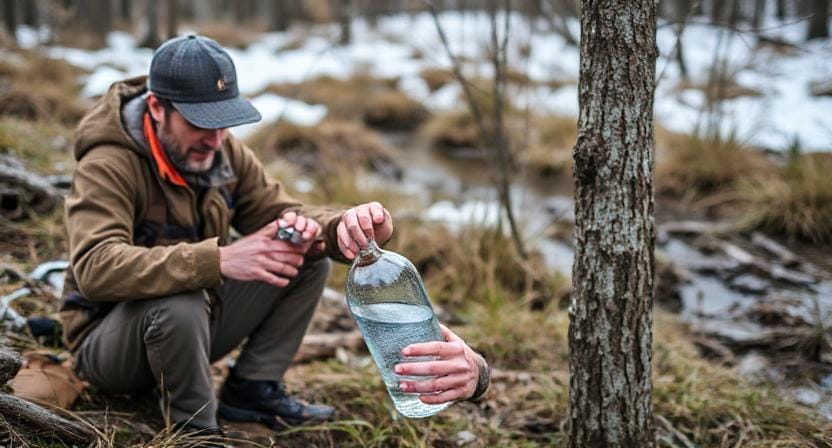
Okay folks—now that we’ve filtered our water into something resembling actual liquid refreshment, let’s talk storage options! Because nothing says “I’m prepared” quite like having clean drinking water stashed away like precious treasure.
Use food-grade plastic containers or glass bottles for long-term storage—just avoid anything that previously housed pickles unless you're really into flavor surprises!
Make sure these containers are cleaned thoroughly before filling them up; nobody wants their refreshing drink tasting like last summer's barbecue leftovers.
And here’s a pro tip: label each container with the date filled so you'll know when it's time for replenishment—or when it's time to stop pretending you're going to get around to drinking all those weird flavored waters you bought during last year’s grocery run!
5. Maintenance Tips for Your Water Supply
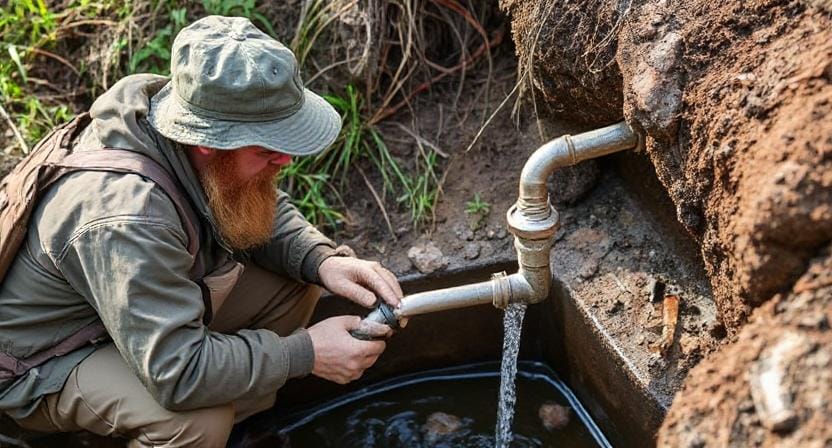
So now you've got your filtration system set up and containers filled with fresh-tasting agua—but wait! Don’t kick back just yet; maintenance is key here too! Regularly check your filters according to manufacturer recommendations because ignoring them could lead right back into murky territory (and no one wants that).
Also, rotate stored supplies every six months or so; trust me—the taste difference between fresh-filtered water versus stuff that's been sitting around since last Halloween will be noticeable—and potentially horrifying!
Speaking of which…keep an eye on temperature extremes too; ideally store your supply in cool places away from direct sunlight—unless you want sun-warmed swamp juice as part of your hydration plan!
Conclusion: Hydration Is Key!
You really start to feel it after a long day, especially if you've been out there for two days without adequate water. It's really important to find clean drinking water. It might mean the difference between having a great time on your trip and declaring, “No thanks, I'm done!” since that brook looked a little strange.
Let's discuss about how to clean water. It doesn't have to be hard. You're almost there if you have a simple cloth or a coffee filter. Simply remove the muck and everything that doesn't seem right. To be honest, it's sort of nice. You feel like a little scientist working on a delightful experiment.
After that, there's the storage part. Get some clean bottles or jugs. Everyone has some old ones laying around, right? Make sure they are full and tightly sealed. Put them somewhere cool so they don't get strange or disgusting. A shady place can work wonders.
It's nice to think about an inflatable pool full of water. You know, just relaxing and drinking. Isn't that dreamy? But really, it's about using what you have wisely. Extra points if you can collect rainfall! Just put a clean container outside. It's like a free gift from nature.
It feels good to be ready. Like, very great. You'll be ready for everything that comes your way from Mother Nature. You can manage anything, no matter what the weather is like. You can do this! So, the next time you're out, keep in mind that clean water is within your reach if you know how.
Frequently Asked Questions
Why is choosing the right filtration method important?
Different water sources contain different contaminants, so filtration methods should match the level of purification needed.
How do activated charcoal filters help?
Activated charcoal helps remove odors, improve taste, and reduce chemical contaminants effectively.
Why should filtered water be stored in airtight containers?
Airtight containers protect clean water from airborne contaminants, insects, and bacteria.
How often should filters be replaced?
Filters should be replaced based on manufacturer instructions to maintain maximum cleaning efficiency.
Why label filtered water containers with dates?
Labels help track how long water has been stored and indicate when it may need rotation or replacement.
Can DIY filtration methods work for emergency situations?
Yes, simple cloth, sand, or charcoal filters can remove large particles, but additional purification may be needed.
Why store filtered water away from sunlight?
Sunlight and heat can encourage bacterial growth and degrade container quality over time.
Suggested Resources:
Water Filter Basics
https://www.waterfilterbasics.com
The Ultimate Guide to Water Storage
https://www.survivopedia.com/water-storage-guide/
How To Build a Rainwater Harvesting System
https://www.rainharvest.com/how-to-build-a-rainwater-harvesting-system

Kevin Collier is a seasoned survivalist and expert in prepping and homesteading, contributing to WiseSurvive.com. With a deep-rooted passion for self-sufficiency and outdoor survival skills, Kevin shares practical advice, strategies, and resources to help individuals prepare for any challenge. His informative articles cover a range of topics, from essential survival techniques to sustainable living practices, empowering readers to thrive in any situation. Whether you're a novice or a seasoned prepper, Kevin's insights will inspire you to take charge of your readiness and build resilience for the future.

