Last Updated on November 1, 2025 by Kevin Collier

Top Takeaways and Key Concepts
Develop distinct visual signals (flags, lights, mirrors) and practice their meanings.
Choose reliable messaging tools (satellite phone, two-way radio, signal beacon) and keep them charged.
Pre-program emergency contacts and GPS coordinates into your communication devices ahead of crises.
Establish simple protocols for distress signals (three flashes, SOS pattern, repeated sequence).
Regularly test your signaling and messaging gear in realistic scenarios to confirm it works.
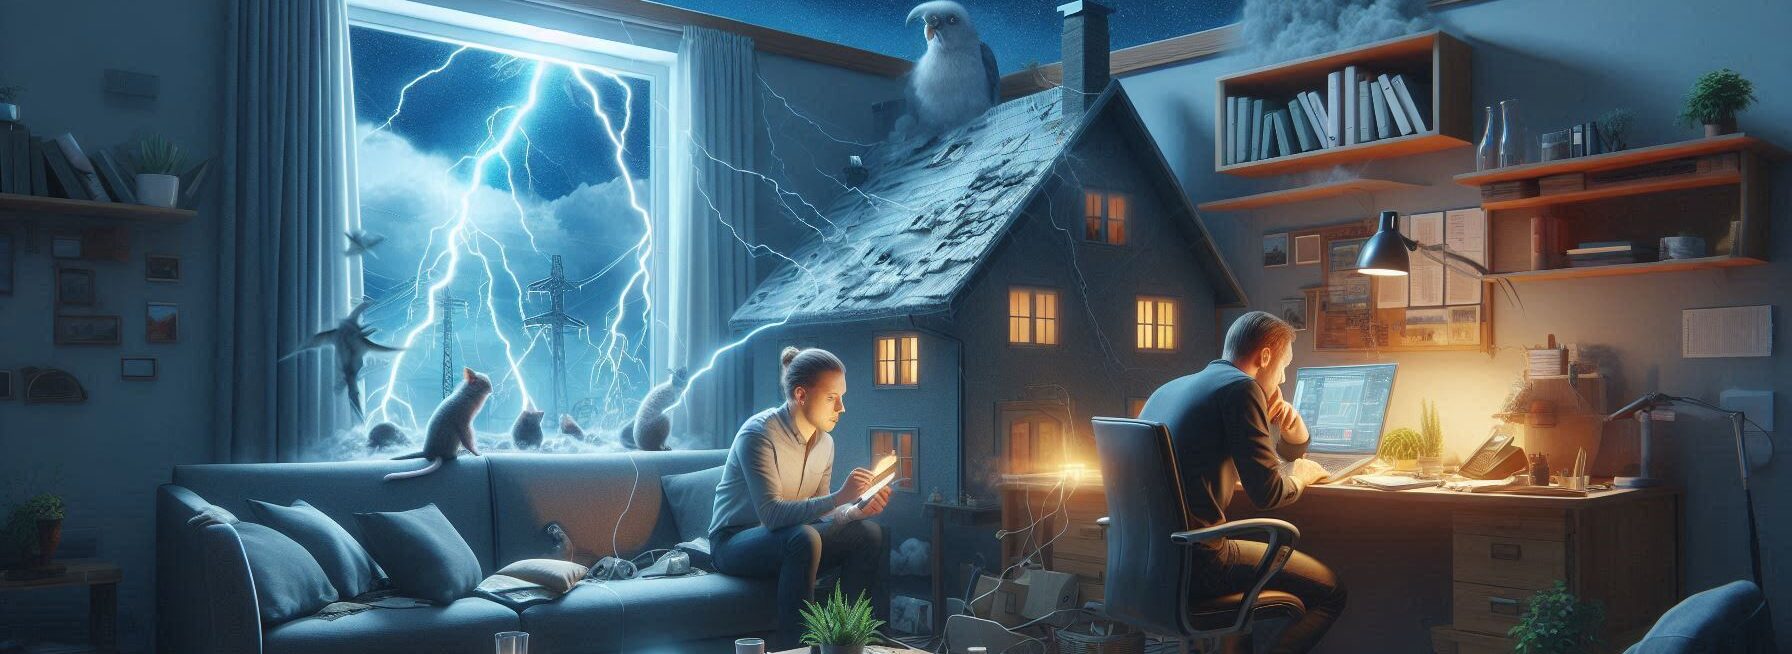
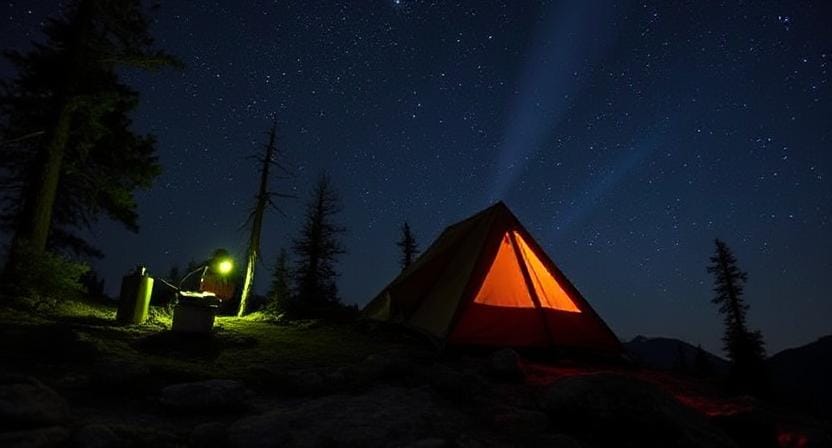
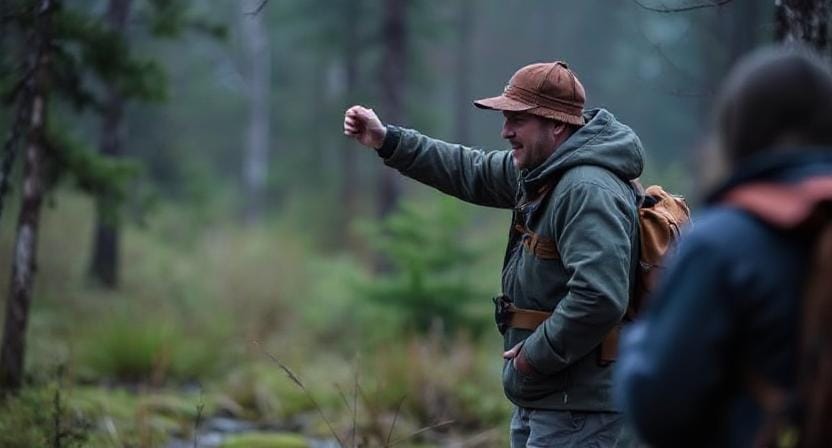
Picture this: you're camping, feeling calm, and ready to cook marshmallows. Everything is just right. Then, all of a sudden, you realize you're lost. It's like that sock that goes missing in the dryer. What happened to it?
Now you're probably wondering, “What should I do?” It's not simply scary to be lost. It's like being stuck in a game where you can't find the next level. It's really important to know how to ask for aid in these situations. It might mean the difference between a nice night by the campfire and a crazy episode of “Survivor: Lost Edition.”
Please Note: This post may contain affiliate links. If you click one of them, we may receive a commission at no extra cost to you. As an Amazon Associate, I earn from qualifying purchases.
Let's talk about signs. You can use your light! A flashlight can be quite helpful when it's dark. Just flash it in a certain way, like three brief flashes followed by three long ones. It's like typing out a secret code that only you and your friends know. Simple, right?
Whistles are also quite useful. If you have one, blow it loud and clear. Three quick punches and then a break. It gets people's attention without making you sound like a crazy bird. Just a constant, sure signal.
You may build a giant SOS sign on the ground with rocks or branches if you think things are truly bad. Three letters that are easy to remember. From the air, rescue teams can see it. You have to think large, even when you feel tiny.

How about wearing clothes that are bright? Put your orange hoodie or bright scarf where people can see it. Bright colors stand out and yell “Help!” to anyone who sees them.
It's important to stay calm. You realize that panic can make things harder? Take a big breath. Even though it may seem like it, you're not alone. Think about what you can do.
It can be hard to find support. If you know how to signal correctly, you can turn your confused trip into a happy finish. So, eat your marshmallows, keep alert, and remember that you have everything you need to get back to your warm camp. You can do this! Picture this: you're camping, feeling calm, and ready to cook marshmallows. Everything is just right. Then, all of a sudden, you realize you're lost. It's like that sock that goes missing in the dryer. What happened to it?
Now you're probably wondering, “What should I do?” It's not simply scary to be lost. It's like being stuck in a game where you can't find the next level. It's really important to know how to ask for aid in these situations. It might mean the difference between a nice night by the campfire and a crazy episode of “Survivor: Lost Edition.”
*** Shop for Survival Gear - Tools - Kits ***
Survival Gear - Bags and Backpacks - Knives - Boots/Footwear - Communication
Outdoor Cooking - Gloves - Hydration - Dry Boxes - Water Filtration Systems
Tents - Sleeping Bags - First Aid Kits - Multi-Tools - Flashlights - Fire Starters
Navigation - Survival Food - Night Vision - Headlamps - Stun Guns - Binoculars
Let's talk about signs. You can use your light! A flashlight can be quite helpful when it's dark. Just flash it in a certain way, like three brief flashes followed by three long ones. It's like typing out a secret code that only you and your friends know. Simple, right?
Whistles are also quite useful. If you have one, blow it loud and clear. Three quick punches and then a break. It gets people's attention without making you sound like a crazy bird. Just a constant, sure signal.
You may build a giant SOS sign on the ground with rocks or branches if you think things are truly bad. Three letters that are easy to remember. From the air, rescue teams can see it. You have to think large, even when you feel tiny.
How about wearing clothes that are bright? Put your orange hoodie or bright scarf where people can see it. Bright colors stand out and yell “Help!” to anyone who sees them.
It's important to stay calm. You realize that panic can make things harder? Take a big breath. Even though it may seem like it, you're not alone. Think about what you can do.
It can be hard to find support. If you know how to signal correctly, you can turn your confused trip into a happy finish. So, eat your marshmallows, keep alert, and remember that you have everything you need to get back to your warm camp. You can do this!
Understanding Distress Signals
First things first: what is a distress signal? It's basically your SOS call when things go wrong. It's like yelling “Help!” but with more style and imagination.
1. Visual Signals: These are signals that can be seen from a distance, such waving your arms around or utilizing bright colors (and no, wearing neon socks doesn't count). A big “X” made of pebbles or branches on the ground is a great way to make a sign.
2. Audible Signals: If you don't want to do interpretive dance with your arms, you could make noise instead! Whistles are fantastic because they break up silence better than my husband does during a commercial break during a football game. Three brief blasts usually mean trouble; it's a simple but powerful way to signal.
3. Electronic Signals: Personal locator beacons (PLBs) can send out distress signals over satellite networks for people who like high-tech solutions and have batteries. Just remember to keep it charged; no one wants their lifeline to die faster than their phone battery at a concert!
Using Light as a Signal
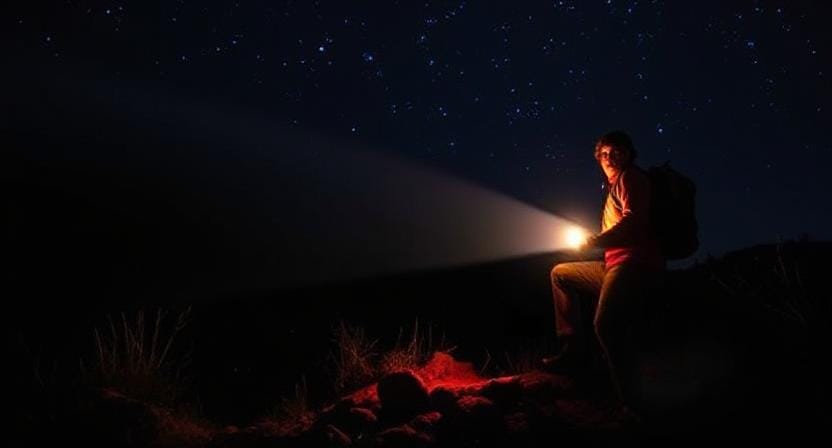
Let's talk about light, but not the bright light from your neighbor's porch at 2 AM. I'm talking about being creative with torches and other sources of light.
1. Flashing Lights: At night, flashing your lights in patterns can get people's attention faster than my dog when he hears the treat bag crinkle. Three quick flashes followed by three lengthy ones is a traditional way to send an SOS. This pattern will make rescuers buzz around like bees at a picnic.
2. Mirrors and Reflectors: If you have sunglasses on hand (and let's be honest, we all do), utilize them! They may reflect sunlight over long distances and get someone's attention faster than a squirrel scurrying after an acorn.
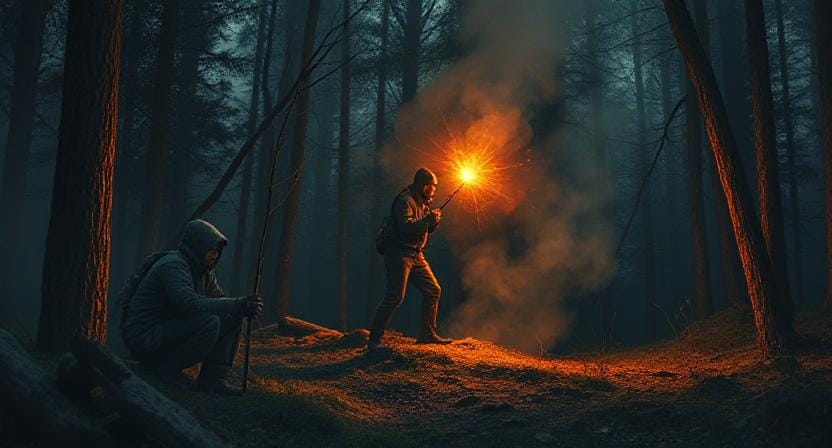
3. Flares: Flares are like fireworks' cooler cousin. They shoot up into the sky and burn brightly! Put some in your emergency pack, but make sure you know how to use them well, otherwise you'll end up with an unintentional blaze.
Making Your Message
Now that we've spoken about how to catch people's attention, let's talk about what you want to say when someone finally sees you writhing around like an octopus on land.
1. Be Clear and Concise: It's important to be clear when you communicate communications, whether they are spoken or written. Instead of going on and on about how much you miss pizza toppings from home, stick to the basics, like where you are and what kind of trouble you're in (“Lost near Pine Tree Hill!”).
2. Use Established Codes: Learn the common emergency codes, such as “Mayday” or “SOS.” This way, if someone sees your signal while hiking with friends instead of rescue teams, they'll know exactly what you're attempting to say without having to know what the situation is.
3. Repeat if Necessary: If no one replies right away—and trust me, sometimes folks are very into their own adventures—it's okay to say your message clearly several times until help comes or they assume it was just another crazy camper having fun.
Making Plans for Communication

Before going off into the great unknown—or even just down the street—it's really helpful if everyone involved has made preparations for how to talk to each other ahead of time so that no one ends up yelling into thin air!
1. Pre-Trip Meetings: Before going on an outdoor adventure, gather everyone together for some pre-trip strategy sessions where everyone talks about what could happen (with food).
Set distinct duties based on what each individual is good at. For example, make one friend The Whistler and another in charge of making visual signals visible from space!
2. Regular Check-ins: Set up regular check-in times during hikes or camping trips so that everyone knows where everyone else is at all times, even if they're simply sitting by the campfire bickering about who toasted marshmallows best last year!
3. Emergency Contact List: Make a list of phone numbers for each participant and the police in your area. This is a good idea in case something goes wrong, like packing extra socks when you go hiking.
Practicing Your Skills
You can't just know how signaling works; you have to practice to get it right! You can wind up with a pretty bad meal if you try new recipes without tasting them first.
1. Mock circumstances: Make time on family outings or group treks to practice different signaling tactics in different situations. The more realistic the circumstances feel now, the less worry there will be later!
2. Role Play Drills: Give people roles in fake situations where they have to act based on prearranged signals instead of just talking to one other. This way, people learn quickly what works best together when things are crazy!
3. Look at it together afterward: After the drills are over, everyone should get together and talk about what went well and what may be better. It's a lot like critiquing who cooked better s'mores last weekend, but with real-life examples too!
Frequently Asked Questions
Why are distinct visual distress signals important?
Clear, recognizable visual signals such as flags, mirrors, or patterned flashlights help rescuers identify distress from long distances.
Which messaging devices are most reliable in emergencies?
Satellite phones, PLBs, two-way radios, and signal beacons offer strong range and bypass normal cell tower limitations when infrastructure fails.
Why should emergency contacts be pre-programmed?
Pre-programming helps reduce panic, speeds transmission, and ensures your distress request reaches the correct responders immediately.
What SOS patterns are universally recognized?
SOS in Morse (three short, three long, three short) and triple-signal bursts are widely recognized for indicating urgent distress.
Should distress signals be repeated?
Yes. Repeating a uniform pattern makes recognition easier and increases the chance a rescuer observes it in their sweep window.
Why test gear before a real emergency?
Field testing validates battery life, range, clarity, and reflective angles so your system does not fail when conditions are severe.
Does high-visibility clothing help?
Bright colors, reflective strips, and contrast items stand out against natural backgrounds and make initial visual acquisition faster.
Suggested Resources:
Signaling Methods in Wilderness Survival
https://www.wilderness-survival.net/signaling-methods/
Understanding Emergency Distress Signals
https://www.redcross.org/get-help/how-to-prepare-for-emergencies/types-of-emergencies/distress-signals.html
The Ultimate Guide to Survival Gear
https://www.survivallife.com/survival-gear-guide/

Kevin Collier is a seasoned survivalist and expert in prepping and homesteading, contributing to WiseSurvive.com. With a deep-rooted passion for self-sufficiency and outdoor survival skills, Kevin shares practical advice, strategies, and resources to help individuals prepare for any challenge. His informative articles cover a range of topics, from essential survival techniques to sustainable living practices, empowering readers to thrive in any situation. Whether you're a novice or a seasoned prepper, Kevin's insights will inspire you to take charge of your readiness and build resilience for the future.