Last Updated on November 1, 2025 by Kevin Collier
Top Takeaways and Key Concepts
- Sort Waste at the Source: Use labeled bins for trash, recyclables, and compost to streamline disposal.
- Compost Organic Materials: Set up a compost bin or pile for food scraps and yard waste.
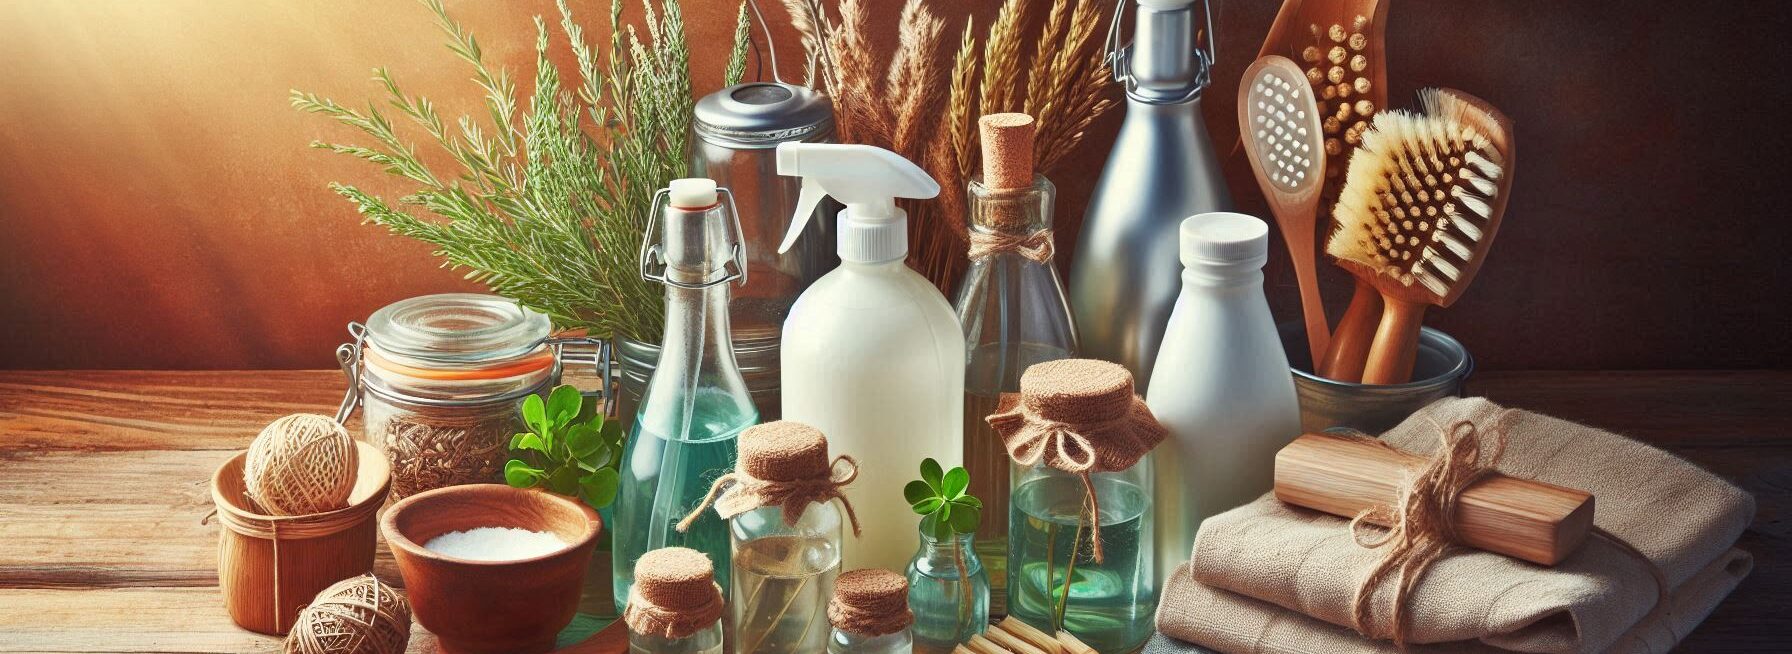
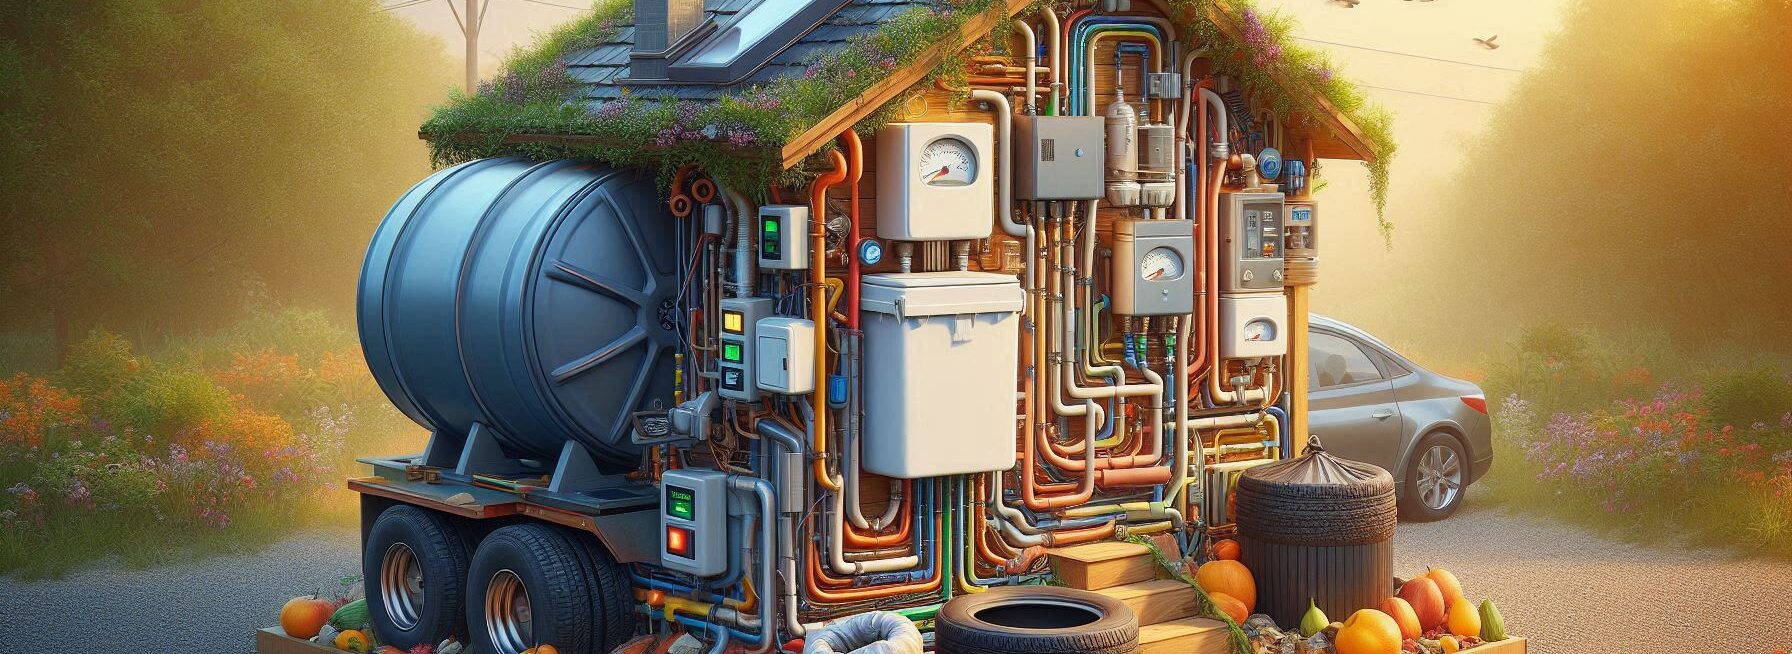
- Implement Greywater Systems: Reuse water from sinks and showers for irrigation, avoiding chemicals.
- Install a Septic or Composting Toilet: Manage human waste with a septic system or composting toilet.
- Regularly Maintain Systems: Inspect and clean compost bins, greywater filters, and toilets to ensure efficiency.
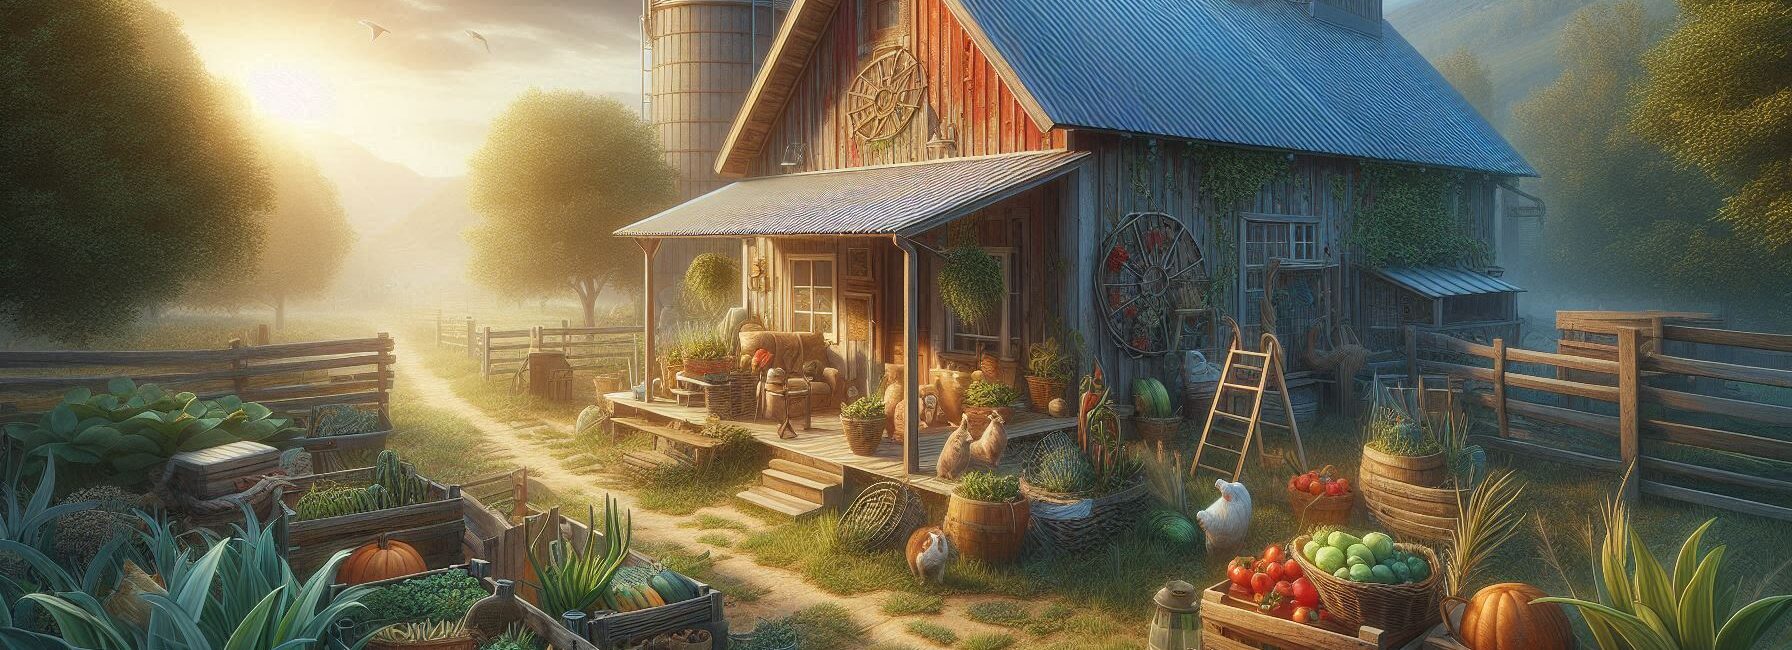
Do you live on a homestead? It's like having your own little kingdom. There are chickens clucking, the garden is full of color, and maybe even a goat named Sir BaaBaa. Sounds like a dream, right?
But here's the deal. Taking care of trash is really important. No one wants their tiny piece of heaven to appear like a dump. Oh no!
Please Note: This post may contain affiliate links. If you click one of them, we may receive a commission at no extra cost to you. As an Amazon Associate, I earn from qualifying purchases.
Let's go to work and figure out how to maintain your home clean and green. First of all, composting is a big deal! You may make rich soil for your lovely garden out of the scraps from your vegetables. Just think about it: orange peels and coffee grinds can help your plants flourish. That seems really awesome, right?
It also helps to have distinct bins for trash, recycling, and compost. It's a lot more significant than arranging your sock drawer. Don't make it complicated. Put labels on the bins so that everyone knows where to put items. Teamwork makes the dream come true!
And don't forget about the chickens. They enjoy eating what they have left over. Just make sure the foods are safe. So, instead of tossing everything out, you're benefiting your soil and nourishing your flock. Everyone wins!

Talk to your neighbors and share ideas. They might have fantastic ideas that you haven't thought of yet. It feels good to share what you know, doesn't it?
Making a plan for how to deal with trash doesn't have to be daunting. You can keep your home beautiful and healthy with a little planning. Put on your sleeves and get to work on making your eco-friendly kingdom the best it can be! And think of all the joyful vegetables and birds that will be there!
Understanding Waste Types
*** Shop for Survival Gear - Tools - Kits ***
Survival Gear - Bags and Backpacks - Knives - Boots/Footwear - Communication
Outdoor Cooking - Gloves - Hydration - Dry Boxes - Water Filtration Systems
Tents - Sleeping Bags - First Aid Kits - Multi-Tools - Flashlights - Fire Starters
Navigation - Survival Food - Night Vision - Headlamps - Stun Guns - Binoculars
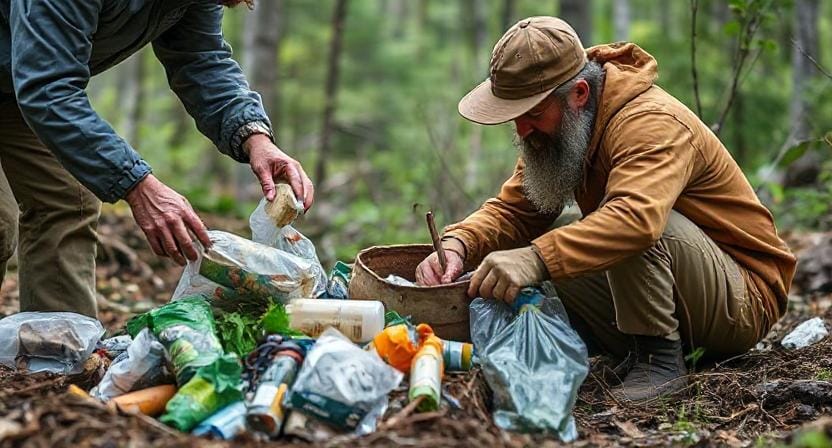
You need to know what kinds of waste you have before you can deal with waste management. I learnt that there are generally three types of things on my homestead: biodegradable, recyclable, and “what on earth is that?”
Things like vegetable scraps, eggshells, and those strange green things you forgot were in the fridge are all compostable.
It's astonishing how much compost you can make from kitchen scraps. It's like magic! Just don't put any meat or dairy in your compost pile, or it will become a raccoon feast—or worse!
Plastics (check those numbers!), glass jars (hello homemade jams!), and paper products are all things that can be recycled. Some people still think that putting them all in one bin will miraculously fix things.
Spoiler alert: it won't! And then there's the third group: the things that make you scratch your head. Old tools? Toys that are broken? That strange thing from the 1980s? If you're not sure, just ask yourself, “Would this make my neighbor raise an eyebrow?”
How to Set Up Composting
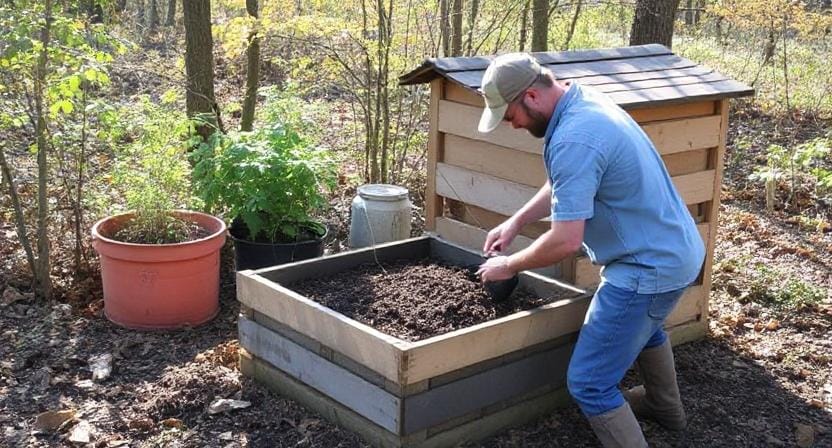
Now that we know what we have to deal with, let's speak about composting. This phase is almost too easy and entertaining! First, pick a sunny area in your yard that isn't right beneath the shade of your favorite tree. You don't want acorn debris to get on your tomatoes, do you?
You may make a basic compost bin out of pallets, or you can buy one if you don't want to do things yourself. No judgment here! The most important thing is to make layers. Start with rough things like straw or wood chips at the bottom to let air in.
Next, switch between browns (dry leaves) and greens (kitchen waste). You're making a little environment where worms will thrive when you mix things together. Worms are nature's little recyclers, so trust me!
Every few weeks, give it a good stir. It's like giving your compost a jolt of energy in the morning. This helps things break down faster and keeps smells down, unless you add something weird by accident, in which case all bets are off.
Recycling Correctly
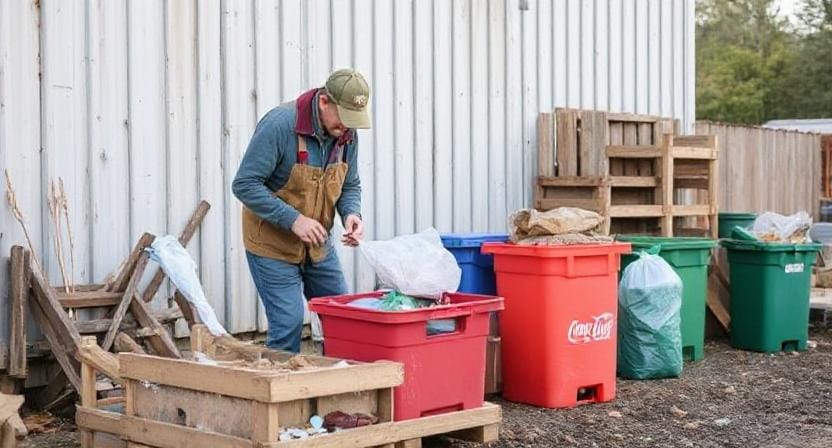
Next is recycling, which is a very good thing to do. I have distinct containers with clear labels on them to keep everything organized on my homestead. This way, my kids don't get confused when it's time to clean up.
By the way, have you ever seen someone try to figure out which bin to use while holding two things in each hand? Let's just say it could win an award for the funniest sketch!
Put up signs nearby to let everyone know where things go. After all, no one wants to waste their hard work because someone believed pizza boxes should go in the glass recycling.
You might also want to use local recycling programs. They usually have drop-off days for bigger things or dangerous things like batteries and old paint cans that shouldn't be anywhere near Mr. Sniffles' water trough.
Taking Care of Things That Can't Be Recycled
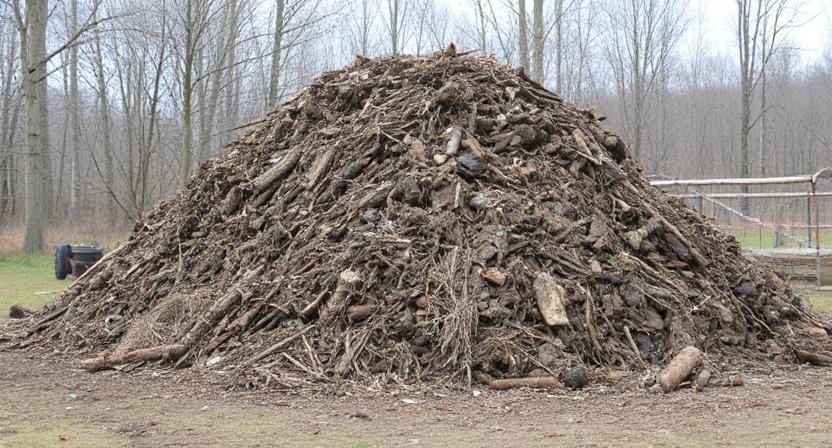
Not everything can be recycled or composted, and that's fine. If you have things that can't be recycled, like some plastics or broken things around the house that don't fall into any other category (like that lawn chair from 1995), you need a special trash bin.
But wait! Before we just throw everything away into the garbage can, with thoughts of landfills dancing in our heads, we should also think of other ways to get rid of things! Some communities may pick up big items or have particular days when they would pick up heavier trash from residences. These services are definitely worth looking into!
And speaking of being creative, did I mention reusing things? Instead of throwing away those old wooden pallets, you might turn them into rustic garden beds!
Involving Everyone
Now comes the most essential aspect: persuading everyone to take part in this big plan! Everyone who visits the house, whether they are family or friends, should do their part to keep things clean.
By giving kids different duties based on their ages, I was able to get them to work together and learn important lessons about responsibility along the road (“No Johnny; putting candy wrappers back inside doesn't count as ‘cleaning'!”).
Encourage everyone to check in regularly and talk about the achievements and problems they had over the week-long clean-ups. This makes everyone more responsible and gives them time to get better.
Keeping It Clean
Let's discuss about upkeep last but not least. You need to keep an eye on your waste management system all the time. You wouldn't let weeds grow in your garden, would you?
Set up weekly clean-ups where everyone helps out, even if it seems boring at times. This will keep things neat in the long run and make it easier to handle when life gets busy again!
It feels good to be proactive about waste on our farms. Think about how nice it would be to appreciate nature's gifts without worry. Don't worry about things getting messy. The fragrance of dinner cooking and fresh vegetables!
Everything looks better when you take care of trash before it gets out of hand. You may really enjoy those luscious tomatoes you harvested earlier. And what about those crisp cucumbers? Knowing that you've kept things neat around you makes them taste even better.
Take a moment to think about it. You sit down to eat food that you grew yourself. You put forth a lot of effort! It's not just about food. It's about having fun with the whole thing. The tastes. The shades. And the fact that you made this great place.
When everything is in order, you can enjoy the pleasurable portions, like dining and talking with friends. No one wants to worry about trash cans that are too full. Cleaning up gives you more time to laugh and have fun.
It's all about finding a balance. Taking care of trash before it builds up makes a space that is warm and welcoming. Your home becomes a small piece of happiness where you can really appreciate every bite. So, let's not make it too hard and remain smiling! There are so many great dinners to celebrate, so why worry about trash? Life is too short!
Frequently Asked Questions
Why is sorting waste at the source important?
Sorting into labeled bins prevents mixing materials and makes composting, recycling, and disposal much easier to manage.
What can be composted on a homestead?
Most food scraps, dry leaves, yard waste, and non-meat kitchen materials can be composted to create nutrient-rich soil.
How does a greywater system help?
Greywater systems reuse lightly used sink and shower water for irrigation, reducing freshwater demand when used without chemicals.
Is a composting toilet a reliable option?
Yes, composting toilets safely break down human waste when maintained correctly and can replace or supplement a septic system.
How often should compost bins be maintained?
Compost should be aerated and checked every few weeks to maintain moisture balance and odor control.
What type of maintenance do greywater systems require?
Filters and piping should be inspected regularly for clogs and buildup to ensure safe and consistent flow.
Why is ongoing inspection important?
Regular checks prevent system failure, contamination, and foul odors, keeping waste management safe and efficient.
Suggested Resources:
Homemade Compost Bin Ideas
https://www.homemadecompostbinideas.com
The Ultimate Guide to Recycling
https://www.recycleguide.org
How to Start Composting
https://www.startcomposting.com

Kevin Collier is a seasoned survivalist and expert in prepping and homesteading, contributing to WiseSurvive.com. With a deep-rooted passion for self-sufficiency and outdoor survival skills, Kevin shares practical advice, strategies, and resources to help individuals prepare for any challenge. His informative articles cover a range of topics, from essential survival techniques to sustainable living practices, empowering readers to thrive in any situation. Whether you're a novice or a seasoned prepper, Kevin's insights will inspire you to take charge of your readiness and build resilience for the future.