Last Updated on November 2, 2025 by Kevin Collier
Top Takeaways and Key Concepts
- Sort and inspect your harvest, using imperfect produce for soups or stews.
- Preserve vegetables and fruits by canning with clean jars, lids, and boiling water.
- Freeze chopped and blanched produce on trays before storing in labeled bags.
- Dehydrate fruits and herbs by slicing thinly and drying until crisp.
- Try fermentation for tangy foods like kimchi and sauerkraut using airtight jars.
As summer starts to fade and those bright green leaves turn into beautiful shades of orange and red, it’s time to think about all the veggies and goodies you’ve grown. You've cared for those plants like they’re your kids. Yes, I see you chatting with them, giving them pep talks!
Now, it’s time to make sure all that love doesn't go to waste. You've put so much work into your little garden. Let’s get our aprons on! Food preservation is here to save the day. Because really, who doesn’t want a cozy pantry filled with delicious homemade treats for winter?
Please Note: This post may contain affiliate links. If you click one of them, we may receive a commission at no extra cost to you. As an Amazon Associate, I earn from qualifying purchases.
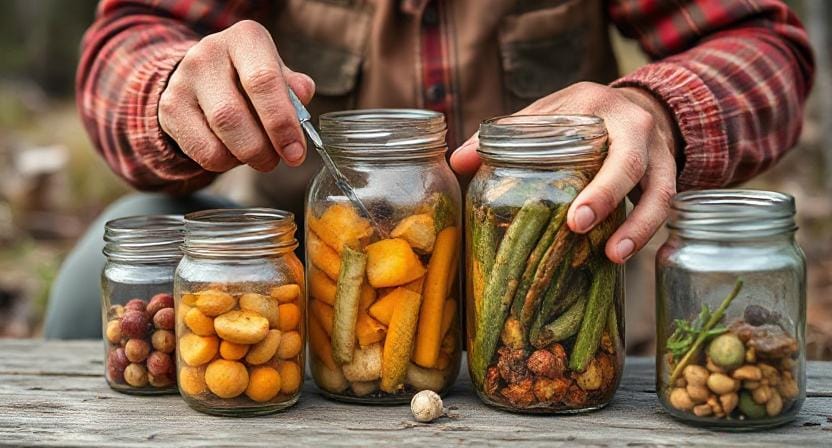
Start by gathering all your harvest. You'll want to sort through everything. Pick out the best of the bunch. Check for any sad-looking ones. You can still use them in soups or stews! They can be heroes in their own right.
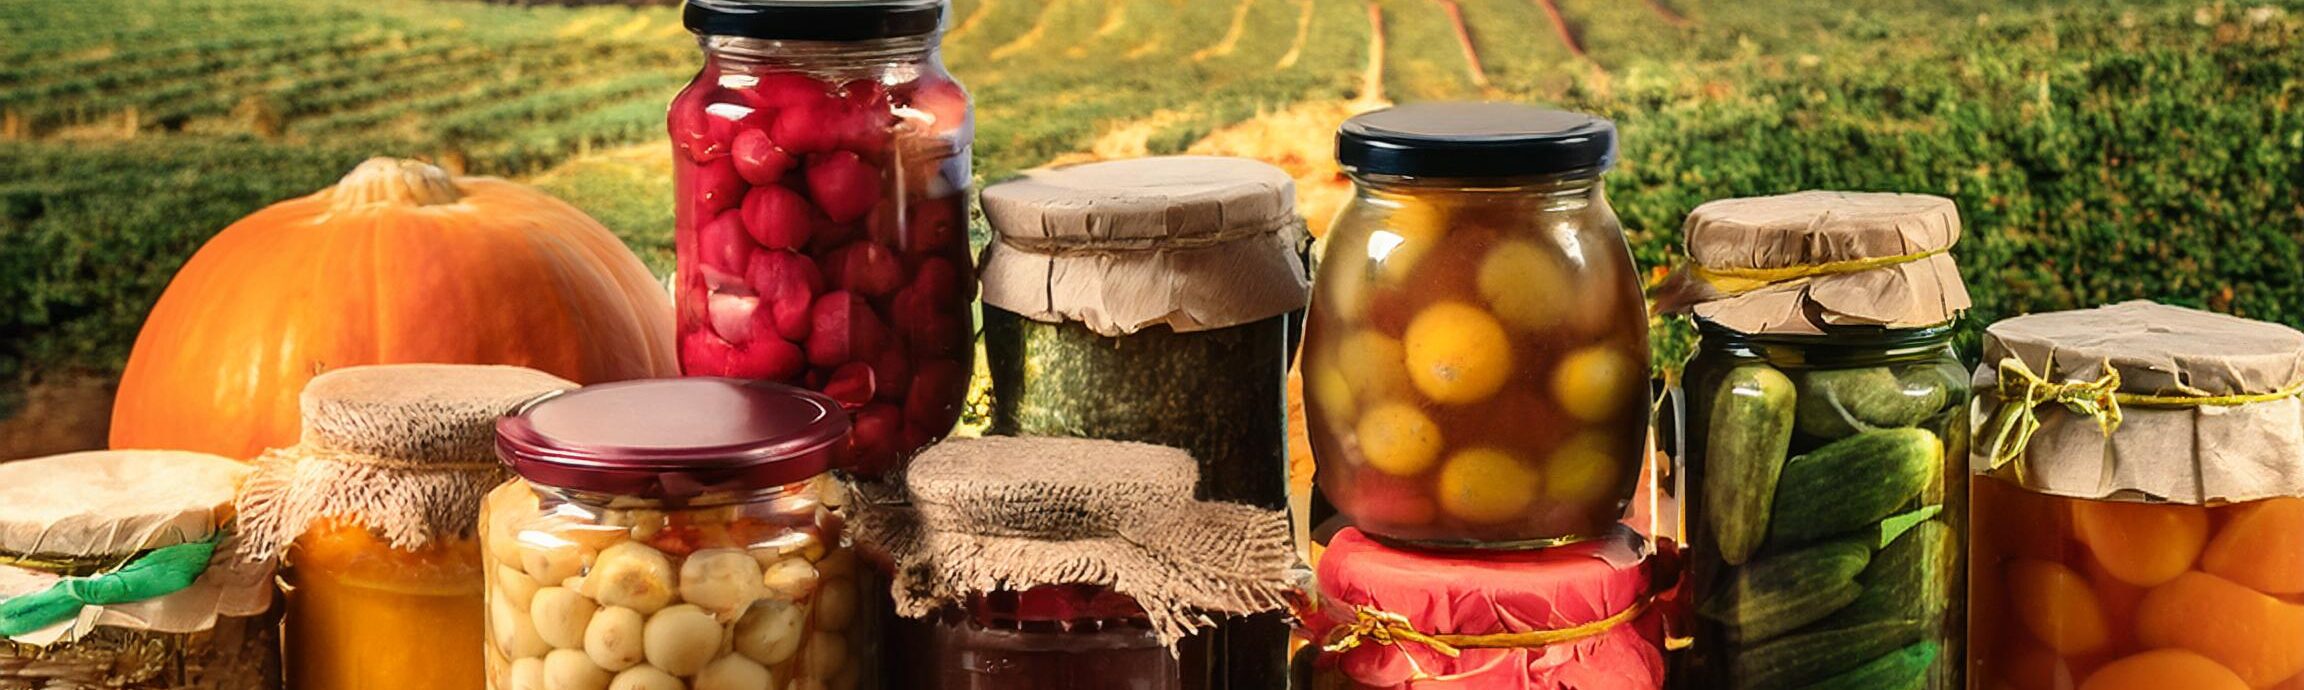
Now, let’s dive into preserving. Canning is a fun one. It sounds fancy, but it’s just about sealing those tasty veggies in jars. It’s like giving your food a nice little hug! You can make pickles, salsas, or even pasta sauce. Just think about how great it’ll be to enjoy summer flavors in the dreary winter months.
Freezing is another quick way to store food. Just wash, chop, and freeze. You can bag up your berries, corn, or whatever’s left over. Quick tip—line them up on a baking sheet first, freeze until solid, then pop them into bags. That way, they won’t stick together like a sad science project.

Don’t forget about drying, too! Herbs hang nicely, and you can let them dry in a sunny spot. Dried herbs can be your secret weapon in the kitchen. A little sprinkle can elevate even the simplest dishes.
Your kitchen can be a cozy preservation station. Friends might even come over to help. Make it a fun day! Turn on some music, share stories, and pack those jars with love. You’ll laugh, snack, and talk about how nice it will be to enjoy Winter Soups of Love!
When winter rolls around, you’ll open those pantry doors, and it’ll feel like summer sunshine all over again. You’ll be ready, cozy, and thriving. So, grab all your goodies and let’s make some magic happen!
Contents of This Page
*** Shop for Survival Gear - Tools - Kits ***
Survival Gear - Bags and Backpacks - Knives - Boots/Footwear - Communication
Outdoor Cooking - Gloves - Hydration - Dry Boxes - Water Filtration Systems
Tents - Sleeping Bags - First Aid Kits - Multi-Tools - Flashlights - Fire Starters
Navigation - Survival Food - Night Vision - Headlamps - Stun Guns - Binoculars
Canning: The Art of Jarring Things Up
Let’s kick things off with canning, which is basically the culinary equivalent of putting on a superhero cape. It sounds complicated, but really, it just involves some jars, lids, and a bit of boiling water. Honestly, if you can boil pasta without burning down the house, you can handle this!
To start, gather your produce—tomatoes are particularly popular because they seem to multiply in gardens faster than rabbits at a petting zoo. Wash them thoroughly; nobody wants dirt-flavored spaghetti sauce unless you're aiming for an avant-garde culinary experience.
The next step is the fun part: cutting! Depending on what you're cooking, you'll want everything to be chopped or sliced. If you inadvertently cut yourself when slicing onions, don't cry too much. It will just make your sauce taste saltier!
After everything is ready, fill your jars with the fruits or vegetables, add some hot liquid (such water or syrup), and shut them up tightly. Then, for around 10 to 15 minutes, boil those bad boys in a huge saucepan. You know you've trapped summer inside glass when you hear that delicious “pop.”
Freezing: The Easy Way Out
Now let’s talk about freezing—this method is so easy even my dog could do it (if he had thumbs). Freezing preserves flavor and nutrients while also allowing me not to feel guilty when I forget I have zucchini lurking in my fridge until February.
First things first: wash and chop your produce as needed. For items like corn or beans, blanching is key—think of it as giving them a quick sauna before sending them into hibernation mode. This step helps preserve color and texture; otherwise, you'll end up with mushy greens that look more sad than delicious.
After blanching (which sounds fancy but really just means boiling briefly), cool them down in ice water—kind of like throwing a pool party for vegetables.
Once cooled off, drain well and spread out on baking sheets before placing in the freezer. This prevents clumping together like kids at a school dance who don’t know how to break out their moves.
Finally, once frozen solid (and yes—you can totally test their solidity by tapping one gently), transfer them into labeled freezer bags or containers. Because trust me—nothing says “I’ve got my life together” quite like knowing exactly what’s lurking in your freezer at any given moment.
Dehydrating: A Snack Attack Waiting to Happen
Dehydrating food is another fantastic way to preserve harvests while creating snacks that would make squirrels jealous! You might be thinking this sounds complicated—but honestly? It mostly involves removing moisture from food so it won’t spoil faster than an open carton of milk left on the counter during summer vacation.
You can use either an electric dehydrator (fancy!) or simply pop those slices into an oven set low enough not burn down your kitchen while watching Netflix simultaneously—a true multitasking achievement! Fruits such as apples and bananas dehydrate beautifully; just slice ‘em thinly so they dry evenly without becoming fruit leather bricks.
Herbs are also excellent candidates for dehydration; snip away fresh basil or oregano from your garden then hang upside-down until crisped up nicely!
Once dried completely (you’ll know because they crumble easily between fingers), store them in cute little jars labeled with their names—the kind that makes you feel like Martha Stewart every time you open a cupboard door.
Fermentation: Getting Funky with Flavor
If you're feeling adventurous—and maybe slightly daring—fermentation could be right up your alley! This process transforms ordinary veggies into tangy delights through good bacteria action—a natural way our ancestors preserved food long before Pinterest was ever invented!
Kimchi anyone? Grab cabbage along with spices galore then mix everything together lovingly before packing tightly into jars where fermentation magic happens over several days (or weeks!). Just remember—the smell may resemble something akin to old socks mixed with vinegar; don’t panic—it'll taste amazing once done!
Sauerkraut follows similar principles but requires less spice drama yet still offers delightful crunchiness perfect atop sandwiches—or straight from the jar when no one's looking…not that I’d ever do such a thing!
Conclusion: Embrace Your Inner Food Preserver
As winter creeps in and the cold air starts to bite, you want to know you’ve got some tasty homegrown goodies waiting for you. Those colorful veggies and herbs need to be safe and sound for when you need them. It’s like having a little summer party in your pantry, even while the snow is falling outside.
Think about it. You spend all that time planting, watering, and talking to your plants. It’s a lot of love. Now’s your chance to show off your hard work! You’ll be so glad when January rolls around, and you open the pantry to find jars of pickles and delicious soups. It really feels good knowing you’ve got tasty treats right there, just waiting for you.
Grab some jars and start canning! There’s something super satisfying about sealing those jar lids tight. Pickles are a great start. Crunchy and tangy, they make everything taste better. You could even try making jams with those leftover fruits. Spreading jam on toast during the chilly mornings? Yes, please!
Freezing is another ace up your sleeve. Those tomatoes you’ve grown? Perfect for chili nights. Just chop them up, toss them in bags, and into the freezer they go. Soon, you’ll have a stash ready for cozy family dinners. Think about the happy faces around the table when you serve up something homemade.
Don’t forget about herbs. Drying them is easy! Just hang them up or put them in an oven on low heat. Your kitchen will smell so good, like a cozy restaurant. Then you can sprinkle those dried herbs into your dishes. Instant flavor booster!
Each step you take now is like a little treasure for your future self. You’ll feel a sense of joy knowing nothing went to waste after all those sunny days of planting and caring. Embrace these methods and make it fun. Invite a friend over for a preservation party!
Enjoy every moment, every laugh, and all those little successes. Winter might be cold outside, but inside, you’ll have warmth and good food.
Frequently Asked Questions
Why should I inspect my harvest before preserving?
Sorting helps you use the best produce for long-term storage while reserving bruised or imperfect pieces for soups, sauces, or immediate use.
Is canning a safe way to preserve vegetables?
Yes, when jars, lids, and boiling water methods are followed correctly, canning safely seals food and prevents spoilage.
Do I need to blanch produce before freezing?
Blanching helps maintain texture, color, and nutrients, making frozen vegetables higher quality after thawing.
How do I prevent frozen produce from clumping?
Freeze chopped produce on trays first, then transfer into labeled bags after items are fully solid.
What foods work best for dehydrating?
Thinly sliced fruits and herbs dry well and store compactly, making them excellent for snacks and seasoning.
Why try fermentation methods?
Fermenting creates probiotic-rich, tangy foods like sauerkraut and kimchi that can store well in airtight containers.
Can I combine multiple preservation methods?
Yes, mixing canning, freezing, dehydrating, and fermenting maximizes variety and long-term food security.
Suggested Resources:
The Complete Guide to Home Canning
https://nchfp.uga.edu/publications/publications_canning.html
Freezing Fruits & Vegetables
https://www.fs.usda.gov/whats-new/news/2020/freezing-fruits-and-vegetables-guide
Fermenting Foods 101
https://www.culturesforhealth.com/learn/fermentation/

Kevin Collier is a seasoned survivalist and expert in prepping and homesteading, contributing to WiseSurvive.com. With a deep-rooted passion for self-sufficiency and outdoor survival skills, Kevin shares practical advice, strategies, and resources to help individuals prepare for any challenge. His informative articles cover a range of topics, from essential survival techniques to sustainable living practices, empowering readers to thrive in any situation. Whether you're a novice or a seasoned prepper, Kevin's insights will inspire you to take charge of your readiness and build resilience for the future.