Last Updated on November 2, 2025 by Kevin Collier
Top Takeaways and Key Concepts
– Learn the CPR technique: 30 chest compressions followed by 2 rescue breaths for adults.
– For infants, use two fingers for chest compressions and cover the mouth and nose for breaths.
– Call emergency services immediately before starting CPR if possible.
– Keep a first aid kit accessible and equipped for emergencies.
– Regularly practice CPR techniques to stay confident and prepared.
Imagine that you're at a family BBQ, the sun is shining, and everything smells great. Then Uncle Bob suddenly thinks that flipping burgers is an Olympic sport. One minute he's grilling like a pro, and the next? He's lying on the ground, looking as dead as last week's potato salad. Oh no!
Please Note: This post may contain affiliate links. If you click one of them, we may receive a commission at no extra cost to you. As an Amazon Associate, I earn from qualifying purchases.
What do you do? Are you panicking? Call 911? Or wait, how about you help out? Let's talk about some simple things we can do to save the day. You might become the hero of the family, or at least keep Uncle Bob from being the main character in a new family story.
First, make sure he's breathing. This can be rather intimidating, but just look closely. You can start CPR if he isn't breathing. It's like giving your friend a soft embrace to help them breathe. You should look for a hard surface and push down forcefully in the middle of his chest. Not too hard, but enough to feel it! Call a friend over to help you out if you have one. It is easier to operate together.
Say the numbers out loud as you push. One, two, three… you can do it! If you don't know what to do, just remember to push quickly, like a song that makes you want to dance. Push, push, push. It may seem strange at first, but it's very crucial. Don't stop until help comes.
That's excellent if Uncle Bob is breathing again! Just keep an eye on him. Talk to him and make sure he stays awake. You may ask him about how good he is at frying burgers. At least it will keep things light!
Don't worry if you're a little nervous. Everyone is. Sometimes even true superheroes are afraid. What counts is that you tried, and that may make a big difference. With a little effort, you can convert a barbecue mistake into a day that everyone will remember for years to come, but with a much happy conclusion.
You can handle these times. Stay cool, and remember that people can be stronger than you think, owing to heroes like you!
Contents of This Page
*** Shop for Survival Gear - Tools - Kits ***
Survival Gear - Bags and Backpacks - Knives - Boots/Footwear - Communication
Outdoor Cooking - Gloves - Hydration - Dry Boxes - Water Filtration Systems
Tents - Sleeping Bags - First Aid Kits - Multi-Tools - Flashlights - Fire Starters
Navigation - Survival Food - Night Vision - Headlamps - Stun Guns - Binoculars
Understanding CPR: The Basics
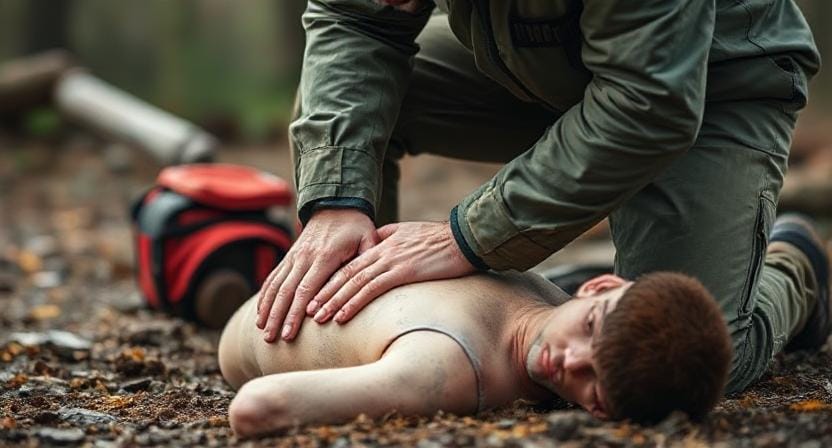
So, what is CPR, really? Well, it stands for Cardiopulmonary Resuscitation, which sounds sophisticated but just means “I'm going to get your heart beating again.” Every second counts when someone quits breathing or their heart stops beating (maybe because they flipped a burger too high).
Before we go into the nitty-gritty, I want to make one thing clear: if you're ever in this circumstance, don't panic. Yes, it's serious, but there's no need to panic. Take a deep breath and remember that you can really help here.
There are two key things you need to know to do CPR right: how to do chest compressions and how to give rescue breaths. But don't worry; we'll make it so easy that even your dog could grasp it (if only they had thumbs that could move).
Getting Down to Business with Chest Compressions
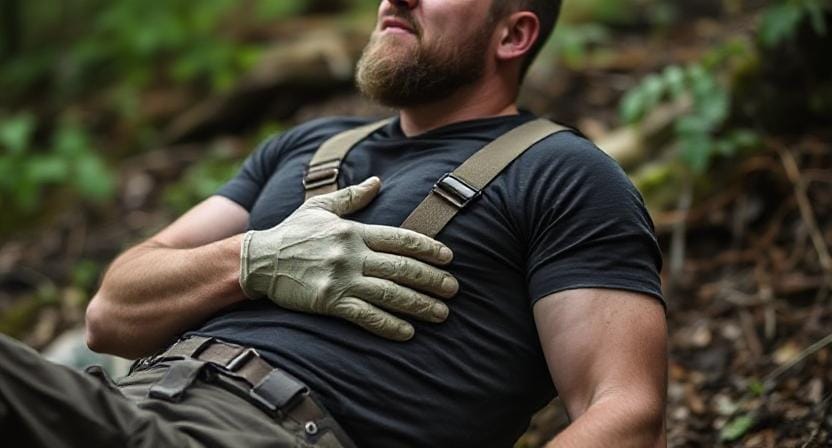
Let's find out how this works. First of all, if you're with someone who has passed out and isn't breathing regularly (not including any strange noises they might be making), phone 911 right away or have someone else do it while you get to work. You don't want to be in the middle of a compression when aid gets there!
Next, get in a position next to the individual on their back. Put one hand on top of the other in the middle of their chest, exactly between those pretty ribs, and kneel down next to them. Push down hard and quickly now!
Try to get about 100 to 120 compressions per minute. That's about the same speed as the Bee Gees' song “Stayin' Alive.” So go ahead and be a disco star while you save lives!
Don't worry about breaking ribs; it happens sometimes during CPR. Not perfect, but hey, they're still alive! And damaged ribs will mend, but it will take time.
Rescue Breaths: A Breath of Fresh Air

Now that you know how to do compressions like a great dancer at a wedding, let's talk about rescue breaths, which are the icing on the cake that saves lives. Give two rescue breaths after every 30 compressions, which can feel like forever when you're doing them.
Place one hand on their forehead and the other under their chin to tilt their head back slightly. Trust me, there is a right way to do this. This makes it easier for them to breathe because it seems like our bodies are like sophisticated puzzles.
Seal your lips around theirs (it can feel weird) and blow into their mouth until you see their chest lift. A small puff will do. Then do this twice more before going back to those wonderful compressions.
Speaking of which, if you're not sure how to provide rescue breaths or don't want to, just do hands-only CPR until help comes. We all have our boundaries.
Your New Best Friend: Using an AED
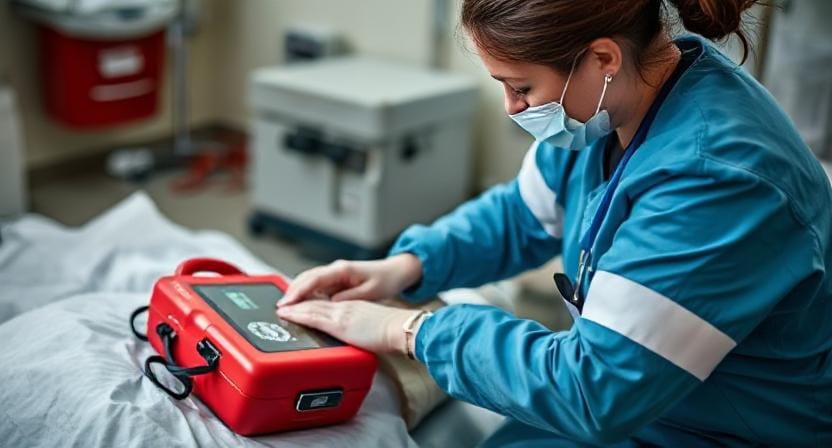
If you have an Automated External Defibrillator (AED) nearby, you should absolutely use it. These small machines save lives, and they really do! They look at heart rhythms and can shock someone's heart back into motion if necessary.
At first, it could feel like looking for hidden treasure to find one, especially because they're commonly hung on walls in public places. But once you find one, just follow these simple steps:
1. Start it up.
2. Listen to the voice prompts.
3. Put pads where they are needed.
4. When it tells you to give a shock, stay out of the way!
To be honest, these gadgets are so easy to use that even Uncle Bob could figure one out after his third hot dog.
Knowing When Help Will Come

Let's finish off by talking about what happens when emergency services show up at your BBQ that has turned into a disaster zone. By then, you'll undoubtedly be sweating bullets from all the hard work you did to save lives, and you might wish you had just gotten veggie burgers instead.
When specialists get there, tell them swiftly what happened.
– Tell them things like how long they've been unresponsive or if you've done CPR or used an AED.
– Let them take control; you've done enough heroic labor for today!
And speaking of heroes, it's always a good idea to take classes from groups like the American Red Cross or your local community center to keep your skills sharp.
Conclusion: Be Prepared!
It's like having a secret superpower to know how to conduct CPR and basic life support. For real! It's a lot more beneficial than trying to fit as many marshmallows as you can in your mouth when camping. Believe me, that's fun, but this is life-changing.
Picture yourself at a picnic and someone needs aid. It's scary to think about, but wouldn't it be great to step in and actually help? You feel strong and ready for anything when you know how to do these things. It's not just about you. It's about all the people surrounding you.
You can begin by studying the basics. You can find classes in your area, at community centers, or online. It's cool, and it might even be enjoyable. You'll learn how to check for breathing and do chest compressions. It's easy to remember these steps. Also, doing them a few times can make a tremendous difference. You'd feel great!
Think about Uncle Bob one more time. You'll be ready if he needs you. Just think of how thrilled everyone would be when dessert time comes and Uncle Bob is still in the game.
When you help someone, it's like you're giving your superhero emblem a little shine. You never know when you might be able to help. Being able to do these things makes you feel like you can handle a lot more.
It's good to know, even if you forget all the details later. You might be nervous at first, but that's normal. Every superhero has to start sometime, right?
While you drink your coffee and daydream about interesting things to do, consider about adding these abilities to your repertoire. If something goes wrong, you can step up, even if it's just for a second like Uncle Bob's crazy burger flips. In my book, that's a win!
Frequently Asked Questions
What is the correct CPR compression to breath ratio for adults?
The standard adult CPR ratio is 30 chest compressions followed by 2 rescue breaths.
How fast should chest compressions be performed?
Compressions should be around 100–120 per minute, similar to the rhythm of “Stayin’ Alive.”
Do I still call emergency services before starting CPR?
Yes. Call 911 immediately if possible before beginning CPR, or tell someone nearby to call.
What is the main difference when giving CPR to an infant?
Use two fingers for compressions, and cover both their mouth and nose when giving breaths.
Can CPR break ribs?
Yes, ribs can break during CPR, but saving the person’s life is the priority.
Is it okay to do hands-only CPR?
If you’re unsure about rescue breaths, use hands-only CPR until help arrives.
How does an AED help during CPR?
An AED evaluates heart rhythm and can deliver a shock if needed to restart or stabilize heart activity.
Suggested Resources:
American Heart Association – https://www.heart.org/en/cpr
Red Cross First Aid/CPR/AED Course – https://www.redcross.org/take-a-class/cpr/aed-training
CPR Guidelines – https://www.cprguidelines.org/

Kevin Collier is a seasoned survivalist and expert in prepping and homesteading, contributing to WiseSurvive.com. With a deep-rooted passion for self-sufficiency and outdoor survival skills, Kevin shares practical advice, strategies, and resources to help individuals prepare for any challenge. His informative articles cover a range of topics, from essential survival techniques to sustainable living practices, empowering readers to thrive in any situation. Whether you're a novice or a seasoned prepper, Kevin's insights will inspire you to take charge of your readiness and build resilience for the future.


