Last Updated on November 2, 2025 by Kevin Collier
Top Takeaways and Key Concepts
- Buy quality solar panels, charge controller, batteries, and inverter for reliability.
- Mount panels in direct sunlight for maximum energy absorption and efficiency.
- Connect panels to controller and batteries carefully, following wiring diagrams exactly.
- Test the system thoroughly, adjusting connections or settings if needed.
- Maintain panels, check wiring, and monitor batteries regularly to ensure longevity.
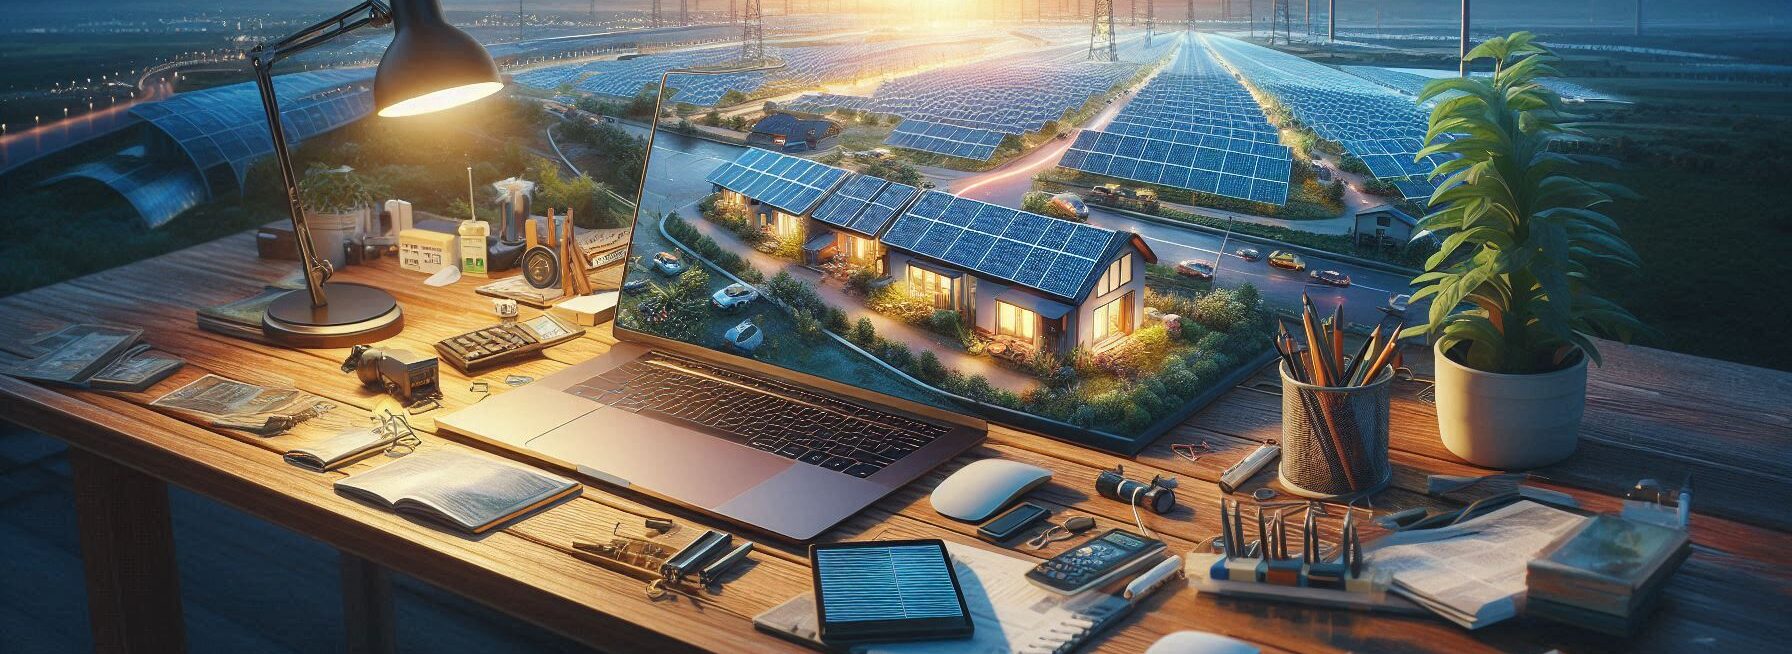
Picture this: you're relaxing in your lawn with a glass of lemonade. The weather is great because the sun is shining. Then, boom! You look at your phone and notice that the battery is ready to die. It's a total buzzkill, right? You say to yourself, “If only I had a solar power system!”
Great news! You can definitely make one yourself. It's easier than convincing your dog to stop barking at the mailman every day. Really!
Please Note: This post may contain affiliate links. If you click one of them, we may receive a commission at no extra cost to you. As an Amazon Associate, I earn from qualifying purchases.
Let's get into this sunny trip. To start, you'll need some solar panels. They take in sunshine and turn it into power. It's like magic, but it's even cooler since it's real. You can buy them online or at a hardware shop. Find ones that meet your demands and don't cost too much.
After that, you'll need a controller for the charging. This small man protects the energy. You don't want your battery to blow up! Think of it as a helpful traffic cop who makes sure that energy gets to where it needs to go safely.
Let's talk about batteries now. You'll need a good one to keep all that solar energy safe. Deep cycle batteries are wonderful. They are like the superheroes of storing energy. The longer they last, the better.

It's time to set up your gear after you have it. Follow the simple steps on the Internet. You might even be able to be a little creative. You might be able to make it appear cute! Putting together a solar system doesn't have to be a big disaster.
Imagine yourself sitting outside in the sun with your phone charging. You and your friends come over and have a nice time. They don't realize that you have your own power source just sitting there. You'll feel proud and maybe even like a science wizard.
And hey, anything can go wrong. That's fine! Your first setup might not be flawless. Begin with tiny changes. Learning is all about taking small steps.
If you're patient, you'll learn everything there is to know about solar energy and how to charge your electronics on sunny days. It would be so cool to know that you are using the sun's energy at home.
*** Shop for Survival Gear - Tools - Kits ***
Survival Gear - Bags and Backpacks - Knives - Boots/Footwear - Communication
Outdoor Cooking - Gloves - Hydration - Dry Boxes - Water Filtration Systems
Tents - Sleeping Bags - First Aid Kits - Multi-Tools - Flashlights - Fire Starters
Navigation - Survival Food - Night Vision - Headlamps - Stun Guns - Binoculars
So, fill up your lemonade and lets start learning about solar power. A brilliant new adventure is waiting for you!
Understanding Solar Power Basics
Before we go too far into our solar adventure, let's discuss about what solar power is. In short, it's making power from sunshine. It's like catching little packets of sunlight and turning them into energy that you can use. It's a lot less messy than trying to collect fireflies.
Now, why would anyone want to go through all that trouble? You will be doing Mother Earth a favor by lowering your carbon footprint, and you will also be saving money on your electric bill (which means more money for snacks). And who wouldn't want to be able to brag about being “off-grid” at barbecues?
Gathering Your Materials
You need supplies! You’ll require solar panels (the star players), a charge controller (to prevent overcharging—nobody likes an angry battery), batteries for storage (because when the sun goes down, so does your ability to recharge), and an inverter (which turns that DC power from batteries into AC power).
When I started my project, I felt like I was assembling some sort of mad scientist laboratory rather than creating clean energy. Just make sure you check local hardware stores or online retailers for quality materials.
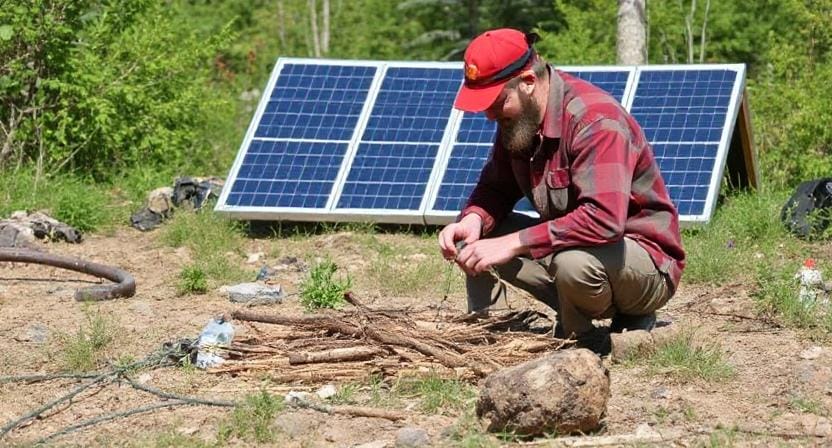
And remember: don’t skimp! A good-quality panel can mean fewer headaches later on—trust me; I’ve learned this lesson while fumbling with cheap equipment during a camping trip.
Installing Your Solar Panels
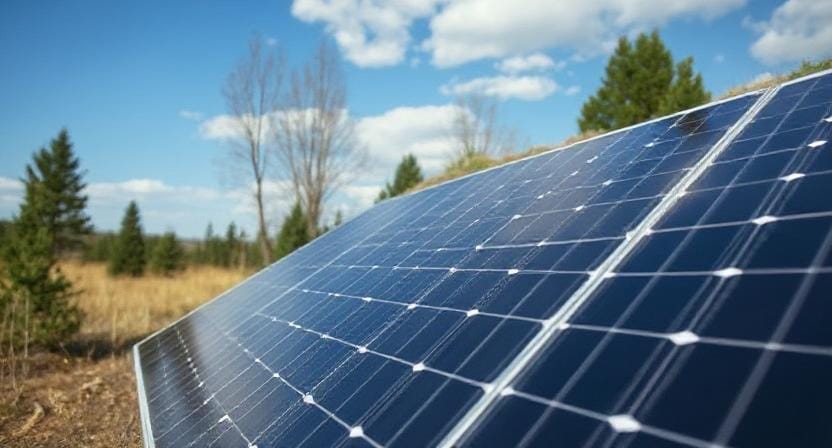
Alrighty then! Now comes the fun part: installation! First off, pick a location where those panels will soak up as much sun as possible—like putting them in direct sunlight instead of behind that giant oak tree that seems determined to block every ray.
To install them correctly, follow these steps: mount the panels securely on a roof or frame (you might want someone else around unless you're going for an accidental thrill ride off the ladder).
Next up is connecting them properly according to their wiring diagrams—don’t worry; they usually come with instructions that are clearer than directions from Google Maps!
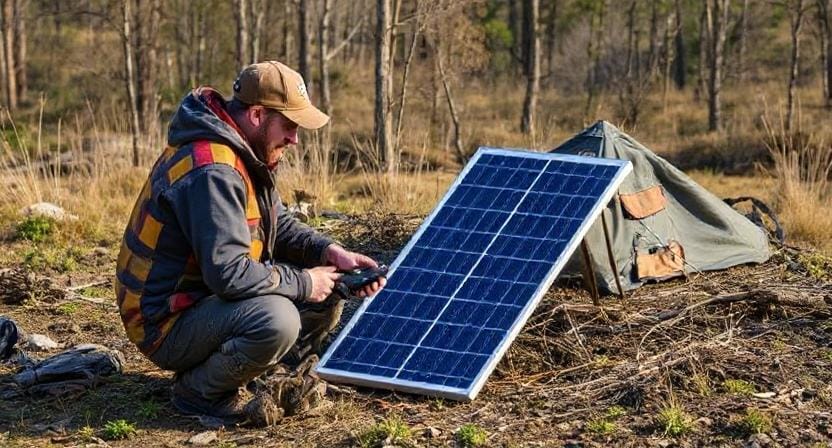
And speaking of maps… interestingly enough, if you’re planning on taking this system camping or mobile adventures (because who wouldn’t want free electricity?), consider portable options that are easy to set up and take down.
Connecting Everything Together
Once you've got those glorious solar panels in place soaking up rays like they're at an all-you-can-eat buffet, it’s time to connect everything together. This part can feel like solving a Rubik's Cube blindfolded while riding a roller coaster—but fear not!
Start by connecting each panel in series or parallel depending on how much voltage you need. Then run wires from the panels into your charge controller—the brain of this operation—before leading them towards your batteries for storage.
The goal here is simple: keep everything organized so there aren’t wires tangled up like my dog after playing fetch with his favorite toy.
Keep in mind that safety comes first as you put everything together. Use the right fuses and circuit breakers since no one wants sparks to fly until it's fireworks season!
Checking Your Setup
This is my favorite part: the moment of truth! It's time to test out your new DIY solar power system after making sure all the connections are correct (and maybe doing a little dance to celebrate). Turn the switch on and watch those lights come back on brighter than ever!
If something doesn't work right away—and let's be honest, occasionally things go wrong—it can just be because the connections or settings in the charge controller need to be tweaked a little.
Don't worry; figuring things out is half the fun! Just think of it as a gigantic science experiment where no one gets hurt (hopefully).
What happens after everything is working well? Well done! You did it! You made your own source of renewable energy. High-fives all around!
Maintenance Tips for Longevity
Finally, let’s talk maintenance because even though we love our systems like pets—we have responsibilities too! Keep those panels clean from dust or debris since dirty surfaces can hinder performance faster than my attempts at gardening.
Regularly check connections and ensure nothing has come loose over time due to weather changes or wildlife encounters—you never know when squirrels might decide they need extra insulation material.
Also worth mentioning: keeping track of battery health ensures longevity as well—replace old batteries when necessary so they don’t become sad little relics cluttering up space in your garage.
Frequently Asked Questions
What basic components are required for a DIY solar power system?
You need solar panels, a charge controller, deep cycle batteries, and an inverter to convert stored DC power into usable AC power.
Where should solar panels be mounted for best performance?
Panels should be placed in direct sunlight with minimal shade to maximize daily energy absorption and system efficiency.
Why is a charge controller necessary?
A charge controller prevents batteries from overcharging or draining incorrectly, protecting them from damage.
What type of battery works best for solar energy storage?
Deep cycle batteries perform best because they are designed to be discharged and recharged repeatedly without performance loss.
How do you connect solar components safely?
Follow wiring diagrams carefully, use proper fuses or breakers, and double-check polarity before powering the system on.
What should you do if the system isn’t producing power after setup?
Test every connection, inspect the charge controller settings, and verify panels are receiving direct sun exposure.
How do you maintain a DIY solar system over time?
Clean panels regularly, check wiring for wear, and monitor battery health to extend system life.
Suggested Resources:
Solar Power Basics
https://www.energy.gov/energysaver/solar-power-basics
DIY Solar Panel Installation Guide
https://www.solarpowerworldonline.com/diy-solar-panel-installation-guide
The Ultimate Guide to Solar Energy
https://www.solarenergy.org/the-ultimate-guide-to-solar-energy/

Kevin Collier is a seasoned survivalist and expert in prepping and homesteading, contributing to WiseSurvive.com. With a deep-rooted passion for self-sufficiency and outdoor survival skills, Kevin shares practical advice, strategies, and resources to help individuals prepare for any challenge. His informative articles cover a range of topics, from essential survival techniques to sustainable living practices, empowering readers to thrive in any situation. Whether you're a novice or a seasoned prepper, Kevin's insights will inspire you to take charge of your readiness and build resilience for the future.