Please Note: This post may contain affiliate links. If you click one of them, we may receive a commission at no extra cost to you. As an Amazon Associate, I earn from qualifying purchases.
Last Updated on November 2, 2025 by Kevin Collier
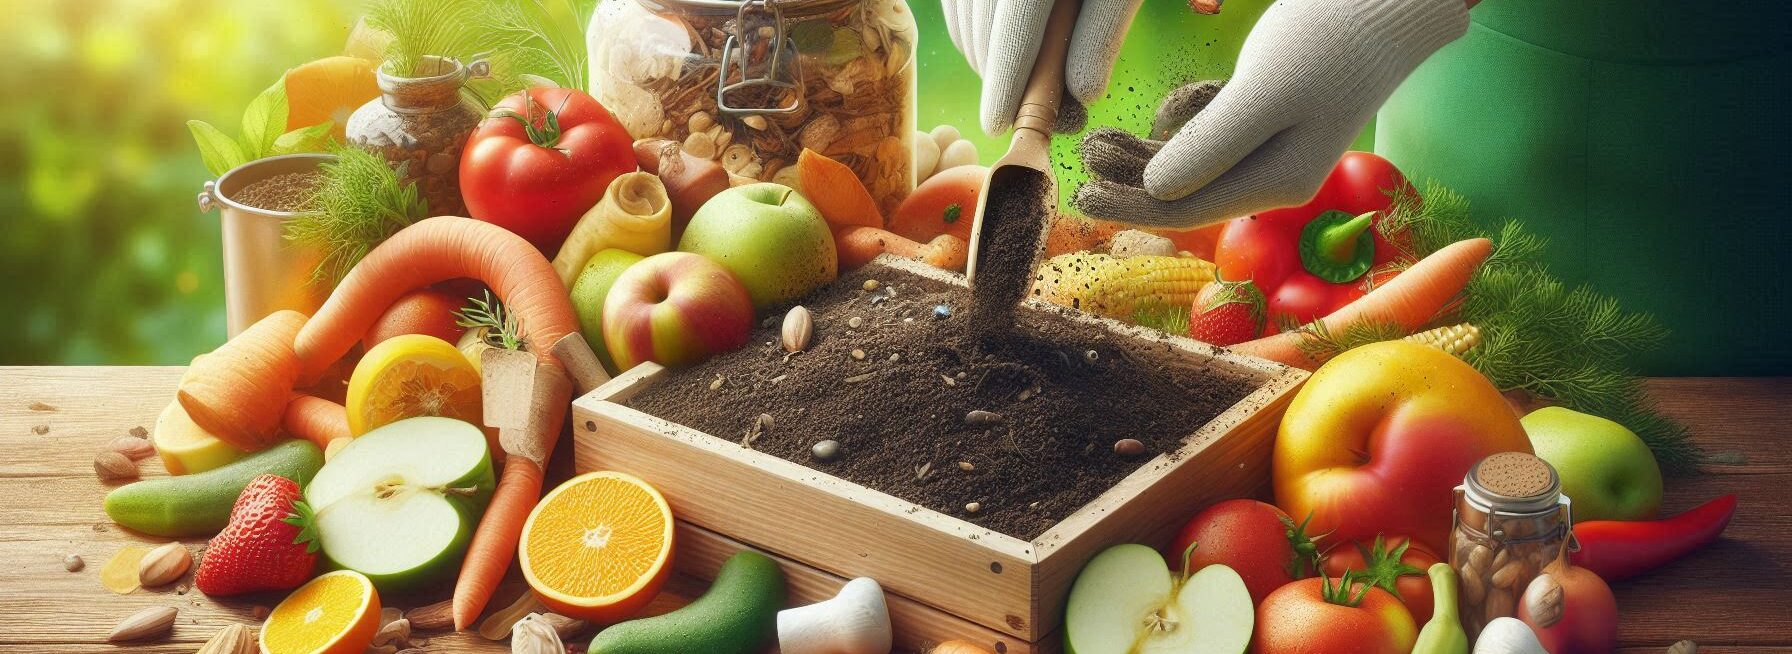
Top Takeaways and Key Concepts
- Collect kitchen scraps and yard waste, separating them into greens and browns.
- Layer greens and browns in the pile and mix regularly for airflow.
- Keep compost moist like a damp sponge, adjusting water or browns as needed.
- Monitor temperature and wait until compost is dark, crumbly, and earthy-smelling.
- Use finished compost to enrich soil in gardens or container plants.
So, you are ready to start composting. That's great! You're truly changing things. It's like magic to turn discarded bits into something special. It's like giving your plants superpowers, for real.
The first step is to get your things together. You can use pieces of vegetables, fruit peels, and even the ends of stale bread. Think about all the things you regularly throw away. You're going to let them try again! It's like saving little food superheroes from the trash.
Let's talk about balance now. You need two primary types of things to compost: greens and browns. Greens are the trimmings from your vegetables and the grass clippings. Things that are brown include dry leaves, cardboard, and paper. Your compost pile will be healthier if you eat a balanced diet. It gets cranky when it has too much of one thing. No one wants a compost that is angry.
Layering is really important. Put some brown things at the bottom. Next, add greens. It's just like preparing a sandwich! Putting things in layers helps them break down well. And don't forget to change it up! Mix it up like you're making a cake batter. This helps everything feel better and break down faster.
Watch your compost pile. It should feel warm inside. Your compost is working hard if it's heated. Add a little water to it if it's too dry. You might just need additional browns if it starts to smell nasty.
You'll need to wait a bit. You will notice dark, crumbly goodness after a few months. It will smell and look like the ground in a forest. That's how you know it's done!
It feels good to use your compost. Just put it on your plants in the garden or in pots. And see how well they do! It's like that movie: the circle of life.
It's easy and fun to compost. You're doing good things for the Earth and your plants. So, pull those scraps together and start. Let's work together to make that black gold!
Contents of This Page
*** Shop for Survival Gear - Tools - Kits ***
Survival Gear - Bags and Backpacks - Knives - Boots/Footwear - Communication
Outdoor Cooking - Gloves - Hydration - Dry Boxes - Water Filtration Systems
Tents - Sleeping Bags - First Aid Kits - Multi-Tools - Flashlights - Fire Starters
Navigation - Survival Food - Night Vision - Headlamps - Stun Guns - Binoculars
Understanding What Compost Is
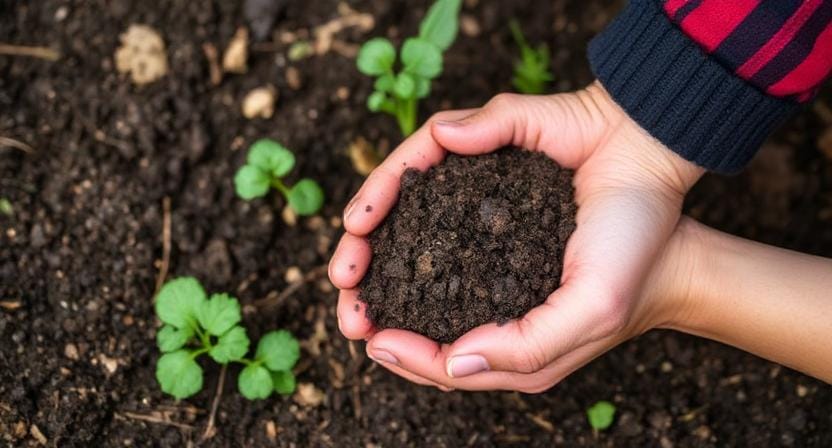
What is compost, first of all? You could say it's nature's way of recycling. You may turn food scraps and yard debris into something valuable instead of throwing them out, where they lie around longer than my uncle at a family reunion.
Compost is broken-down organic matter that makes soil better, so your plants may grow without using artificial fertilizers. After all, who wants to be a mad scientist in their garden?
At first, I thought I could throw in anything that was even a little bit organic, like stale bread or leftover pizza crusts. Well, maybe not the pizza crusts.
Some things are better off not being included (more on that later). Just keep in mind that balance is key to making good compost. It's like finding a balance between the chocolate cake you desire and the lettuce you know you should eat.
The Right Things
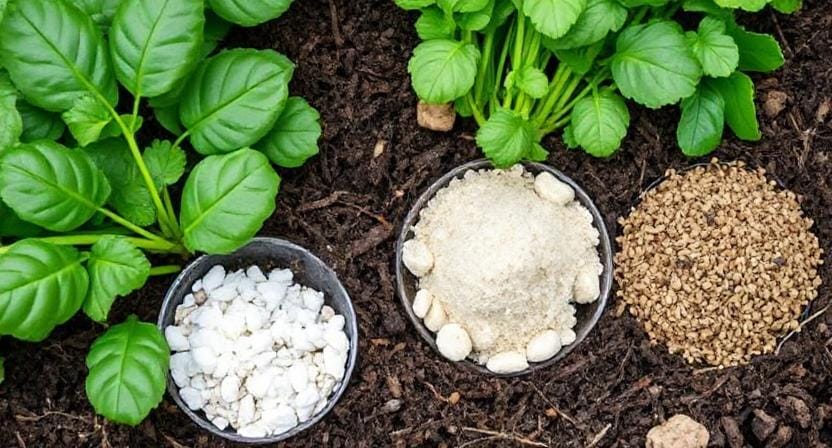
Let's talk about the ingredients now that we've figured out what they are. There are two primary types of things you need to make good compost: greens and browns. Fruit scraps, vegetable peels, grass clippings, and coffee grounds are all examples of greens.
These have a lot of nitrogen in them, which helps start the process of breaking down. Browns, on the other hand, are made up of dry leaves, straw, cardboard (not soggy pizza boxes), and wood chips. These things provide carbon to your mix.
You might be wondering why this is so important. Isn't it all just going into one giant pile? Yes and no! If you consume too many greens, your piles will smell like a fruit stand that has gone bad. If you eat too many browns, they will take longer to break down and have more twigs than nutrition.
Finding that ideal spot will make your compost smell fresh instead of like gym socks from last week.
Making Your Compost Pile
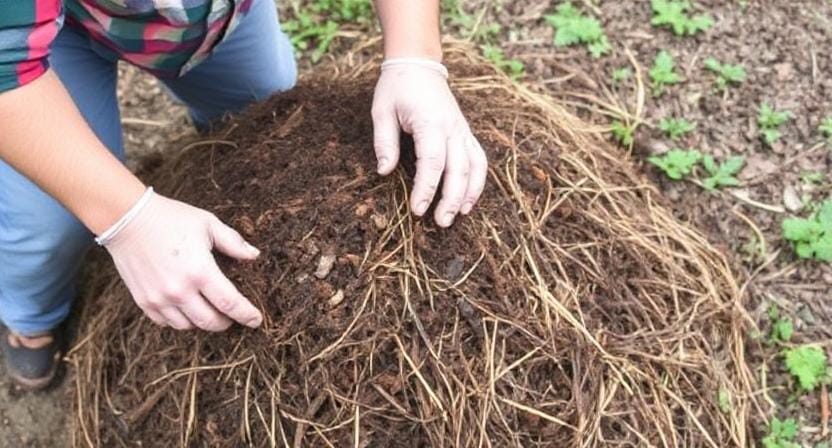
Next, you need to make your compost pile or container, if you want to be fancy. You don't need anything fancy; simply a simple structure made of pallets can do the trick.
To help air circulate through your pile, start by putting down a layer of coarse materials like small twigs or straw at the bottom. Trust me, anaerobic circumstances make smells that are great for horror movies.
Layering is very important here! As you add to your pile, switch between greens and browns until it is about three feet high. This height helps keep the heat in, which is important because heat speeds up decomposition faster than my kids consume cookies after supper!
By the way, turning your pile every few weeks adds oxygen, which speeds up the decomposition even more. You could think of it as giving your compost its own little workout program! And believe me, there's nothing more rewarding than turning over a freshly made pile and knowing you're making something magical.
Taking Care Of Your Compost
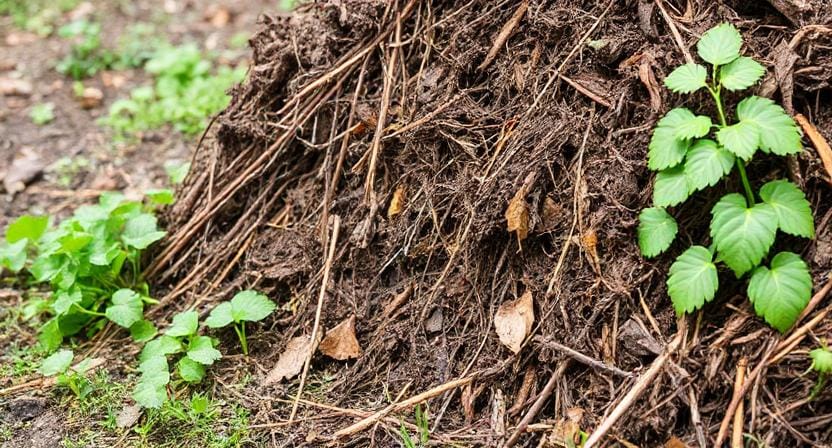
Once everything is stacked up nicely (and hopefully not so that raccoons think they deserve gourmet food), it's time to take care of it. Your compost should feel like a damp sponge, not a swampy mess or a dry desert.
If it starts to smell terrible or seem overly moist (like those workout socks again), add more brown stuff or turn it more often until it gets back to normal. On the other hand, if it's too dry (like my attempts at baking bread), sprinkle some water on it, but not so much that it turns into mud pies that are only good for kids' art projects!
Time also plays a role, which is interesting. In the summer, when it's hotter, things break down faster than in the winter, when everything slows down a lot because of the cooler weather, which affects the activity of microbes in our valuable mixture.
How to Use Your Finished Compost
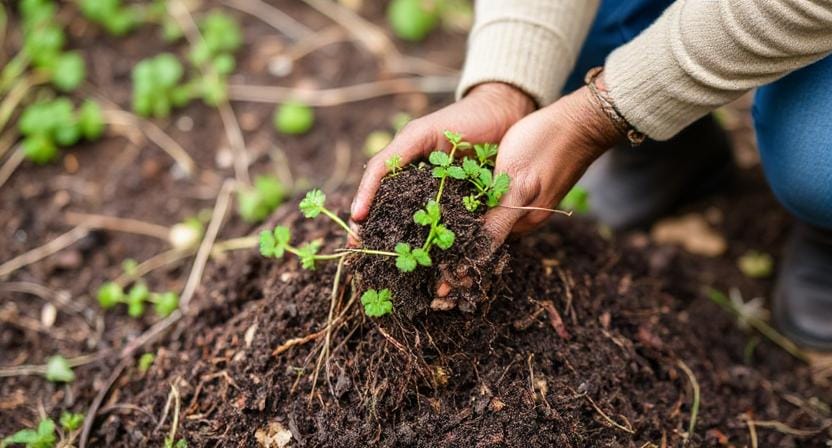
It will be ready in a few months (or sooner if you're lucky) when it appears dark brown and crumbly, like store-bought potting soil but much better because YOU made it!
To see whether it's ready, take a handful and see if it crumbles easily in your palm without leaving any discernible pieces of the original components. whether it does, congratulations—you are now a master composter!
This nutrient-rich deliciousness is great for improving the health of the soil and making sure that plants grow robust all year long. You can use it on both garden beds and container plants.
Plus, there's nothing like being able to brag to other gardeners about where these tasty vegetables originated from. You may say, “Oh, this? Just a little bit of magic done at home!
Fixing Common Problems
Like most things, composting has its own set of problems that can get in the way of success. Let's talk about some of the most prevalent ones so they don't get in the way of your progress:
1. Smelly Piles: If you smell something that smells like rotten eggs or worse, use the instructions above for balancing green and brown ratios and make sure the pile gets enough air by turning it often.
2. Pests: Fruit flies love leftovers almost as much as I love dessert, but hiding food scraps in layers typically keeps them away.
3. Slow Decomposition: If things aren't breaking down fast enough, try adding extra nitrogen-rich greens and rotating them often until you have the right consistency!
With these guidelines in mind—and maybe some jokes along the way—I hope you're ready to make your own great batch of rich soil with homemade compost!
Frequently Asked Questions
What materials can I put into compost?
You can use fruit and vegetable scraps, coffee grounds, grass clippings, dried leaves, cardboard, and paper as long as they are clean and free of chemicals.
Why do I need both greens and browns in the compost?
Greens supply nitrogen and browns supply carbon, and a balanced mix helps microbes break down material efficiently without foul odors.
How often should I mix or turn my compost pile?
Turning every one to two weeks improves airflow, speeds decomposition, and prevents the pile from turning anaerobic.
How moist should my compost be?
Keep it similar to a damp sponge—if it is too dry, lightly add water, and if too wet or smelly, add more browns.
How long does compost take to become usable?
Depending on conditions, compost can take a few months or longer to finish, especially in colder weather or if the pile is not turned often.
How do I know when compost is finished?
Finished compost is dark, crumbly, earthy-smelling, and no longer recognizable as the original materials.
Where can I use my finished compost?
Use finished compost in garden beds, raised beds, or container plants to enrich soil and improve growth and moisture retention.
Suggested Resources:
Composting 101
https://www.epa.gov/recycle/composting-home
The Ultimate Guide to Composting
https://www.gardeningknowhow.com/composting/
How To Build a Backyard Composter
https://www.thespruce.com/build-a-backyard-composter-1402656

Kevin Collier is a seasoned survivalist and expert in prepping and homesteading, contributing to WiseSurvive.com. With a deep-rooted passion for self-sufficiency and outdoor survival skills, Kevin shares practical advice, strategies, and resources to help individuals prepare for any challenge. His informative articles cover a range of topics, from essential survival techniques to sustainable living practices, empowering readers to thrive in any situation. Whether you're a novice or a seasoned prepper, Kevin's insights will inspire you to take charge of your readiness and build resilience for the future.

