Last Updated on November 1, 2025 by Kevin Collier

Top Takeaways and Key Concepts
Select Lean Meat: Choose cuts like eye of round or flank steak to minimize fat.
Slice Thinly: Cut meat into ⅛ to ¼-inch strips against the grain for tenderness.
Marinate Properly: Refrigerate marinated meat at 36–40°F (2–4°C) for at least 12 hours.
Preheat Meat: Heat beef to 160°F (71°C) before drying to ensure safety.
Dry Thoroughly: Use a dehydrator, oven, or smoker until jerky is dry and leathery.
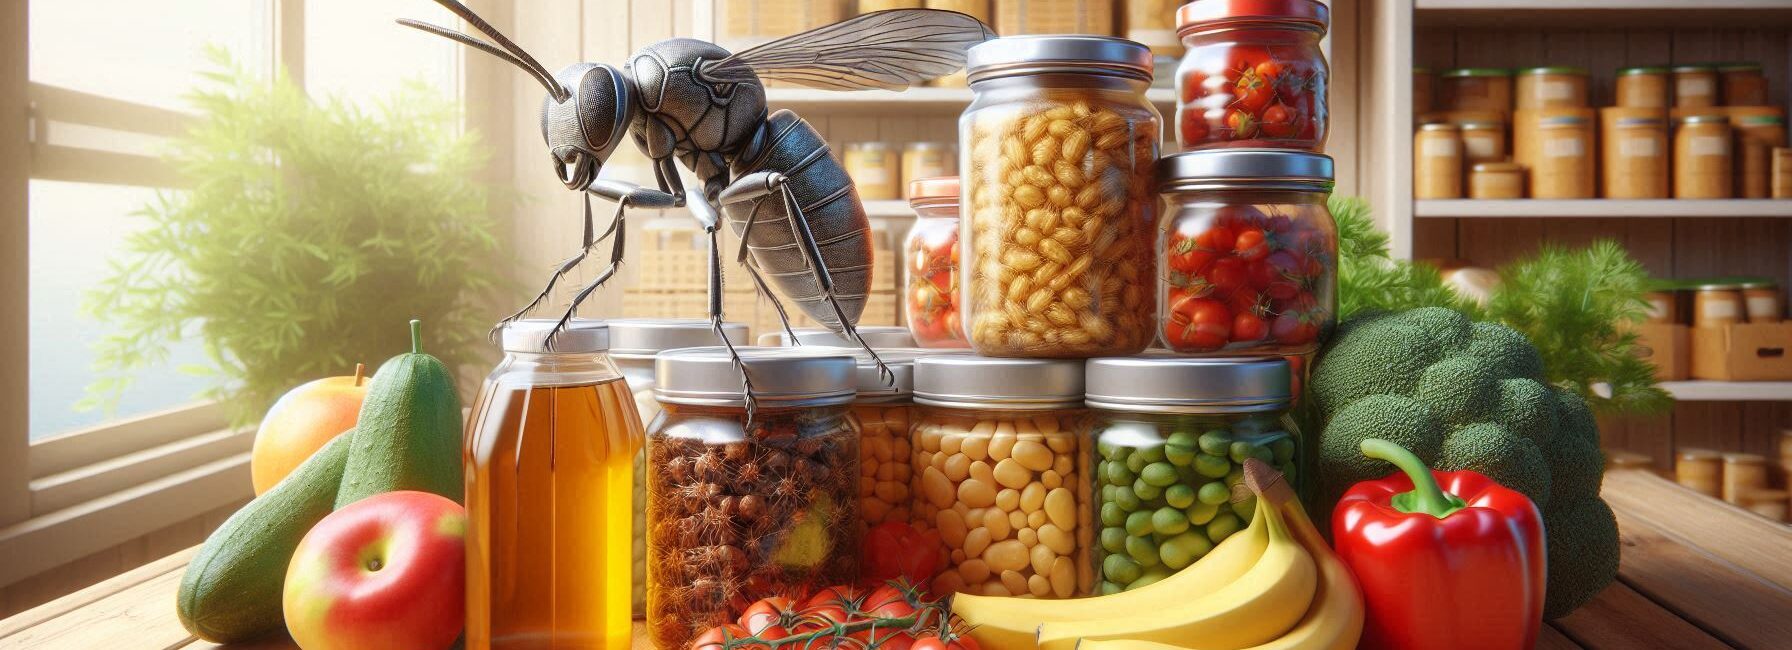
If you've ever gone outside and looked at a piece of meat and thought, “How do I make this safe and tasty?” then you're in for a treat! Making jerky is a lot of fun. It's also an excellent way to store food for longer. You will also get to show off a little. Believe me, it's cool to say you produced your own jerky.
Imagine this: You have a snack that could last through the end of the world. That's pretty cool, right? I all, who wouldn't feel ready for anything with a pocket full of jerky?
Please Note: This post may contain affiliate links. If you click one of them, we may receive a commission at no extra cost to you. As an Amazon Associate, I earn from qualifying purchases.
Begin with the type of meat you like best. Beef is a staple, but if you want to try something new, you may use turkey or even venison. Check to see if it's fresh. No one wants to start with something that smells bad.
Cut your meat into tiny slices after you choose it. Try to cut it into strips that are all the same size. Not too thick. Not very thin. There is a sweet spot. Balance is the key to constructing the ideal sandwich.
Now the fun part: adding spices! You can use any spices you choose. Salt, pepper, and maybe some garlic. Have fun! It's all about what you like. You could even put some hot sauce on it if you want it hot. Just make sure to stir it up well.

Let it sit for a while after seasoning it. You need to be patient for this part. But it's worth it! Let it sit for a few hours, or even overnight if you can. The flavors soak in better the longer it sits. It's like giving your flesh a day at the spa.
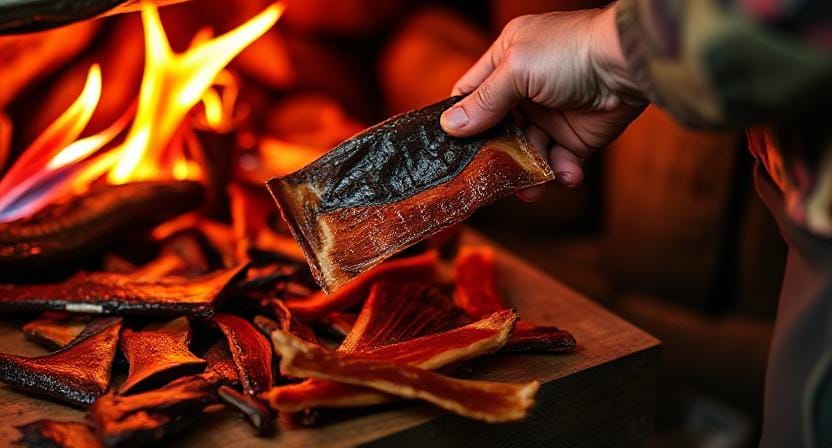
Now it's time to let it dry. You may dry it out in a dehydrator, an oven, or even outside on a dry day. Just make sure to watch it. It normally takes a few hours. You want it to be dry, but not too crunchy, unless that's what you like!
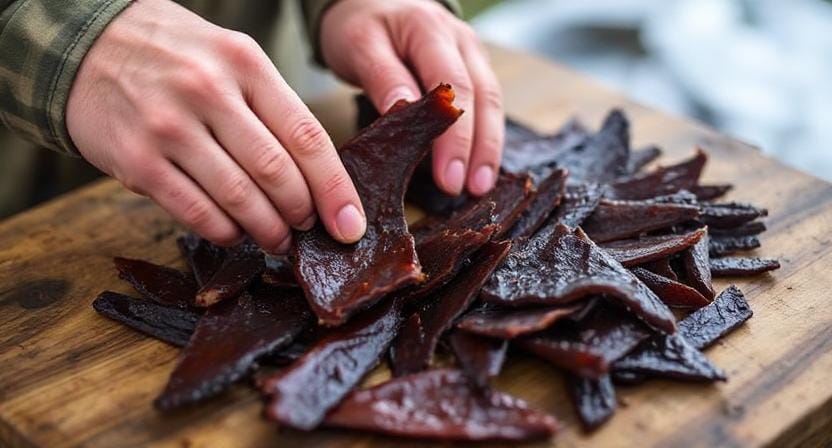
It should be pliable but firm when it's done. Try a tiny bit. Yummy! You made it! Put it in a container that won't let air in. It might linger for weeks or even months. You'll be ready for everything that comes your way.
Every time you make jerky, it's like going on a little trip. It teaches you how to keep food fresh and offers you a sense of achievement. And in the conclusion, you get a wonderful snack.
*** Shop for Survival Gear - Tools - Kits ***
Survival Gear - Bags and Backpacks - Knives - Boots/Footwear - Communication
Outdoor Cooking - Gloves - Hydration - Dry Boxes - Water Filtration Systems
Tents - Sleeping Bags - First Aid Kits - Multi-Tools - Flashlights - Fire Starters
Navigation - Survival Food - Night Vision - Headlamps - Stun Guns - Binoculars
So, the next time you're out and about, remember that bit of beef could be your new favorite jerky. Share the fun with friends and enjoy the process. Who knows? You could even create a club to make jerky! Let's get started!
Choosing Your Meat: The Foundation of Great Jerky
Let's speak about the kind of meat you should use initially. You can make jerky out of nearly any kind of beef, which is what makes it so great. But some choices stick out.
1. Beef: Beef is the most popular meat for jerky aficionados. You can use cuts like flank steak or sirloin. They have less fat and are quite chewy. Don't use anything with more marbling than my Aunt Edna's holiday ham. Fat doesn't dry well.
2. pig: It's interesting that pig may also be used, but it needs to be dried carefully because it can hold bacteria. You could call it the wild child of meats. It has potential but needs some extra care.
3. Game Meats: If you're feeling brave (or very hungry), you may try utilizing game meats like elk or deer. They not only provide distinct flavors, but they also make you seem cool when you go camping next time.
4. Vegetarian Options: Tofu and seitan can also be made into jerky for people who don't eat meat. It might not have the same texture as beef jerky, but we want to give people choices.
How to Get Your Meat Ready for Jerky
Now that you've picked out your meat, it's time to get it ready. No one wants to bite into a chunk of shoe leather that looks like food.
1. How to Cut: Cut your beef against the grain into thin slices that are about ¼ inch thick. This will make sure that every bite is soft and not like something you'd discover behind a rock on a trip.
2. Marinade Magic: This is the fun part—the marinade! If you want to spice things up, add some hot sauce to the mix of soy sauce, Worcestershire sauce, garlic powder, onion powder, and black pepper. Just don't blame me if your taste buds start to sweat.
3. Time to Soak: Let your sliced meat soak in this tasty mix for at least six hours, or overnight if you want to take care of future-you as you consume snacks today.
4. Ways to Dry: By the way, you'll need to dry it out after it's been marinated! If you want to be like a pioneer, you can use a dehydrator (the best way), an oven on low heat (around 160°F), or even hang it outside in dry weather (but watch out for birds).
Ways to Dry That Work
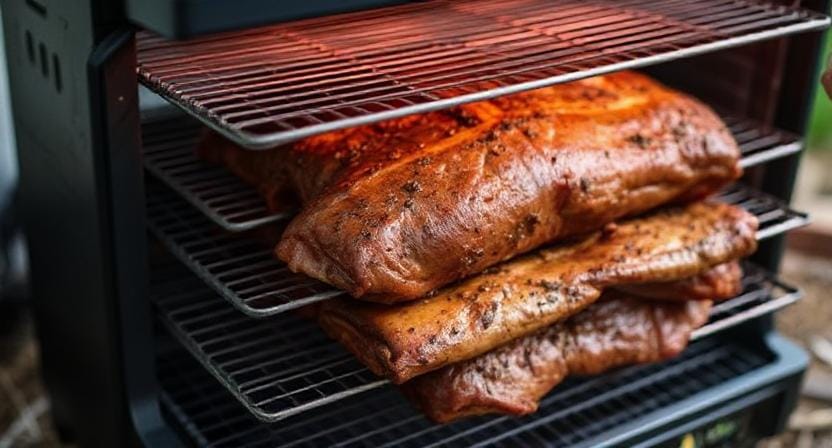
Now let's speak about how to dry things. This step is very important; you don't want your jerky to be soggy unless you want to create a new culinary trend.
1. Dehydrators: These useful tools are made just for drying foods and usually come with several trays so you can dry a lot of food at once! Follow the directions from the maker and see them change from raw strips into tasty bites.
2. Oven Drying: If you're using an oven instead of fancy gadgets (like I do when I pretend I'm on a cooking show), put your strips on baking sheets lined with parchment paper and bake them slowly for 4 to 6 hours, depending on how thick they are, until they are just the right amount of dry.
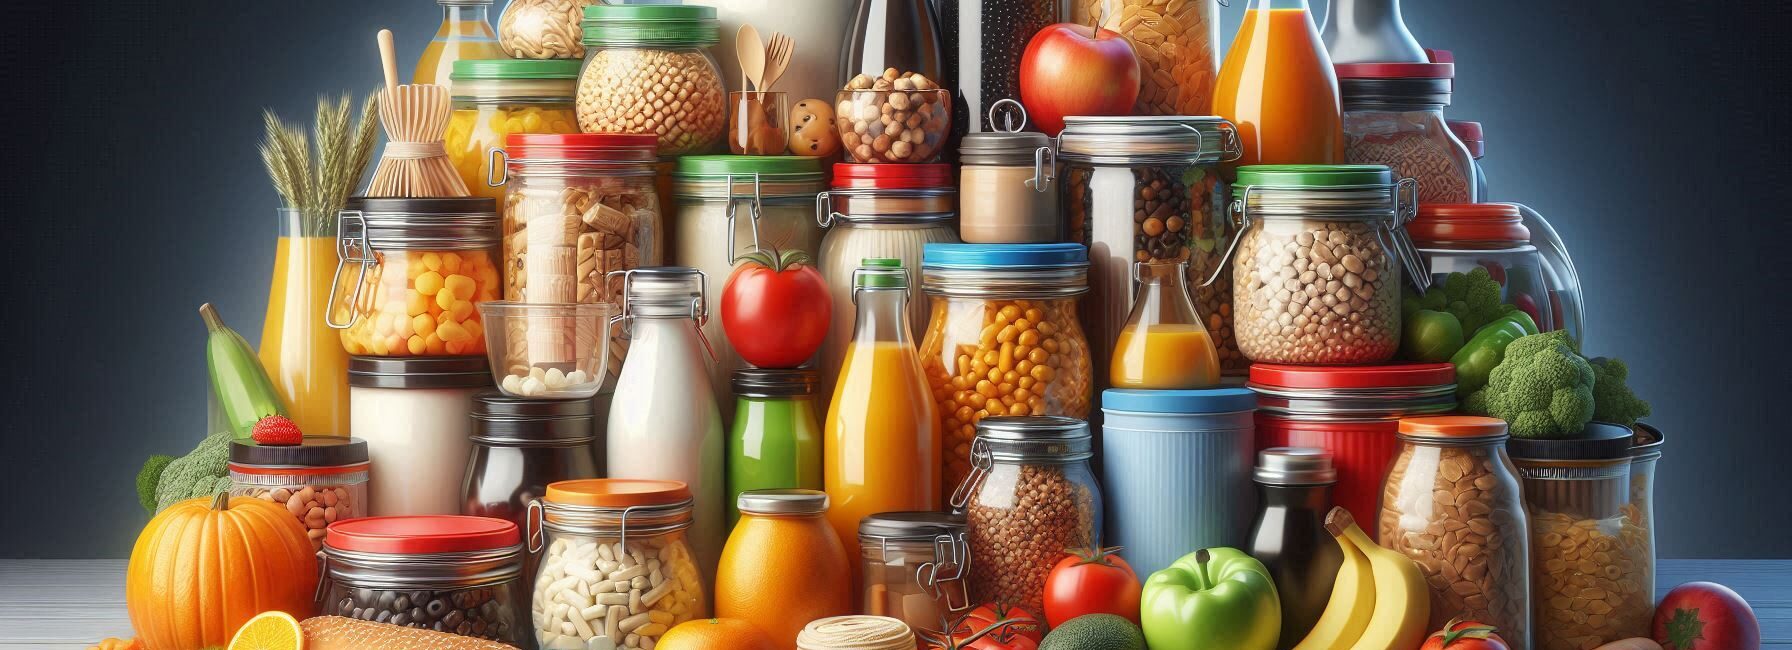
3. Things to think about when storing: After they've dried (and smelled great), let them cool all the way down before putting them in airtight containers or vacuum-sealed bags. That way, they'll remain fresh longer than my New Year's resolutions!
How to Store Your Jerky Like a Pro
No one wants their hard work to go to waste because of bad storage procedures. It would be like letting Aunt Edna babysit your pet tarantula after what happened last time!
1. Containers that are airtight: For the best protection against air exposure, use glass jars or heavy-duty plastic bags with zippers. Think of Fort Knox meets snack time!
2. Cool Storage Places: Keep these containers in a cool, dark spot away from sunlight. A pantry shelf is a great place to do this. Just remember where you put them so you don't have to go through old board games later and look like Bigfoot hunting for his keys.
3. Tips for long-term storage: For times longer than six months? Think about freezing portions so you can have thawed-out sweetness anytime you want it without worrying about it going bad!
How to Enjoy Your Homemade Jerky

Finally, the moment we've all been waiting for: eating your handmade jerky!
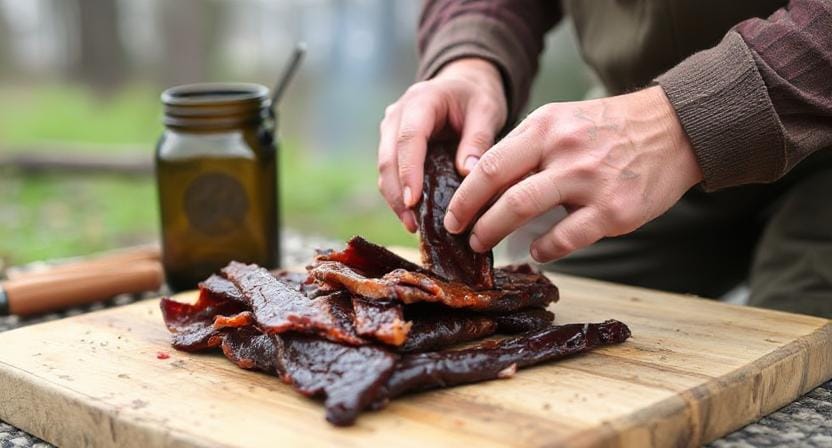
1. Snack Time Adventures: Take these little treats with you on hikes or camping trips. They'll provide you energy without making your backpack too heavy, unless you eat too much, which I entirely understand!
2. Is sharing caring? Not sure…: Sharing may seem like a good thing to do while you're with friends and family, but honestly? Keep some hidden aside just for you; trust me, you'll need it during those late-night Netflix binges when nothing else will do.
3. Lots of experimenting! Next time, don't be afraid to try out different marinades and spices. After all, variety is the spice of life, and maybe even dinner talks!
Making jerky for survival is so much fun! It's a lot more fun than it sounds, really. When you finally do it, you'll be like, “Wow, I did that!”
Take a moment to think about it. You can take your homemade jerky out with you the next time you go out with friends. Everyone will be quite impressed. They'll inquire, “Did you make this?” with wide eyes. You can just smile and say, “Yes!” I'm ready for anything!
After this, you'll never see dried meat the same way again. It feels like a whole new world has opened up. You can try out different tastes. You can have it spicy, sweet, or smokey. You may also share it with individuals you care about.
Picture everyone gathered around a campfire and eating your jerky. Telling stories and laughing. Every time, it becomes a fun journey. And if zombies ever come knocking, you've got a snack waiting.
go your apron on and go to work! You're not just cooking with these tips. You're making memories. You're learning new things. It's all part of the fun.
Enjoy the enjoyable part of being alive. Let's get going!
Frequently Asked Questions
What cuts of meat are best for survival jerky?
Lean cuts like eye of round, top round, flank, or venison work best because low fat reduces spoilage risk.
How thick should jerky strips be sliced?
⅛ to ¼-inch thickness gives the best drying consistency and reduces the chance of uneven moisture retention.
Why preheat meat before drying?
Heating to 160°F (71°C) before dehydration reduces harmful pathogens and improves final food safety.
Do you need refrigeration during marination?
Yes. Keep marinated meat at 36–40°F (2–4°C) for at least 12 hours to prevent bacterial growth.
How do you know jerky is fully dried?
Proper jerky should be dry, leathery, and bend without cracking, indicating minimal internal moisture.
How should survival jerky be stored long-term?
Airtight containers or vacuum-sealed packaging in a cool, dark place extend shelf life substantially.
Can alternative meats be used for jerky?
Yes. Turkey, pork, and game meats can be used if properly heated, seasoned, and thoroughly dried.
Suggested Resources:
Homemade Beef Jerky Recipe
https://www.foodnetwork.com/recipes/homemade-beef-jerky-recipe-2106335
How To Make Turkey Jerkey
https://www.thepioneerwoman.com/food-cooking/recipes/a10117983/how-to-make-turkey-jerkey/
Beef Jerkey Nutrition Facts
https://www.healthline.com/nutrition/beef-jerkey-nutrition-facts

Kevin Collier is a seasoned survivalist and expert in prepping and homesteading, contributing to WiseSurvive.com. With a deep-rooted passion for self-sufficiency and outdoor survival skills, Kevin shares practical advice, strategies, and resources to help individuals prepare for any challenge. His informative articles cover a range of topics, from essential survival techniques to sustainable living practices, empowering readers to thrive in any situation. Whether you're a novice or a seasoned prepper, Kevin's insights will inspire you to take charge of your readiness and build resilience for the future.