Last Updated on November 1, 2025 by Kevin Collier

Top Takeaways and Key Concepts
- Install a Gutter and Downspout System: Direct rainwater from your roof into clean storage containers.
- Use a First Flush Diverter: Divert initial runoff to remove contaminants before collection.
- Choose Food-Grade Storage Tanks: Ensure tanks are made of materials safe for potable water.
- Filter and Purify Collected Water: Use sediment filters, UV light, or chlorine for purification.
- Regularly Maintain the System: Clean gutters, filters, and tanks to prevent contamination.
Have you ever thought, “What if I could just drink the rain?” when you saw a big, black rain cloud? Doesn't that sound silly? You might even get some strange looks! But gathering rainwater is a clever way to get clean water.
Imagine that you have a mechanism for collecting rain. It's like having a small water industry in your garden. You don't need any magnificent Roman aqueducts! You can collect rainwater for drinking or watering your plants with a little work. That's quite cool.
Please Note: This post may contain affiliate links. If you click one of them, we may receive a commission at no extra cost to you. As an Amazon Associate, I earn from qualifying purchases.
Let's keep it simple. You will need a container. It doesn't matter how big or little it is as long as it can catch rainwater. A barrel is perfect! Put it under a roof's downspout. That way, when it rains, the
Make sure the container is clean. You don’t want dirt or bugs in your water. Keeping it covered helps too. No one wants a frog finding a new home in their water supply. Yikes!
You can even set up a filter if you want to drink the water. Just a simple filter can help keep it clean. There are plenty of options online. It's pretty easy to find something that works for you.

Think about how awesome it would feel knowing you’re using rainwater for your garden or around your house. Plants love it! They’ll grow better, and you’ll feel like a superhero gardener.
Even if it doesn't rain much, every drop counts. You’d be surprised how quickly those containers can fill up after just a short storm.
So, while sticking out your tongue might not be the way to go, harvesting rainwater definitely is. It’s eco-friendly, helps conserve water, and you get to feel like you’ve got a little bit of nature’s magic in your backyard. Let’s get collecting!
Contents of This Page
*** Shop for Survival Gear - Tools - Kits ***
Survival Gear - Bags and Backpacks - Knives - Boots/Footwear - Communication
Outdoor Cooking - Gloves - Hydration - Dry Boxes - Water Filtration Systems
Tents - Sleeping Bags - First Aid Kits - Multi-Tools - Flashlights - Fire Starters
Navigation - Survival Food - Night Vision - Headlamps - Stun Guns - Binoculars
Understanding the Benefits of Rainwater Harvesting
First of all, why should we even bother to collect rainwater? Honestly, it’s like having nature’s free water supply delivered right to your doorstep. You see, collecting rainwater can significantly reduce your reliance on municipal water systems or well water. This is especially helpful during droughts when every drop counts.
Plus, let’s face it—rainwater is usually softer than tap water because it doesn’t contain all those minerals and chemicals used in municipal treatment. Softer water means less soap scum in your shower; I mean, who wants to scrub their tub more than necessary? Not me!
Interestingly enough, using harvested rainwater for irrigation can also lead to healthier plants. Plants love that natural stuff! It’s like giving them organic food instead of fast food from the drive-thru. And who wouldn’t want their garden thriving as if it just discovered yoga?
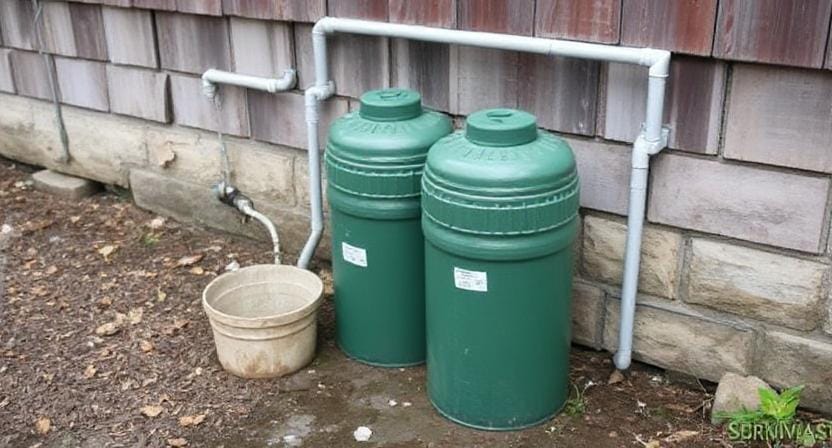
Setting Up Your Collection System
Let's speak about how to build up our own rainwater collection system now that we know how useful it is. You don’t need a degree in engineering—just some basic materials and a little creativity will do!
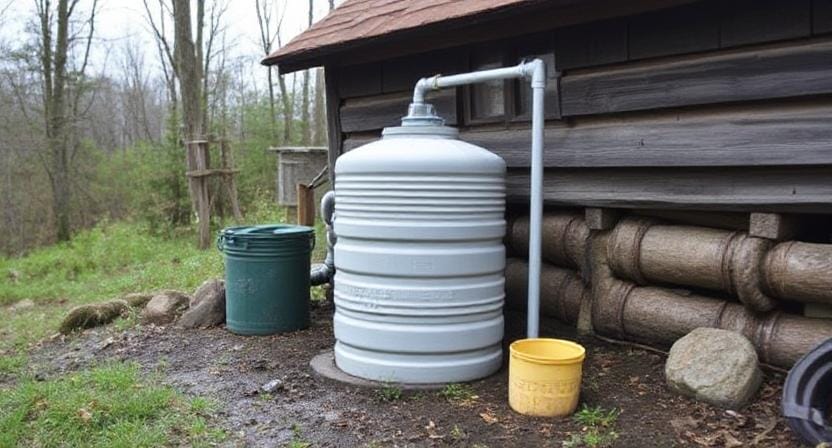
Start with gutters: if you already have them on your roof (and they’re not clogged with leaves like mine usually are), then great! If not, consider installing some along the edges of your roofline. Just picture yourself climbing up there like an adventurous squirrel gathering acorns—a sight to behold!
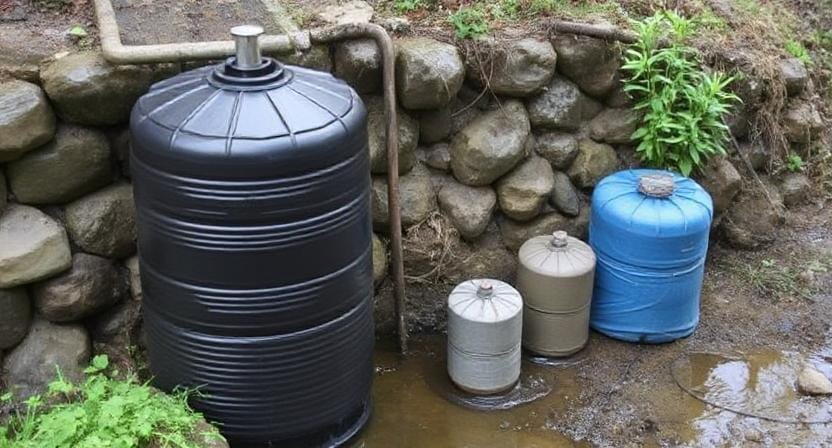
Next up is the downspout: this is where gravity does its thing and directs all that precious rainfall into a storage container. You can use barrels or tanks specifically designed for this purpose—preferably dark-colored ones so algae don’t throw rave parties inside them.
By the way, make sure these containers are covered; we don’t want any unwanted critters thinking they’ve found their new swimming pool! Mosquitoes are particularly fond of standing water—they’ll invite all their friends over faster than you can say “bug spray.”
Choosing the Right Storage Container
Speaking of storage containers, choosing one isn’t as simple as picking up any old bucket from under your sink (trust me—I learned this the hard way). The size depends on how much rain you expect to collect and how much you plan on using.
For small gardens or occasional watering needs, 50-gallon barrels might suffice. However, if you're serious about sustainability—or if Mother Nature decides she wants to give you an unexpected deluge—you may want larger tanks ranging from 200 gallons upwards.
On the other hand, think about the materials: plastic is light and easy to move, but it can break down over time when exposed to UV light. Metal tanks last longer but can rust unless properly coated—think of them as high-maintenance friends who require special care!
Lastly, always check local regulations regarding rainwater harvesting; some places have restrictions that could leave you feeling more confused than trying to assemble IKEA furniture without instructions.
Filtration and Safety Measures
Now comes the part where we must take safety seriously because nobody wants a surprise aftertaste when sipping their homemade lemonade made with harvested rainwater. Filtering is essential before drinking or using it for cooking purposes.
A simple first step involves straining out debris with mesh filters placed at gutter openings or downspouts—the kind my wife insists on using whenever I try making pancakes (she's really onto something).
For finer filtration methods suitable for drinking water quality standards—including activated charcoal filters—it might be worth investing in proper equipment.
Interestingly enough, boiling collected rainwater will also kill off harmful bacteria—but let’s hope it never comes down to that because who has time when there are cookies waiting in the oven?
Using Harvested Rainwater Wisely
Once you've got everything set up—and hopefully avoided turning into a human sprinkler during installation—it's time to put that sweet liquid gold into action!
Attach soaker hoses directly to your storage tank for watering. This lets plants that need moisture get it without wasting water through evaporation, which is a win-win situation!
Alternatively, use watering cans filled straight from barrels for targeted hydration sessions reminiscent of gentle summer rains falling upon thirsty crops.
When utilizing harvested rainwater indoors (if permitted by local guidelines), remember moderation is key—not every dish needs gourmet ingredients doused in fancy H2O!
On another note: keep track of seasonal rainfall patterns so you'll know when it's best suited for collection versus regular usage; otherwise risk running dry faster than my enthusiasm wanes after realizing I forgot groceries on shopping trips!
Conclusion: Embracing Sustainability
Harvesting rainwater is more than just staying safe. It’s like giving Mother Nature a high-five! You’re helping the planet and saving some cash on your water bill, too. Who doesn’t like the sound of that?
Think about it. Every time those big puffy clouds come rolling in, you're ready for action. While other folks might be scrambling for bottled water, you’ve got your buckets and barrels chilling out in the backyard. It’s a nice little backup plan—almost like having your own mini-water park!
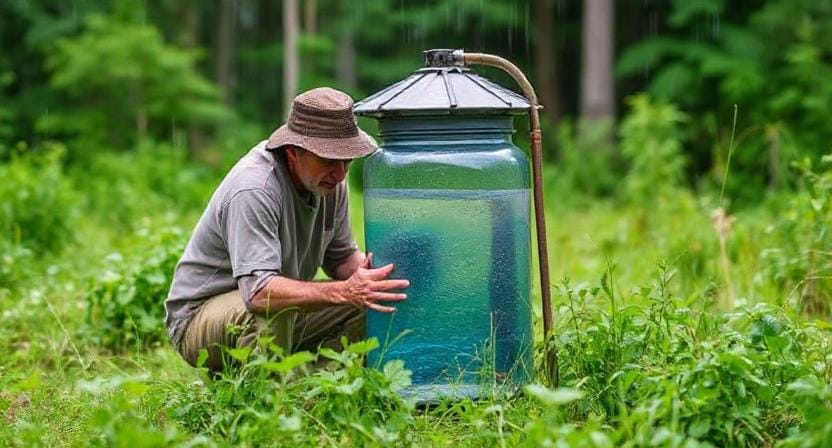
Watching the rain is pretty magical, isn’t it? Those little drops falling, and knowing you can catch them… it feels special. It's like a little gift from the sky.
Also, rainwater is a natural treat for your plants. They thrive on that rainwater. You might just find your backyard blooming like never before. You’re not just saving water; you’re becoming a garden hero!
So grab those buckets and get ready. You don’t need to be an expert to start. Just a little effort can go a long way. You’ll be amazed at how quickly the buckets fill up. Soon you’ll be the one sharing stories about your rain collection adventures.
Let’s catch those raindrops together! Each one is a step toward a greener life, and it feels good knowing you’re doing something kind for the planet. Let’s go!
Frequently Asked Questions
Why should rainwater be collected from gutters instead of open containers?
Roof gutters channel larger volumes of clean rooftop runoff into storage, making collection more efficient and predictable.
What does a first flush diverter do?
It redirects the first portion of rainfall to remove debris, dust, and contaminants before water flows into the main storage tank.
Why is it important to use food-grade storage tanks?
Food-grade materials prevent chemical leaching, making stored water safer for drinking or food crop irrigation.
Does rainwater need to be purified before drinking?
Yes. Even clean rooftop runoff should be filtered and disinfected with UV treatment, chlorine, or other approved purification methods.
How often should the system be maintained?
Gutters, filters, and storage tanks should be inspected and cleaned regularly to prevent buildup, algae growth, and contamination.
Can harvested rainwater be used for plants without treatment?
Yes. Untreated rainwater is generally safe for most garden irrigation as long as the catchment surface is clean.
Is rainwater harvesting allowed everywhere?
Some regions have collection restrictions, so local regulations should always be checked before installing a system.
Suggested Resources:
Rain Harvesting Guide
https://www.rainharvesting.com.au/rain-harvesting-guide/
How To Collect Rain Water
https://www.wikihow.com/Collect-Rain-Water
Rain Barrel Basics
https://www.epa.gov/rainbarrels/rain-barrel-basics

Kevin Collier is a seasoned survivalist and expert in prepping and homesteading, contributing to WiseSurvive.com. With a deep-rooted passion for self-sufficiency and outdoor survival skills, Kevin shares practical advice, strategies, and resources to help individuals prepare for any challenge. His informative articles cover a range of topics, from essential survival techniques to sustainable living practices, empowering readers to thrive in any situation. Whether you're a novice or a seasoned prepper, Kevin's insights will inspire you to take charge of your readiness and build resilience for the future.