Last Updated on November 1, 2025 by Kevin Collier

Top Takeaways and Key Concepts
- Choose a Suitable Location: Place your solar oven in direct sunlight.
- Maintain Clean Reflective Surfaces: Regularly wipe with vinegar and water.
- Monitor Cooking Progress: Rotate food and check temperature periodically.
- Avoid Overcrowding: Allow space for heat circulation.
- Use Appropriate Cookware: Opt for dark, non-reflective containers.
Let’s talk solar ovens. Imagine this scenario: it’s sunny outside, and you want to cook something tasty. But you don’t want your kitchen to feel like a sauna. That’s where the magic of a solar oven comes in!
Making your own solar oven can be fun. It’s not super hard, and you feel proud, right? You’re using the sun to cook your food! How cool is that? You don’t have to worry about using electricity, either. Just think about how much fun it’ll be to tell friends about your solar chili at the next barbecue!
Please Note: This post may contain affiliate links. If you click one of them, we may receive a commission at no extra cost to you. As an Amazon Associate, I earn from qualifying purchases.
Gather some stuff first. You need a cardboard box, black paint, some plastic wrap, and maybe some aluminum foil. Simple things you can find. The black paint helps soak up the sun's heat. It’s like wearing a dark shirt on a hot day. You get all that warmth!
Cut a flap on the top of the box. That’s where the sun will shine in. Line the inside with foil. It reflects sunlight, making everything cook faster. Then, cover the top with plastic wrap. That keeps the heat in. You’re basically making a mini greenhouse!
Now you can put your food inside. It might take a bit longer to cook than usual. But it’s all part of the fun. You’ll be amazed at how well it works. The sun is your chef today!

While it cooks, enjoy the outdoors. This isn’t just cooking; it’s an experience. You get to relax, maybe have a chat with friends.
When it’s done, you’ll feel that fuzzy happiness. You made something delicious without turning on the stove or oven. It’s a win-win! Plus, when you serve it up, everyone will be curious. “How did you do that?”
Nothing feels better than sharing yummy food you made with your own hands, right? So go on, give it a try. It’s not just cooking with the sun; it’s a fun adventure waiting to happen!
Contents of This Page
*** Shop for Survival Gear - Tools - Kits ***
Survival Gear - Bags and Backpacks - Knives - Boots/Footwear - Communication
Outdoor Cooking - Gloves - Hydration - Dry Boxes - Water Filtration Systems
Tents - Sleeping Bags - First Aid Kits - Multi-Tools - Flashlights - Fire Starters
Navigation - Survival Food - Night Vision - Headlamps - Stun Guns - Binoculars
Gathering Your Materials
Let’s talk about what you’ll need. You don’t have to be an engineering genius or have access to NASA-level materials for this project. In fact, I once built mine with stuff I found lying around my garage—and believe me, that was quite the treasure hunt!
Here’s a quick list of essentials: cardboard boxes (one larger than the other), aluminum foil (because who doesn’t want shiny things?), black paint (the color of choice for aspiring solar chefs), plastic wrap, and some scissors or a box cutter.
Oh, and if you have a ruler handy, great! If not, just eyeball it—after all, we’re going for rustic charm here.
By the way, make sure you grab some snacks too; building a solar oven can work up quite an appetite!
Constructing Your Solar Oven
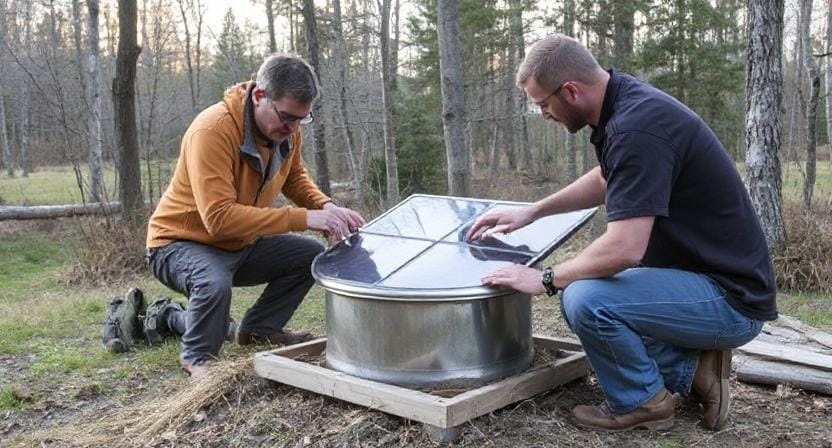
Now comes the fun part: putting your solar oven together. Cut off the top flaps of your bigger cardboard box to make the exterior shell. Next, cut out one side of your smaller box (the inner chamber) so that it fits snugly inside the bigger box.
Next, cover the insides of both boxes with aluminum foil. This step is really important since shiny surfaces reflect sunlight like crazy! Just keep in mind that putting on foil can be hard, like trying to wrap a burrito with your eyes closed.
After you've covered everything in foil and made it appear nice, paint the bottom of the inside box black. Why? Black absorbs heat better than any other hue, even more than my Uncle Joe does at summer picnics! Carefully put the smaller box into the larger one after everything has been painted and lined with foil.
Sealing It Up
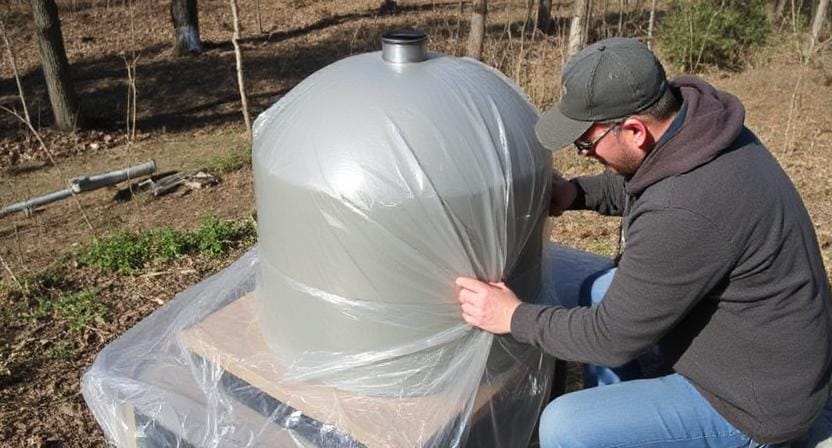
At this point, you're probably feeling pretty proud of yourself—or maybe wondering if you've just created an elaborate art project instead of an oven. Fear not! Now we need to create our “oven door.”
Take plastic wrap or clear glass and stretch it tightly over the opening of your larger box to trap in heat while still allowing sunlight through. Make sure there are no gaps—unless you want to turn your culinary masterpiece into more of a science experiment gone wrong.
As an added bonus tip: if you're working outside and there's wind blowing like it's auditioning for a tornado movie scene, weigh down your solar oven with some bricks or heavy rocks so it doesn’t go flying off like Dorothy in The Wizard of Oz!
Cooking with Your Solar Oven
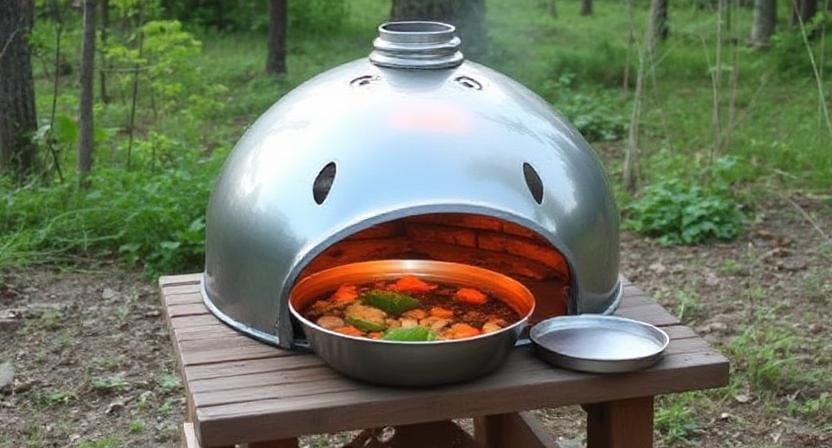
Alrighty then! You've built yourself a bona fide solar oven—it’s time to put it to use! One thing I've learned from experience is that patience is key here; cooking times may vary depending on how sunny it is outside (or how many clouds decide they want attention).
Start simple by placing something easy inside like s'mores ingredients or even nachos—who could resist gooey cheese? Position your solar oven where it'll receive maximum sunlight throughout the day (preferably facing south).
You might feel silly standing out there adjusting its angle every hour but trust me; it's worth it when those delicious smells start wafting through the air!
Keep in mind that cooking times can range anywhere from 30 minutes to several hours based on what you're making and how hot it gets outside—which brings us back to patience again…something I’m still working on myself!
Troubleshooting Common Issues
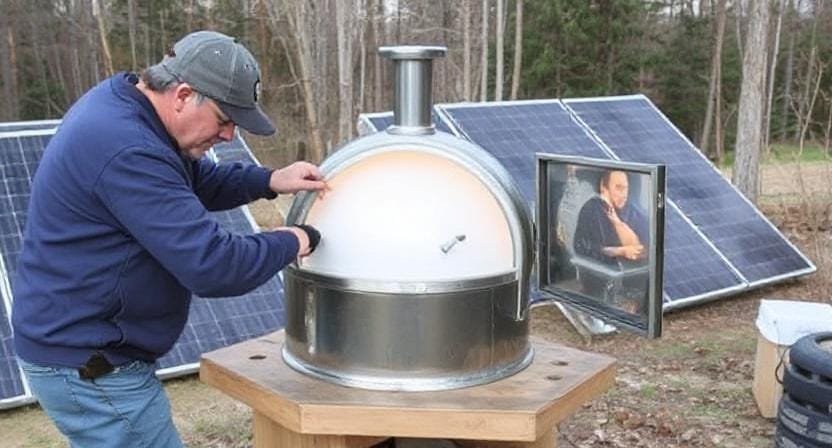
So, what happens if things aren’t going according to plan? Maybe your cookies aren't baking fast enough or worse—they're burning faster than my attempts at grilling burgers! Here are some tips:
1. Temperature Check: Use an internal thermometer if possible; sometimes we think we're baking when we're really just warming up leftovers.
2. Adjust Position: Move your solar oven every now and then as shadows shift throughout the day—the sun isn’t playing hide-and-seek!
3. Experiment: Don’t be afraid to try different recipes or food items until you find what works best for you—just remember that vegetables tend not to enjoy being roasted longer than necessary!
Enjoying Your Solar-Cooked Meal
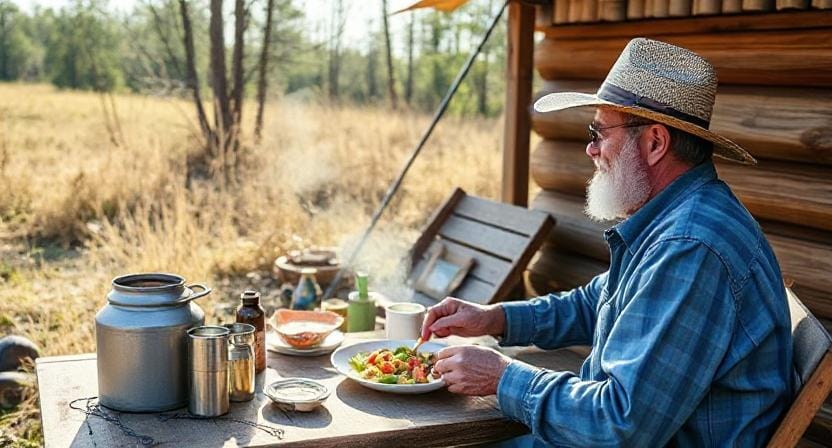
When you finally notice that your meal is all melted and golden brown, take a moment to smile. You did this! With only the sun and your imagination. That's so cool! Now it's time to show off your tasty product!
Get your friends together. Everyone likes a little excitement, don't they? You can show off your homemade food like a magician pulling a rabbit out of a hat when they inquire, “What's cooking?” Please give us a drum roll! ☀️
Picture how they would look. “There's no way you made pizza in the sun!” They'll be shocked. You can share the cuisine and the amusing narrative that goes with it. It's not simply dinner; it's something unique.
It's fine if some of your pals roll their eyes at your narrative about a “handmade solar oven.” You saved energy and used the best thing that nature has to offer. Who wouldn't like to eat pizza made outside in the beautiful blue sky? It's nice to be both creative and helpful for the environment.
Enjoy those times while everyone else is busy. Laugh and talk about the times you had fun striving to make everything just right. People come together when they cook outside. You made something tasty that everyone can enjoy together.
And who knows, maybe the next time you have a party, your friends will want to make their own solar dish too. Picture a lot of solar dishes, each with a particular flavor, all in the sun. That would be so much fun, right?
So, enjoy the taste of achievement, both in the physical and symbolic sense. It's not only about the cuisine; it's also about the memories you make. Have fun in the sun, dear friend!
Frequently Asked Questions
Where should I place my DIY solar oven for best performance?
Place the solar oven in direct sunlight with minimal shade throughout the day to maximize heat absorption and cooking efficiency.
How important is cleaning the reflective surfaces?
Clean reflectors allow more sunlight to bounce into the oven, so regularly wiping with vinegar and water helps maintain high cooking temperatures.
Why should dark cookware be used?
Dark, non-reflective containers absorb heat more effectively, allowing food to cook faster inside the solar oven.
Can I cook multiple items at once in a solar oven?
It’s best not to overcrowd the oven because spacing allows warm air to circulate and keeps internal temperatures stable.
Do I need to monitor food while it cooks?
Yes, periodically check temperatures and rotate pans as needed to ensure even heating as the sun’s angle shifts.
How long does cooking typically take in a solar oven?
Cooking time varies based on sunlight intensity, but expect longer cooking times compared to a conventional oven.
Should I expect fuel savings with a solar oven?
Yes, solar ovens require no fuel and rely entirely on sunlight, reducing energy use for outdoor and homestead cooking needs.
Suggested Resources:
Solar Oven Plans
https://www.solarcooking.org/plans/
How To Make a Solar Cooker
https://www.wikihow.com/Make-a-Solar-Cooker
The Ultimate Guide to Solar Ovens
https://www.backwoodshome.com/the-ultimate-guide-to-solar-ovens/

Kevin Collier is a seasoned survivalist and expert in prepping and homesteading, contributing to WiseSurvive.com. With a deep-rooted passion for self-sufficiency and outdoor survival skills, Kevin shares practical advice, strategies, and resources to help individuals prepare for any challenge. His informative articles cover a range of topics, from essential survival techniques to sustainable living practices, empowering readers to thrive in any situation. Whether you're a novice or a seasoned prepper, Kevin's insights will inspire you to take charge of your readiness and build resilience for the future.