Last Updated on November 2, 2025 by Kevin Collier
Top Takeaways and Key Concepts
- Gather dry tinder, kindling, and logs before attempting to start a fire.
- Use the fire triangle: heat, fuel, and air are essential.
- Choose a fire-starting method like flint and steel or bow drill.
- Build a stable structure, teepee or log cabin, around your tinder.
- Gradually add kindling and blow gently to grow and sustain flames.
Alright, picture this. You’re out in the wild, surrounded by tall trees that are kind of like your cozy little friends. You’ve got your backpack filled with snacks—because snacks are life—and then you realize…oops, no matches or lighters. Yikes.
But don’t worry! This isn’t the start of a scary story. It’s actually an adventure. Think about it like being a nature wizard. No magic wand, but definitely some cool tricks up your sleeve.
Please Note: This post may contain affiliate links. If you click one of them, we may receive a commission at no extra cost to you. As an Amazon Associate, I earn from qualifying purchases.
Getting a fire going with just what’s around you? Totally doable. It’s like a little challenge, and you’re going to love it. You don’t need fancy stuff. Just your hands, some twigs, and a bit of patience.
Start by finding dry grass and tiny twigs. You want them to be super dry—like a crunchy snack. Then gather a pile. This is your magic base! Build it up like you’re making a little nest.
Next, you’ll want to find something that sparks. Maybe you can use a rock to create some friction? Yeah, I know, sounds a bit wild, right? Keep rubbing those sticks together. It takes some practice. But when you see that first spark—oh man, it’s like fireworks in your heart!
Once you get a spark, gently blow on it. You’re like a fire whisperer now. It’s all about being gentle, just like those little whispers from the trees. The fire will grow, and soon enough, you’ll have flames dancing.
Think about it. You won't believe how you can make heat and light out of nothing. Your friends will be impressed. You will feel like an adventurer in real life.
Keep this small magic trick in mind the next time you go into the woods. Enjoy the moment. Nature is on your side. And who knows, you might even wind up telling stories around the fire, smiling, and feeling proud of what you all did together.
Even in the wild, let's keep the spirit high! Who would have thought that a little spark could lead to so much fun?
*** Shop for Survival Gear - Tools - Kits ***
Survival Gear - Bags and Backpacks - Knives - Boots/Footwear - Communication
Outdoor Cooking - Gloves - Hydration - Dry Boxes - Water Filtration Systems
Tents - Sleeping Bags - First Aid Kits - Multi-Tools - Flashlights - Fire Starters
Navigation - Survival Food - Night Vision - Headlamps - Stun Guns - Binoculars
1. Understanding Fire Basics: Why It Matters
First, let's speak about why fire is so vital. It's not just about roasting marshmallows, but that's a big part of it.
Fire keeps you warm, keeps bugs away, lets you call for help, and can even cook food, turning “survival rations” into something that looks like real meals.
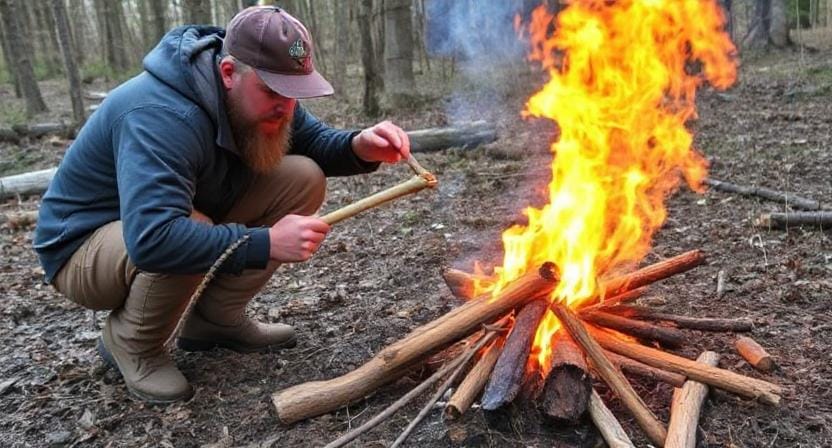
Before we get too carried away thinking of toasted s'mores under the stars, let's remember that fire needs three things: heat, fuel, and air.
This is called the fire triangle, and it's not to be confused with any forms we learned about in high school arithmetic that made us rethink our life choices.
2. Getting the Things You Need: The Treasure Hunt Starts
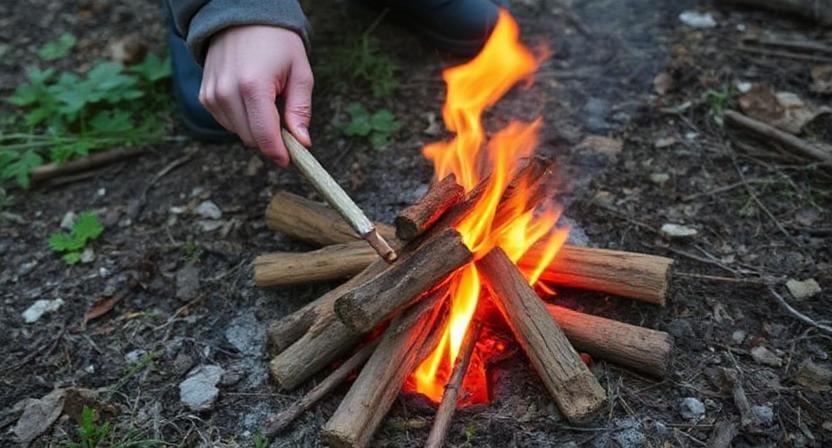
We need to acquire supplies to start our fire-building journey. It's like a scavenger hunt, but with more chances of getting splinters! Search for dry tinder (tiny pieces), kindling (medium-sized twigs), and bigger logs to keep the fire going.
You can find tinder practically anywhere in the woods, including dried grass, leaves, or even bark.
I once used fluff from my jacket to get out of a bush after I got stuck there trying to show off my “expert navigating skills.” Not my best moment, but it worked!
Next comes kindling, which should be a little thicker than your tinder but still easy to break up. Twigs are great for this; just make sure they're dry because no one wants wet wood when they try to start a tiny blaze.
And finally, the big weapons! Once the first flames start dancing around like they're auditioning for “Dancing with the Stars,” get some bigger logs or branches to keep the fire alive.
3. Picking Your Method: The Flint and Steel vs. the Bow Drill
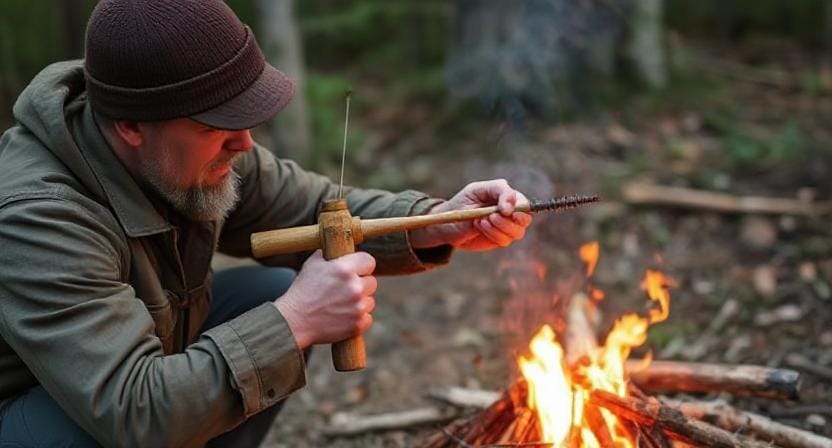
Now comes the fun part: deciding how you'll really launch this thing! There are several ways to do it, but two of the most common are the flint and steel approach and the bow drill method.
Flint and Steel: If you have flint rock (not just any rock; it needs to be sharp), hit it against steel to make sparks over your tinder pile.
Do you remember that scene from every action movie where someone hits metal with a lot of force? Yes, it's just like that, but it doesn't look as awesome when you do it in real life.
Bow Drill: If you want to feel like a caveman or cavewoman, on the other hand, you might want to attempt the bow drill approach.
To do this, you need to make two pieces of wood rub against each other. A spindle and a hearth board will do this. You can use a bow made of flexible branches linked together with string or shoelaces if you brought some with you (excellent thinking!).
It's up to you which way you prefer most or think is less likely to hurt you!
4. Making Your Fire Structure: Teepee or Log Cabin
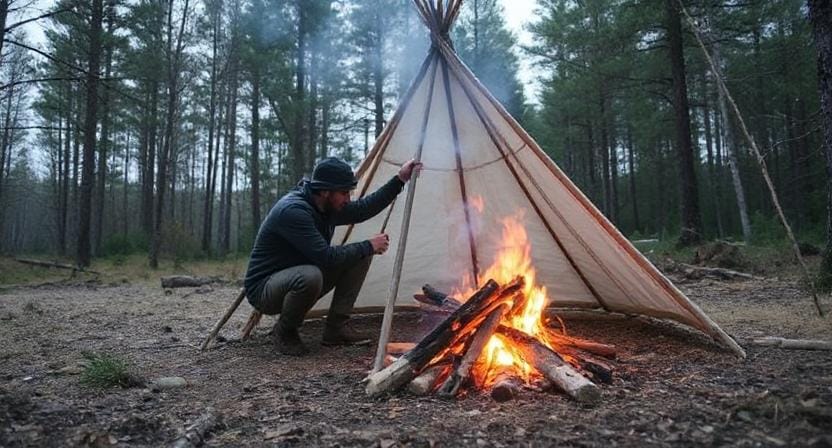
Once the sparks start flying—and as long as they don't all get stuck in your hair—we need to build a good structure for our growing flame!
This is where your own imagination comes in. Do we want a teepee shape or maybe a full-on log cabin style?
The teepee structure is like an open tent made of sticks that you put around your tinder in an upward direction. It lets air flow and supports the flames as they rise upwards toward heaven… or at least toward more sticks!
The log cabin style, on the other hand, appears like something you'd find in a nice winter lodge. It stacks logs horizontally over kindling until everything seems secure enough that squirrels won't knock it over when they prod it with their noses looking for nibbles.
Choose the style that speaks to your inner architect the most; both styles work nicely.
5. Starting Your Fire: The Moment of Truth
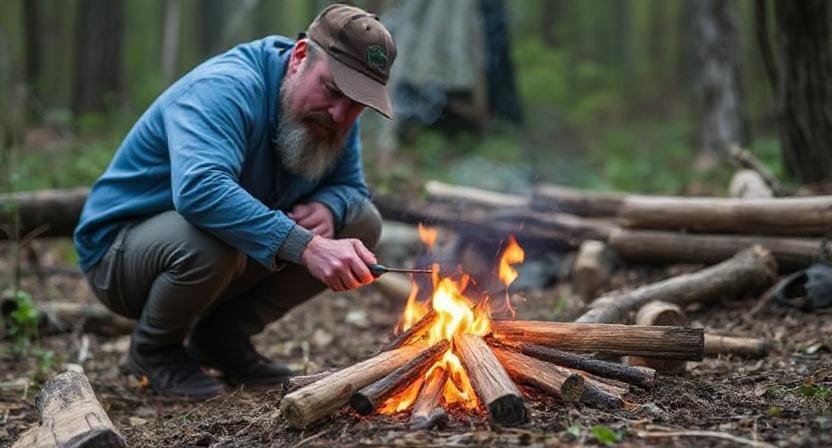
Okay, everyone, the time has come! It's time to combine all of our resources and sparks into a beautiful life full of flames!
Put little pieces of tinder near enough together so they can catch fire, but not so close that they smother each other, like awkward party goers who stand too close together at social events.
There will be exhilaration like winning the lottery as soon as the fire starts. Gently blow on them till they get bigger, then add additional kindling along the sides little by little so that everything doesn't get too much at once.
And there you have it: a lovely flickering flame that is ready for whatever delicious food is next… as long as we don't mistakenly set anything else on fire first!
Conclusion: Celebrate Your Achievement
You did it! You made a fire all by yourself. Give yourself a little cheer, really. How about a dance in place? Nothing feels better than being a champ in nature. And you didn't get burned, so you get bonus points for that!
Let's take a break now. Next to those gorgeous, crackling fires, sit down. Feel how warm it is around you. You deserve it after all that labor. Wasn't it a little bit of a fight? Finding the perfect sticks and avoiding those annoying mosquitoes that think your legs are a smorgasbord. Those little fellas just won't stop!
Check out those flaming embers. There is something magical about them. Being out here, away from all the noise, feels good. Just you, the fire, and the sounds of the wild. A soft breeze rustling through the leaves or birds chirping.
As you relax, reflect about how you dealt with the problem. You didn't give up. Nature can be hard, but so can you. It's a good reminder that we can do more than we believe we can.
Take pleasure in this moment. You deserve it. Tell your buddies about your adventures, or just sit quietly and take it all in. If you want to keep the fire going, get some more twigs. If you brought some marshmallows, you can cook them.
Do you feel cozy? It's just right. This is what your hard work and nature look like. Use it as motivation. Remember this fire the next time life throws anything hard at you. You did it. That's really cool. Cheers to overcoming problems!
Frequently Asked Questions
What materials do I need before starting a primitive fire?
You should gather dry tinder, small kindling, and larger logs before attempting to ignite a flame.
What is the fire triangle?
The fire triangle refers to heat, fuel, and air—if one is missing, fire cannot ignite or continue burning.
What primitive methods can create sparks or heat for ignition?
Common methods include flint and steel for spark-based ignition or a bow drill for friction-based heat generation.
Which fire structure is better: teepee or log cabin?
Both work; a teepee supports fast upward airflow, while a log cabin offers stability and steady flame growth.
Why must tinder be extremely dry?
Dry tinder catches sparks quicker and heats rapidly, making ignition more consistent and less energy-intensive.
How do you grow a small ember into an actual flame?
Gently blow on the ember while gradually adding small pieces of kindling until the flame strengthens.
Can this skill be used in real survival situations?
Yes, primitive fire building can provide warmth, cooking ability, signaling, and protection in the wilderness.
Suggested Resources:
Survival Fire Techniques
https://www.survivalskills.com/survival-fire-techniques
Primitive Skills – How to Start a Fire
https://www.primitiveskills.com/how-to-start-a-fire
Fire Making Tips for Beginners
https://www.outdoorlife.com/fire-making-tips-for-beginners

Kevin Collier is a seasoned survivalist and expert in prepping and homesteading, contributing to WiseSurvive.com. With a deep-rooted passion for self-sufficiency and outdoor survival skills, Kevin shares practical advice, strategies, and resources to help individuals prepare for any challenge. His informative articles cover a range of topics, from essential survival techniques to sustainable living practices, empowering readers to thrive in any situation. Whether you're a novice or a seasoned prepper, Kevin's insights will inspire you to take charge of your readiness and build resilience for the future.


