Last Updated on November 1, 2025 by Kevin Collier
Top Takeaways and Key Concepts
- Assess your surroundings to choose a safe, flat spot away from hazards.
- Select a shelter design like lean-to or debris house based on available materials.
- Gather strong branches, leaves, and pine needles for structure and insulation.
- Build the shelter starting with supports, then walls and a waterproof roof.
- Add comfort with dry grass, extra clothing, and proper ventilation inside.
Picture this: you're in the great outdoors, taking in the beauty of nature. The air smells clean, and everything seems great. Then, bam! A unexpected thunderstorm arrives, and all of a sudden, your comfy camping mood changes to “Uh-oh, what do I do now?” Or maybe you made a wrong turn and landed up in the middle of nowhere, like when I mistakenly walked into my neighbor's cookout. People were staring at me like I was a raccoon who didn't know what to do.
Panic starts to rise. Your heart beats faster than a squirrel running away from a dog. But hold on! You can change that “Oh no!” moment into a “I got this!” sensation.
Please Note: This post may contain affiliate links. If you click one of them, we may receive a commission at no extra cost to you. As an Amazon Associate, I earn from qualifying purchases.
It doesn't sound as dangerous as it is to build your own emergency shelter. Picture it as an adventure project. You only need to be clever. Look about you. Get some branches, leaves, and logs that have fallen. If it's windy, look for a place where trees protect you.
Get two strong tree branches. Put them together to construct a triangle, like a small A-frame home. Now, use smaller sticks to fill in the sides. This is like the walls of your secret fort. What good is a fort without a warm blanket?
Now, get some leaves, pine needles, or even big chunks of bark. Put them on top of your frame. Keep adding until it looks thick and delicious. This is where the magic happens. It will keep the rain out and make you feel cozy.

If you can, get some dried grass or leaves for the inside. This makes the floor soft. You're all set now! You've made a place to stay.
It may not look like the Hilton, but it's your place. Breathe deeply. Be proud! This time is all about staying alive and being creative. And while you're doing it, why not have a snack?
You'll have a story to tell when the storm is over or you get back. You may tell everyone how you transformed fear into art. Keep this moment in mind the next time you're outside. You can deal with everything that comes your way. My friend, adventure is waiting for you!
Contents of This Page
*** Shop for Survival Gear - Tools - Kits ***
Survival Gear - Bags and Backpacks - Knives - Boots/Footwear - Communication
Outdoor Cooking - Gloves - Hydration - Dry Boxes - Water Filtration Systems
Tents - Sleeping Bags - First Aid Kits - Multi-Tools - Flashlights - Fire Starters
Navigation - Survival Food - Night Vision - Headlamps - Stun Guns - Binoculars
Assessing Your Environment: Where Are You?
Before we start tossing branches around like we're trying out for a lumberjack competition, let's take a deep breath and look around. It's very important to know what materials are out there. Are there trees all around you? Is there a lot of brush?
Or are you caught on a rocky cliff that seems like it was built by the worst architect in the world?
Knowing your surroundings might help you pick the optimal place for your shelter. Find a flat spot that is away from things that could hurt you, like falling branches or furious bears (not all bears are kind). It's best to choose places near water sources but far enough away that they won't flood if it rains. We want to create shelters, not swimming pools!
Also, think about the weather. If it's going to be cold at night, standing next to items that block the wind, such hills or thick plants, can help keep you warm. And believe me, being chilly is about as much fun as standing on Lego blocks with no shoes on.
What Is The Best Way To Choose The Design Of Your Shelter?
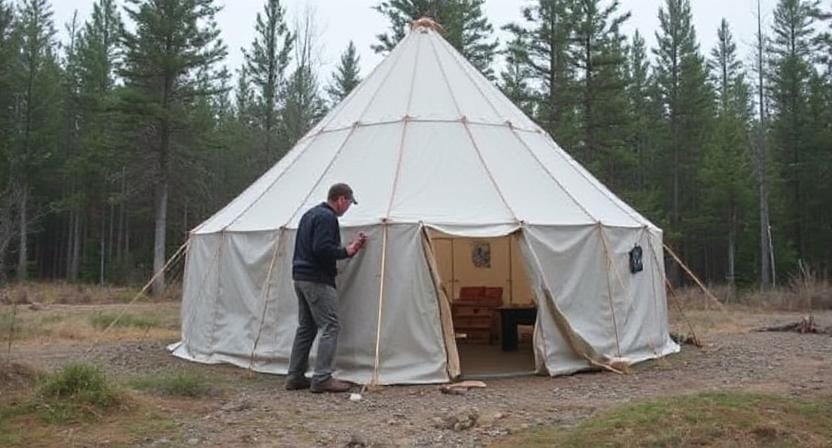
It's time to choose a design now that we've looked around our area. You have a lot of choices, depending on what you have available and how much time you want to spend channeling your inner Bear Grylls.
The lean-to shelter is a common alternative. This means leaning branches against a tree at an angle, like making a roof over your head without getting any architecture degrees. Put leaves and small branches on top to keep the heat in and the moisture out.
The debris house is another choice. It sounds like a fancy word that makes it sound harder than it is.
To make something that seems like a nest or modern art gone wrong, start with two strong sticks that are shaped like an A-frame. Then, add leaves, grass, or other trash to the top. This will keep you warm and blend in with nature, which is great for hiding from animals that want to see you.
Don't forget about space, by the way! Make sure there's enough space inside for you and any gear you might have brought. Nothing says “survival” like getting stuck under a bunch of wet sleeping bags.
Gathering Materials: Be Creative
Now it's time to have some fun and get the materials! Think like a squirrel and start gathering anything you can find close by. Look for fallen branches (don't cut down trees unless they are about to kill you) and piles of leaves or pine needles to use as insulation.
When choosing wood to support a structure, look for something that is strong but not too heavy. Also, think about what would make good fuel later if you need it. You want parts that are long enough to reach across without bending, but not so heavy that they make you fall when you try to lift them.
Also, keep in mind that sometimes less is more. Just because a twig looks cute doesn't mean you should go wild gathering them all! Here, quality is more important than quantity. This will save you energy later when you put everything together!
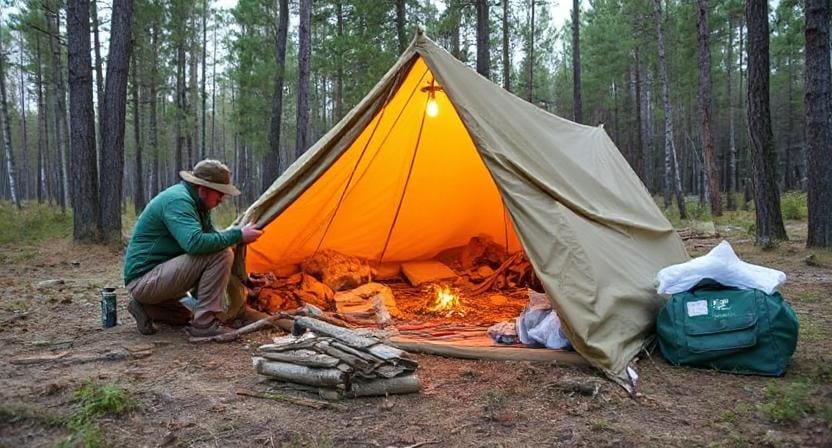
Building Your Shelter: Putting Everything Together
It's time to display what we've got now that we've got enough stuff. Let's put together our masterpiece utilizing the design we chose previously. Start by putting up any big supports first. Then, add other walls or roofs made of smaller sticks or leafy things.
To link branches securely without nails (because we're not Bob Vila), utilize friction fits whenever possible; slide one branch snuggly against another until they stay firm together—this requires patience but results in sturdy structure!
If you're feeling especially creative or a little desperate, you could always try weaving vines between gaps in sticks to make them more stable. This will also give you the handmade Pinterest vibes that everyone loves so much!
Don't forget to waterproof, too. Put bigger leaves on top of the exposed portions like shingles on a roof so that rain drains off instead of accumulating inside where you'll sleep later.
Last Steps: Making It Comfortable
Congratulations! You've made an emergency shelter that would make survival legends proud! Let's finish things up now since comfort is important even when you live off the grid.
If you want to protect yourself from harsh ground surfaces, think about making a natural bed out of dry grass or pine needles. Trust me, the last thing you want after all this work is back discomfort!
And while we're talking about being cozy, it's a fantastic idea to bring some extra clothes from home before you go outside. After you've built everything else outside, these can also be used as extra insulation inside.
And don't forget about ventilation, which is really crucial! Think about being locked in a small cabin with no fresh air. Not good, right? You can feel stuffy and like you don't belong.
Check to see whether your shelter has holes or gaps, or maybe a little room up there. This lets fresh air come in and leave. It will stop everything from feeling like a sauna. You want to breathe easily, not like your favorite horror movie character who hears a strange noise and gasps.
You may compare it to a refreshing breeze on a hot day. Who doesn't like that? Fresh air makes you feel better and makes your home feel warm instead than claustrophobic. You can sit back, relax, and enjoy your tiny piece of nature if you create it appropriately.
So, when you gather sticks and leaves, remember to keep the air flowing. It's a little thing, but it makes a big difference. You can do this! Think about how proud you'll be when you make your own small paradise. It's all about being comfortable and keeping calm, even when things outside are a little crazy.
Frequently Asked Questions
How do I choose the safest location for an emergency shelter?
Select a flat spot away from hazards like falling branches, unstable slopes, or flooding zones to reduce injury risk.
What type of shelter is easiest to build in a survival situation?
A lean-to or debris hut is simple, fast to construct, and uses natural materials found on the ground.
What materials work best for insulation?
Dry leaves, pine needles, grass, and bark help trap warm air between layers and improve comfort and heat retention.
How do I make the shelter waterproof?
Layer thick debris on the roof at an angle so rain runs off instead of soaking through the structure.
Why is ventilation important in a survival shelter?
Fresh airflow prevents condensation, reduces humidity buildup, and helps maintain breathable air inside.
How can I improve comfort inside the emergency shelter?
Create a dry bedding layer using grass or needles and use spare clothing as extra insulation under and around your body.
Should I build near trees or open areas?
Build near solid vegetation for wind protection, but avoid unstable dead trees or limbs that could fall in storms.
Suggested Resources:
Survival Shelters: https://www.survivalshelters.com
Building Emergency Shelters: https://www.emergencyshelterguide.com
Outdoor Survival Skills: https://www.outdoorsurvivalskills.com

Kevin Collier is a seasoned survivalist and expert in prepping and homesteading, contributing to WiseSurvive.com. With a deep-rooted passion for self-sufficiency and outdoor survival skills, Kevin shares practical advice, strategies, and resources to help individuals prepare for any challenge. His informative articles cover a range of topics, from essential survival techniques to sustainable living practices, empowering readers to thrive in any situation. Whether you're a novice or a seasoned prepper, Kevin's insights will inspire you to take charge of your readiness and build resilience for the future.