Last Updated on November 2, 2025 by Kevin Collier
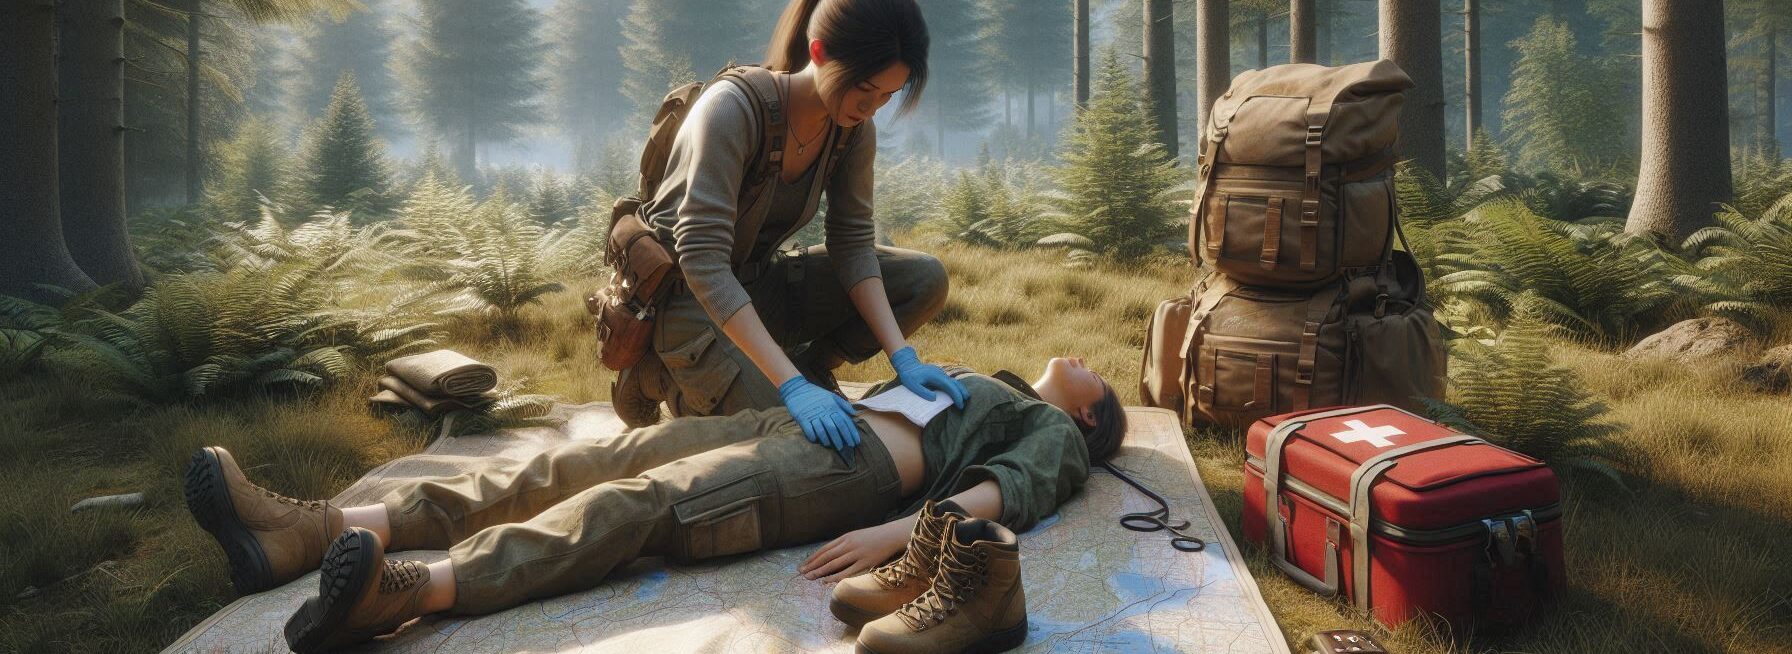
Top Takeaways and Key Concepts
- Stay calm first; assess the situation for severity before acting.
- Clean wounds immediately with clean water and apply antiseptic.
- Bandage scrapes using sterile gauze or clean fabric snugly, not tightly.
- Treat sprains with R.I.C.E.: Rest, Ice, Compression, and Elevation.
- Seek professional help for severe injuries, excessive bleeding, or shock signs.
Picture this: you're hiking in the woods and feeling brave, right? The trees are tall and the birds are singing, just like in a movie. Then, all of a sudden, BOOM! You trip over a buried root and fall right into a shrub, where you probably get a lot of leaves stuck to your face. Ow!
Suddenly, it’s like an action movie, but without the cool music. Just you, a bush, and maybe a few squirrels snickering in the background. It’s kind of funny, but it could also get serious fast.
Please Note: This post may contain affiliate links. If you click one of them, we may receive a commission at no extra cost to you. As an Amazon Associate, I earn from qualifying purchases.
Knowing some first aid can really help. It’s the difference between laughing with your friends about the fall or getting whisked away on a stretcher while they post your unfortunate moment online for everyone to see. Seriously, no one wants to be the star of that show!
Picture this: you’ve got your imaginary first aid kit ready. If you actually have one, even better! Band-Aids, antiseptic wipes, and a little knowledge can go a long way. If you scrape your knee or twist an ankle, you’ll know just what to do.
For scrapes, clean the area gently with water. Dab some antiseptic and cover it with a Band-Aid. Easy peasy! For a sprain, just remember to rest, ice, compress, and elevate. That means sit down, put some ice on it, wrap it with a bandage, and keep it up high. It sounds fancy, but you can do it.
Keeping your cool is key. If something happens, take a deep breath. It's okay. Accidents happen to everyone, and they’re usually more funny later. Imagine telling the story around a campfire!
So, let’s get ready. Whether you’re just wandering through the forest or really exploring, a little first aid knowledge can turn a “uh-oh” moment into a fun story. And hey, next time you might even dodge that bush!
1. Assessing the Situation: Stay Calm (If Possible)
*** Shop for Survival Gear - Tools - Kits ***
Survival Gear - Bags and Backpacks - Knives - Boots/Footwear - Communication
Outdoor Cooking - Gloves - Hydration - Dry Boxes - Water Filtration Systems
Tents - Sleeping Bags - First Aid Kits - Multi-Tools - Flashlights - Fire Starters
Navigation - Survival Food - Night Vision - Headlamps - Stun Guns - Binoculars
First things first—take a deep breath. Yes, I know that’s easier said than done when you’ve just taken a nosedive worthy of an Olympic score. But panicking won’t help anyone; it’ll just give squirrels something extra to gossip about later.
Look around and assess the situation. Is there blood? Did you break anything? Is that angry bear eyeing you as if you're its next meal? Knowing whether it’s a minor scrape or something more serious is crucial before proceeding with any treatment.
If it's just a scratch, then congratulations! You're now part of the “I fell down in the wilderness” club—membership includes bragging rights.
2. Cleaning Wounds: The Art of Scrubbing Dirt
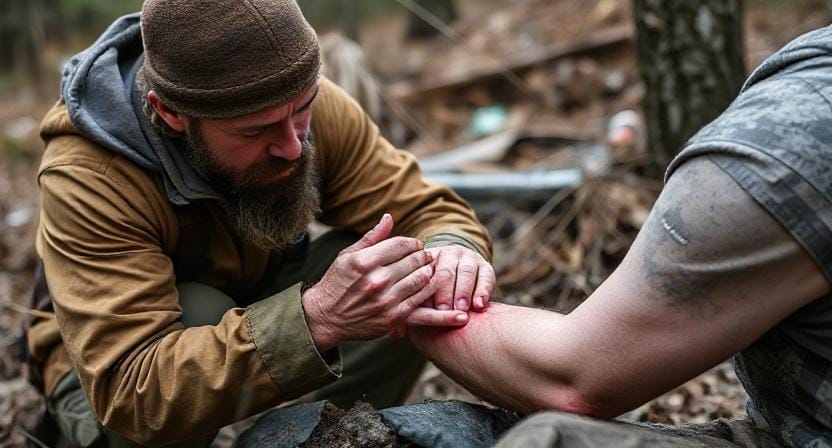
So you've got yourself a lovely little cut or scrape from your fall. What now? Time to clean it up! Trust me; nobody wants dirt mingling with their blood—it’s not exactly gourmet cooking.
Start by rinsing the wound gently with clean water if available. If you're lucky enough to have bottled water handy (because hydration is key!), use that instead of risking drinking from questionable sources nearby—you never know what kind of wildlife has been using that stream as their personal bathroom.
Once you've rinsed away debris, pat it dry with a clean cloth or bandana—if yours isn’t too covered in sweat or mysterious stains! Next comes applying antiseptic ointment if you have it; otherwise, don’t fret too much—the wilderness has seen worse injuries than yours!
3. Bandaging Like a Pro: Wrap It Up!
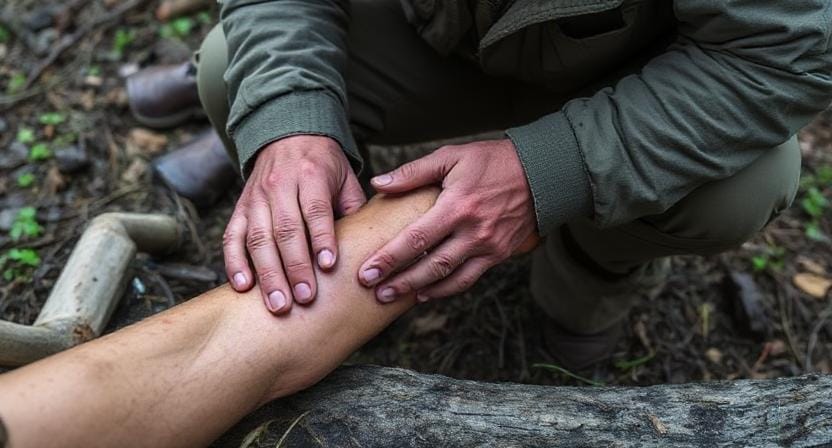
Now that we’ve cleaned our wounds like civilized humans (or at least attempted to), it's time for bandaging! Remember those superhero movies where they wrap their wounds all dramatically? Well, we might not have special effects here but we can still look pretty cool doing it.
Use sterile gauze pads or whatever fabric you have on hand—old t-shirts work wonders in emergencies! Place the pad directly over the wound and secure it with adhesive tape or another piece of fabric tied snugly around—but not so tight that you cut off circulation unless your goal is to turn into “that guy who passed out from his own bandage.”
And speaking of which, make sure to check on your bandage periodically. If it gets soaked through or starts looking suspiciously like modern art gone wrong, change it out ASAP!
4. Treating Sprains and Strains: Ice Ice Baby
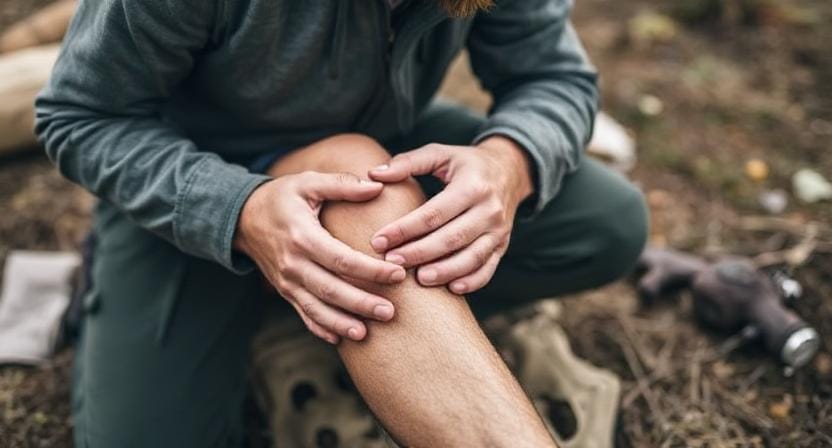
Ah yes—the classic sprain—a favorite among outdoor enthusiasts everywhere! Whether you twisted your ankle trying to impress someone with your rock-climbing skills or simply stepped awkwardly while taking selfies near cliffs (guilty!), treating sprains requires immediate attention.
The R.I.C.E method is where it's at: Rest, Ice, Compression, Elevation—nope; not “Really Important Camping Essentials.” First off, rest the injured area because no one wants further damage leading them straight into “the great outdoors emergency room.”
Next up is ice! Use whatever cold source you've got—a bag of frozen veggies works surprisingly well for both injuries AND dinner prep later on!
Apply ice wrapped in cloth for about 15-20 minutes every hour during initial recovery stages—it’ll help reduce swelling faster than my attempts at staying upright during hikes!
Compression involves wrapping elastic bandages around affected areas firmly without cutting off blood flow—that's important unless you're aiming for dramatic effects again—and elevation means propping up those feet whenever possible so gravity helps keep swelling down.
5. Recognizing Serious Injuries: When to Call for Help
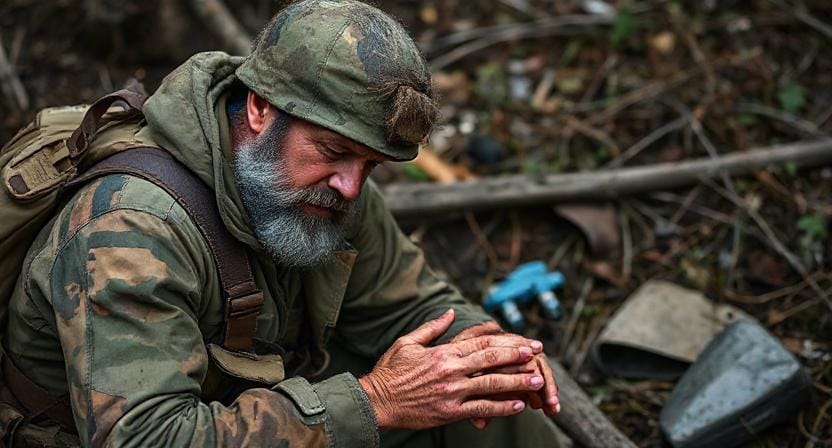
Sometimes despite our best efforts—or perhaps due entirely to our best efforts—we find ourselves dealing with more severe injuries requiring professional assistance rather than DIY fixes using duct tape and optimism.
Signs include excessive bleeding that doesn’t stop after applying pressure for several minutes or broken bones poking through skin—which looks way cooler in movies than real life—and signs of shock such as pale skin combined with confusion about why someone thought hiking was fun in the first place!
In cases like these where injuries are beyond basic treatment knowledge—or even common sense—it’s crucial to seek help immediately!
Use signaling methods discussed earlier (like whistles) until rescuers arrive because nothing says “please save me!” quite like waving frantically while sitting against tree roots trying not to cry over missed camping plans.
Conclusion
That's all there is to it! A simple and useful instruction to first aid for when Mother Nature plays a trick on you, like turning a lovely stroll into a sudden trip to the bushes!
Always bring some important things with you. In all seriousness, it's like having a small safety net with you. Your best friends are Band-Aids, antiseptic wipes, and ice packs. And snacks! Don't forget to bring snacks. I all, who wants to deal with both an owie and a growling stomach at the same time? Not me.
When things go awry, take a deep breath. It's really simple to let panic take over. Please take a moment. Things go wrong. We are people, right? You slip up sometimes, and you trip sometimes. Keeping a little humor in your pocket can help a lot. It's preferable to laugh about it later.
Picture yourself sitting around the fire and sharing the story of how you became best friends with that bush. I bet it will make people laugh. That's the power of humor: it can make things seem a lot less serious, even when they aren't.
So, embrace those adventures! Carry your supplies, keep calm, and don’t underestimate the power of a good laugh. You can do this! Adventure is waiting for you, and next time you might not even see that shrub.
Frequently Asked Questions
What is the first step when someone gets injured in the wilderness?
Stay calm, assess the scene, and determine if the injury is minor or requires urgent evacuation.
How should wounds be cleaned outdoors?
Rinse with the cleanest available water, remove visible debris, then apply antiseptic if accessible.
What should I use to bandage a scrape or cut?
Sterile gauze or clean fabric should be placed over the wound and secured snugly but not too tight.
How do I treat a sprained ankle in the field?
Use the R.I.C.E. method—rest, ice, compression, and elevation—to reduce swelling and pain.
What signs indicate an injury is severe?
Uncontrolled bleeding, bone exposure, confusion, or shock symptoms require immediate professional assistance.
Can everyday objects be used as first aid materials?
Yes, clean shirts, bandanas, and makeshift splints can be improvised if no medical supplies are available.
Should snacks or hydration be considered when treating injuries?
Yes, staying hydrated and maintaining energy can help prevent shock and support recovery while waiting for help.
Suggested Resources:
Wilderness First Aid Basics
https://www.redcross.org/get-help/how-to-prepare-for-emergencies/wilderness-first-aid.html
Outdoor First Aid Tips
https://www.nols.edu/en/resources/first-aid/
Basic Wilderness Survival Skills
https://survivalskills.com/basic-survival-skills/

Kevin Collier is a seasoned survivalist and expert in prepping and homesteading, contributing to WiseSurvive.com. With a deep-rooted passion for self-sufficiency and outdoor survival skills, Kevin shares practical advice, strategies, and resources to help individuals prepare for any challenge. His informative articles cover a range of topics, from essential survival techniques to sustainable living practices, empowering readers to thrive in any situation. Whether you're a novice or a seasoned prepper, Kevin's insights will inspire you to take charge of your readiness and build resilience for the future.


