Please Note: This post may contain affiliate links. If you click one of them, we may receive a commission at no extra cost to you. As an Amazon Associate, I earn from qualifying purchases.
Last Updated on October 19, 2025 by Kevin Collier

Top Takeaways and Key Concepts
– Learn the square knot for securely tying two ropes together.
– Master the bowline knot to create a fixed loop at the end.
– Practice the clove hitch for quick attachment to poles or trees.
– Use the taut-line hitch to adjust tension in guy lines effectively.
– Familiarize yourself with the fisherman’s knot for joining fishing lines securely.
Oh, knots! They move around like little magic assistants. They can either save your life or leave you in a mess that looks like a cat had a party. I've really spent too much time fighting with shoelaces and garden hoses that are all knotted up. You know what that feels like, right?
It's not just for sailors or those fancy Boy Scouts to learn how to tie a few simple knots. To be ready for anything, you have to have it in your toolkit. It helps a lot!
So, get a piece of rope or even an old shoelace if you're feeling crazy. It's all OK. Let's get into the fun world of tying knots!
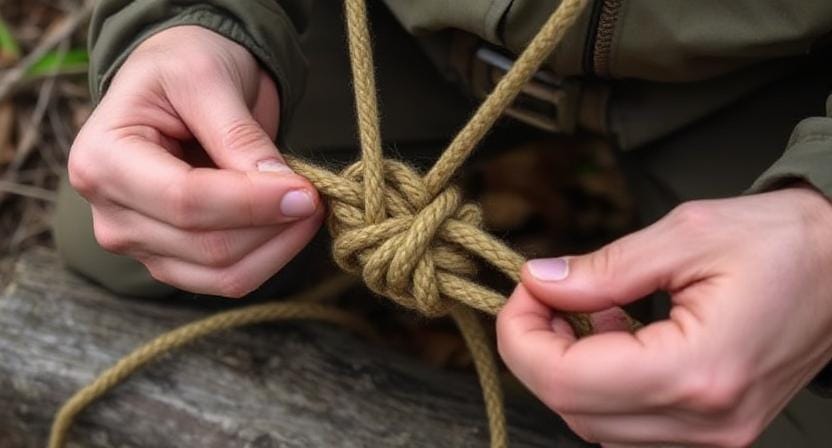
The “square knot” is a good place to start. It's like holding hands, but with a rope. Just pull one end over the other. Simple as pie! You might be amazed at how many things you can do with a square knot, like tie up camping gear or even give first aid.
The “bowline knot” is next. This one is a lifesaver since it makes a loop that won't come undone. Do you need to save a friend who is stuck in a tree? (Well, let's hope that doesn't happen.) But this knot could assist if it did!
Keep in mind that practice makes perfect. So, knot and untie a lot. It's sort of fun! And when things go wrong, laugh a little because knots may be hard. You'll get used to it.
In no time, you'll be a pro at knotting. Your buddies will be impressed, and you might even get to show off your skills around the campfire. Who would have thought that knots could be that cool? Let's get started and see what you can do!
Contents of This Page
*** Shop for Survival Gear - Tools - Kits ***
Survival Gear - Bags and Backpacks - Knives - Boots/Footwear - Communication
Outdoor Cooking - Gloves - Hydration - Dry Boxes - Water Filtration Systems
Tents - Sleeping Bags - First Aid Kits - Multi-Tools - Flashlights - Fire Starters
Navigation - Survival Food - Night Vision - Headlamps - Stun Guns - Binoculars
The Bowline Knot: Your New Best Friend

First up on our knot-tying journey is the bowline knot—often referred to as the “king of knots.” Why? Because it creates a fixed loop at the end of a rope that won’t slip, no matter how much you tug on it.
Imagine needing to rescue someone from a tree (not that I’ve ever climbed one without falling). You’d want something reliable, right? Enter the bowline.
To tie a bowline, start by making a small loop in your rope. Then, take the working end (that’s fancy talk for the part you’re actually using) and pass it through this loop from underneath.
Next, wrap it around the standing line (the part that’s not moving) and back down through the loop again. Voila! You've got yourself a sturdy knot ready for action—or at least ready to hold up your hammock while you relax with a good book.
By the way, I once used this knot to secure my tent during an unexpected storm. While my neighbors struggled with their flimsy stakes flapping in the wind like confused flags, I sipped hot cocoa inside my cozy fortress.
Moral of the story? Always use a bowline when camping; it could mean the difference between comfort and chaos!
The Figure Eight Knot: Not Just for Gymnastics

Next on our list is the figure eight knot—a name that sounds suspiciously like something you'd see in gymnastics but is much more useful when you're trying to keep things securely tied together.
This knot is perfect for climbing or securing items because it creates a strong stopper at the end of your rope.
Tying a figure eight involves creating a simple loop with your rope and then wrapping one end around itself before pulling it through—kind of like making spaghetti but without all the sauce splatter!
This knot is easy to untie after being loaded, which means less frustration when you're done using it.
Interestingly enough, I learned this knot while attempting to haul my cooler up onto my porch during an epic barbecue party gone wrong.
Let’s just say there was ice everywhere except where it belonged! Using this trusty figure eight kept my cooler from rolling away while we feasted on burgers—because nothing says summer like chasing after runaway snacks!
The Clove Hitch: The MacGyver Knot

Now let's discuss the clove hitch—the MacGyver of knots! If you need something quickly secured (like those pesky tarps that seem determined to fly away), this is your go-to solution.
It’s fast and effective; plus, if you need to release it later on, it's usually easier than explaining why your tent looks like origami gone rogue.
To tie a clove hitch, wrap one end of your rope around whatever needs securing twice in opposite directions before tucking under itself each time. Think about giving something two hugs—you know how some people are overly affectionate? That’s what this knot feels like!
Speaking of overly affectionate moments—once during camping season, I used this technique to secure our communal food stash from raccoons who were clearly plotting an invasion.
Let me tell you, those furry thieves are quite sneaky! Thanks to my clove hitch skills and some careful planning, we were able to have our meals without any unexpected guests stealing our food.
The Taut-Line Hitch: For Changing the Tension

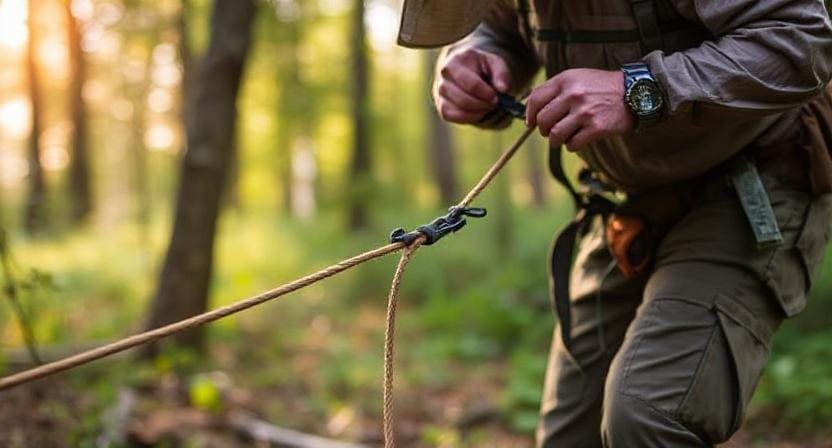
As we keep learning about important knots, let me show you another great one: the taut-line hitch! This gem makes it easy to change the tension while keeping everything nice and snug. It's perfect for holding tents or tarps in place when Mother Nature decides to turn up the wind machine.
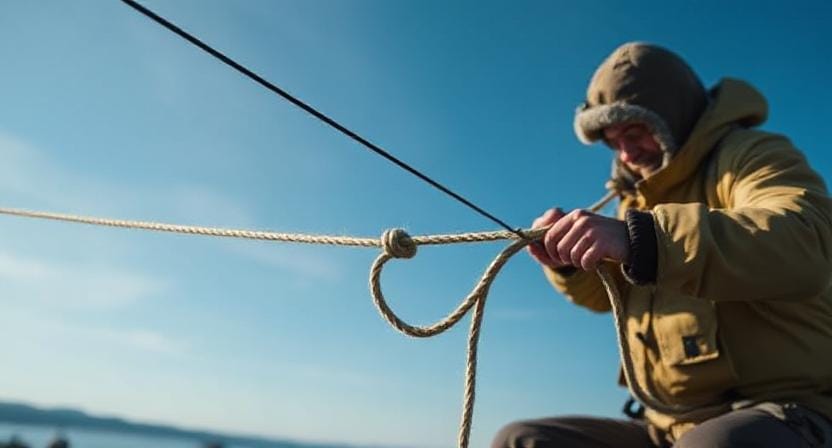
To tie this cool adjustable knot, first wrap the rope around the anchor point twice. Then, thread it back through itself once more. This will make two loops on one side. Tighten everything down so it stays put, but don't go too far unless you like playing tug-of-war with nature!
Last summer, I remember setting up camp in the rain as everyone else was running for cover like ants in a rain puddle. My taut-line hitch kept our tarp safely above us, while others watched in horror as theirs fell beneath the weight of the water. It was quite rewarding!
The Square Knot: Simple Yet Effective

Last but certainly not least is everyone's favorite—the square knot! Often dubbed “the reef knot,” this classic is perfect for joining two lengths of rope together securely—and let me tell you; it's also great at preventing embarrassing wardrobe malfunctions involving shoelaces during hikes.
Tying a square knot requires placing two ends next to each other and tying them as if they were going into separate loops—right over left followed by left over right until everything's snugly pulled together! Easy peasy lemon squeezy!
One time while out hiking with friends—we thought we could tackle Mount “Why Did We Choose This Trail?”—we ended up needing extra ropes for makeshift harnesses due to terrain issues (let's face facts; sometimes trails look way easier on maps). Thankfully my trusty square knots saved us from becoming part-time mountain goats instead!
Suggested Resources:
Essential Knots Every Survivalist Should Know
https://www.survivalsullivan.com/essential-knots/
Knot Tying Basics
https://www.outdoorlife.com/knot-tying-basics/
The Ultimate Guide to Knots
https://www.theoutdoorlounge.com/the-ultimate-guide-to-knots/

Kevin Collier is a seasoned survivalist and expert in prepping and homesteading, contributing to WiseSurvive.com. With a deep-rooted passion for self-sufficiency and outdoor survival skills, Kevin shares practical advice, strategies, and resources to help individuals prepare for any challenge. His informative articles cover a range of topics, from essential survival techniques to sustainable living practices, empowering readers to thrive in any situation. Whether you're a novice or a seasoned prepper, Kevin's insights will inspire you to take charge of your readiness and build resilience for the future.


