Please Note: This post may contain affiliate links. If you click one of them, we may receive a commission at no extra cost to you. As an Amazon Associate, I earn from qualifying purchases.
Last Updated on October 19, 2025 by Kevin Collier
Top Takeaways and Key Concepts
- Choose a cool, dark location between 32–40°F with good natural insulation.
- Dig at least 4–6 feet deep with slightly sloped walls for airflow.
- Build sturdy walls and a roof using stone, concrete, or treated wood.
- Install vents on opposite sides and add mesh screens to improve ventilation.
- Organize vegetables in crates or bins, layering with straw or sand to prevent rot.
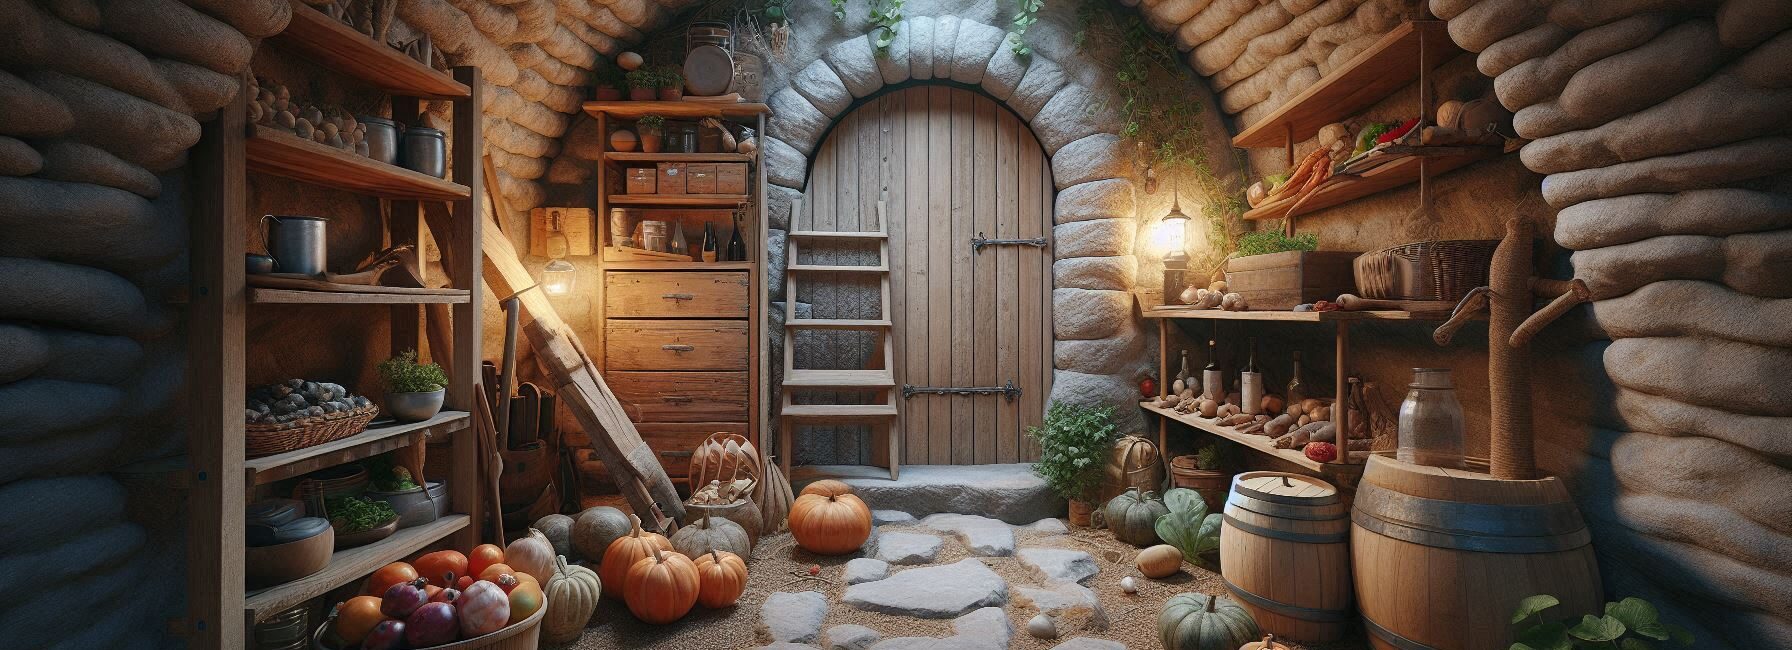
Ah, the root cellar! Imagine it as a magic box. You pop in your veggies, and—if you’ve nailed it—they come out months later looking just as fresh as when they went in. It’s like a little secret garden underground.
Picture this: Your carrots are hibernating peacefully, tucked away from the light. No wilting in the fridge. Just hanging out, waiting for the right moment to shine again.
There’s something really satisfying about that, right? Knowing you can reach down and grab a crunchy carrot that’s still crisp. It feels kinda special, almost like you’ve got a superpower. You’ve prepared for a winter feast without a last-minute run to the store.
So, if you’re thinking, “Hey, I wanna try this!” let’s chat about how to make your own root cellar. It's easier than you might think. You don’t need a fancy setup. Just some space and a few tips.
Find a cool, dark corner of your basement or maybe even outside if the weather's right. You want it to be about 32 to 40 degrees. Not too warm. Not too cold. Just cozy enough for your veggies to snooze.
You can use wooden crates, or old bins. Ventilation is key. Make sure there’s airflow. Oh, and layer your veggies with some dry straw or sand. That keeps ‘em from touching each other. Less chance of rot.
Don’t forget potatoes, onions, and even some apples. They love to hang out together. You’ll be amazed how long they last! You could even have your family help. Making it a fun project can make all the difference. So maybe grab a snack while you work.
This little world of food storage can be magical. You’ll open that door and feel like a wizard, pulling out fresh vegetables ready for a delicious meal. It’s comforting to know you’ve got food that’ll last through the seasons.
So, what do you say? Ready to create your own magic box? Let’s get started!
*** Shop for Survival Gear - Tools - Kits ***
Survival Gear - Bags and Backpacks - Knives - Boots/Footwear - Communication
Outdoor Cooking - Gloves - Hydration - Dry Boxes - Water Filtration Systems
Tents - Sleeping Bags - First Aid Kits - Multi-Tools - Flashlights - Fire Starters
Navigation - Survival Food - Night Vision - Headlamps - Stun Guns - Binoculars
Why You Need a Root Cellar
Let's be honest: grocery stores can be useful, but they can also be really pricey and have a lot of product that isn't very good. Who hasn't looked at an apple that seems like it might need a little help?
You may save money and enjoy fresh vegetables from your own garden all winter long by making a root cellar. Think of it as your own treasure box full of the best things nature has to offer!
Root cellars are great places to keep potatoes, carrots, onions, and even some fruits like apples and pears. They preserve these items crisp and flavorful by regulating the temperature and humidity at the right levels. You won't have to worry about losing everything in your fridge if the power goes out during a snowfall, which always seems to happen.
Picking the Right Place

Finding the right place for your root cellar is the first step. Ideally, this should be on the north side of your property because it's usually colder there. If you live in Antarctica, though, I suggest keeping indoors! Find a place that stays cool all year long on its own.
You should stay away from spots where water tends to collect, because no one likes to deal with a soggy potato (believe me). A hillside or slope is frequently the best choice because gravity will help keep things dry and make it easy to get to from above ground.
Once you've discovered the perfect spot, make sure you have enough room for storage bins or shelves. You don't want to wind up with a complicated system that looks nice but doesn't contain anything practical!
Making Your Hole
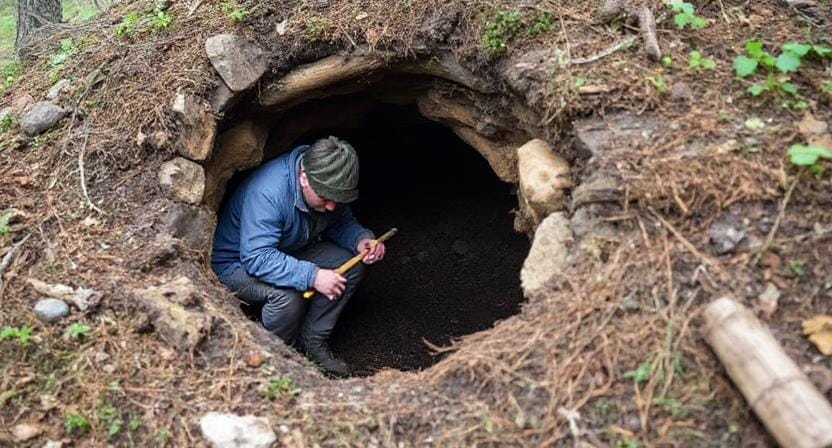
It's time to dig now, which is the enjoyable part. Get your shovel (or employ someone who likes to shovel) because we're going underground!
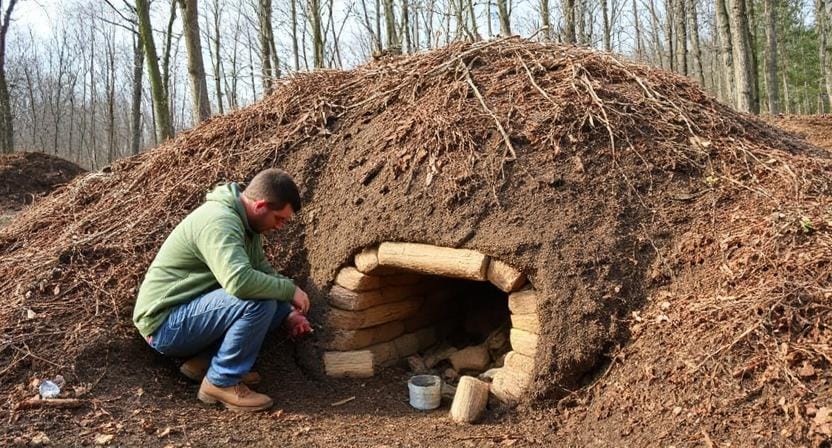
The depth will depend on what crops you want to store, but in general, you should aim for at least 4 to 6 feet deep, which is enough space for you to stand without hitting your head on any roots above.
While you're digging, think about making the walls slope in a little bit. This helps keep the cave from collapsing and gives greater surface area for air to flow, which is important for keeping food from going bad.
And hey, if you've ever wanted to behave like a miner or archeologist while digging up “artifacts” from the past that are buried under layers of soil… Well, now's your opportunity!
Putting Up Walls And A Roof
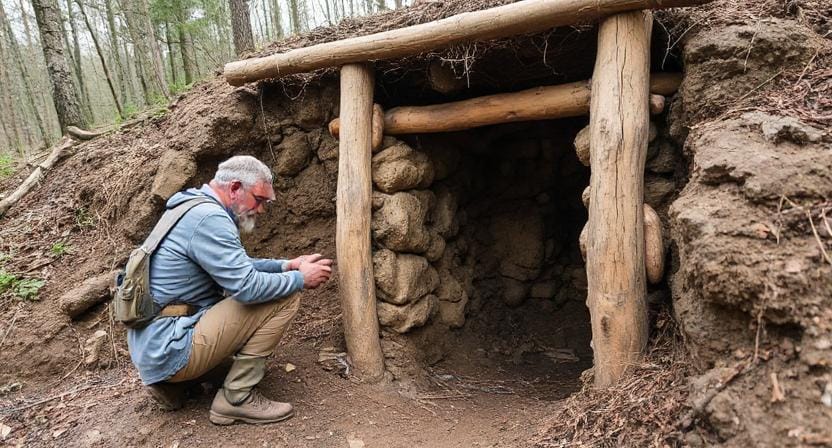
Now that you've excavated that nice hole, it's time to look about walls and roofs. Let's be honest: no one wants their root cellar to turn into a mud pit after it rains a lot.
Stone or concrete blocks make great walls, but be sure they're strong enough to hold up under the weight of the soil around them. This is similar to how you should avoid poor relationships. If you want to be fancy, you could even use treated wood, but make sure it won't decay when it gets wet.
If you're looking for roofing ideas, try using wooden beams covered in dirt. This is an old-fashioned way that people used to get things done before Pinterest guides! Just remember that good ventilation is important here too. Adding vents lets air flow, which keeps things fresher for longer.
Ventilation is Important
Speaking of ventilation, it's important for both keeping air moving and lowering the humidity in your root cellar. Vegetables will get moldy faster than you can say “What happened?!” if there is too much moisture.
Put vents on opposite sides at the top so that fresh air can get in and stale air can get out. You could think of it as giving those poor potatoes some room to breathe after being stuck inside all winter.
You could even want to put little mesh screens over these holes in case curious animals decide they want free goodies too (and trust me, they will!).
You can make your carrots last a lot longer by making sure they get enough air all year long, not just in the summer. Who doesn't love crispy carrots?
Getting Your Space in Order
Finally, organization is the icing on top of this underground cake! Use storage units or boxes manufactured from recyclable materials. If they come with stories, that's even better!
Make sure to label everything clearly so that when winter comes and you're searching through everything to find the squishy turnips you lost last time, you know precisely where each item is.
Think about putting comparable goods together based on how quickly they need to be eaten and how long they can last. This way, nothing gets lost among the forgotten treasures that are waiting for spring to come again!
Are you making a root cellar? It's not just useful, oh. It's quite rewarding too. For real. Think of having fresh vegetables all year. That crunchy carrot or sweet potato is right there. Yum!
What do you think is great? We may connect with nature through it. Do you remember when we were kids and played outside all day? It's like getting a bit of that back. We have a lot on our plates these days. Everyone is in a hurry to get somewhere. It feels great to take a break and cultivate food or just store it.
Digging in the dirt and feeling the earth brings us closer to the rhythm of the seasons. You're not just piling up vegetables. You're going back to a more natural, old-fashioned way of life. It's relaxing.
When you go to your root cellar and get some fresh squash, it's like magic. It's like a box of treasures. You forget about it for a long, and suddenly, boom! It's delicious! Also, not having to buy everything from a store saves money.
Life can be crazy sometimes, right? The planet goes around faster. When you rush to the grocery shop, it can be hard to know what's in season. A root cellar keeps you down to earth. It's a small place of peace in the middle of the chaos.
So, making one is more than just storing food. It's about getting some peace. It's about taking your time and enjoying the small things. Let's get our hands dirty and start this journey together. You will be very happy you did. Think about all the good food!
Suggested Resources:
Building Your Own Root Cellar
https://www.motherearthnews.com/organic-gardening/building-your-own-root-cellar-zm0z16aszkin
How To Build a Root Cellar
https://www.theprairiehomestead.com/how-to-build-a-root-cellar/
Root Cellars: An Old-Fashioned Way to Store Food
https://www.homesteading.com/root-cellars-an-old-fashioned-way-to-store-food/

Kevin Collier is a seasoned survivalist and expert in prepping and homesteading, contributing to WiseSurvive.com. With a deep-rooted passion for self-sufficiency and outdoor survival skills, Kevin shares practical advice, strategies, and resources to help individuals prepare for any challenge. His informative articles cover a range of topics, from essential survival techniques to sustainable living practices, empowering readers to thrive in any situation. Whether you're a novice or a seasoned prepper, Kevin's insights will inspire you to take charge of your readiness and build resilience for the future.


