Last Updated on November 2, 2025 by Kevin Collier
Top Takeaways and Key Concepts
– Choose a location away from hazards like flooding or falling branches.
– Use natural materials like branches and leaves for insulation.
– Create a sturdy frame to withstand wind and rain.
– Ensure proper ventilation to prevent carbon monoxide buildup.
– Practice building your shelter before an emergency arises.
Imagine this: you’re having a great time camping, with lots of tall trees and singing birds all around you. Yikes! Maybe even a bear is looking at your granola bars! The sky suddenly gets dark, and you think, “Oh no, it’s time to survive!”
Don’t worry. Not yet, though. You can do better than that! Let’s make this circumstance into an adventure. You can be a superhero who loves the outdoors. You need a warm place to stay first.
Take a look around. Look for some strong branches. You can put them against a rock or tree. It’s like making a fort, and who doesn’t love forts? Put sticks and leaves on top. Make it fit well.
If it’s raining, make sure your roof is solid. You don’t want to be wet and miserable. Feel how cool this is? You’re working with nature! You could even use your backpack as part of your shelter. Genius, right?
Sometimes nature throws curveballs. If it’s windy, make your shelter low. You want to stay safe and snug inside. Think of it like curling up in a blanket fort when the thunder rolls. Comfort is key.
And hey, don’t forget to breathe. It’s okay to feel a little scared. You’ve got this. Remember, you and your friends are on an adventure. Enjoy it! Share laughs, stories, and yes, maybe even that bear encounter later. This is all part of the fun, right?
Keep your spirits high. You’re resourceful! You’re creating your own little haven. Cozy, warm, and protected from the wild outside. Look at you, turning panic into power. That’s what survival is all about. So, get out there and rock your superhero skills! 🌲🏕️✨
Choosing the Right Location: Not Under That Tree!

Before you start stacking branches like you’re building a log cabin on reality TV, pick your location wisely. I learned this lesson the hard way during one of my early camping trips.
Picture me excitedly pitching my tent under what I thought was a beautiful tree. Fast forward to midnight when I woke up with leaves raining down on me like confetti at a bad birthday party. Turns out, that lovely tree had been shedding its foliage all night long!
When selecting your spot, look for high ground (to avoid flooding) and away from dead trees or branches that could crash down unexpectedly—like nature’s version of dodgeball but without any fun involved. Ideally, find a place sheltered from wind and rain while still getting some sunlight during the day; after all, who wants to live in perpetual darkness?
By the way, consider proximity to water sources too! But don’t camp right next to it; otherwise, you might wake up with soggy socks as your new fashion statement.
Materials Matter: What’s in Your Surroundings?
Now that you’ve found your perfect spot (hopefully not under an angry tree), it’s time to gather materials for your shelter. Think about what nature provides—branches, leaves, grass—basically anything that doesn’t bite back!
When I was stuck in the wilderness once (thanks again to my questionable navigational skills), I used fallen branches and pine needles to create something resembling a very rustic lean-to.
Start by collecting sturdy branches for support beams. Then layer smaller sticks against them at an angle—it’s sort of like making a giant taco shell made of wood!
Cover everything with leaves or grass for insulation; remember those winter nights where you’d want extra blankets? This is similar but much less comfortable.
Interestingly enough, if you can find large flat stones or logs nearby (which are often more stable than my camping partner’s cooking), use them as walls or floors for added protection against cold ground temperatures.
The Basic Designs: Lean-To vs. A-Frame
Now let’s get creative with designs! There are several styles of emergency shelters you can whip up faster than you can say “I should have stayed home.” Two popular options include the lean-to and A-frame shelters.
The lean-to is super simple—you just need three sturdy supports and some good ol’-fashioned sticks propped against them at an angle. This design allows wind and rain to slide off easily while giving you plenty of space inside (as long as you’re not trying to fit in five friends who all brought their inflatable mattresses).
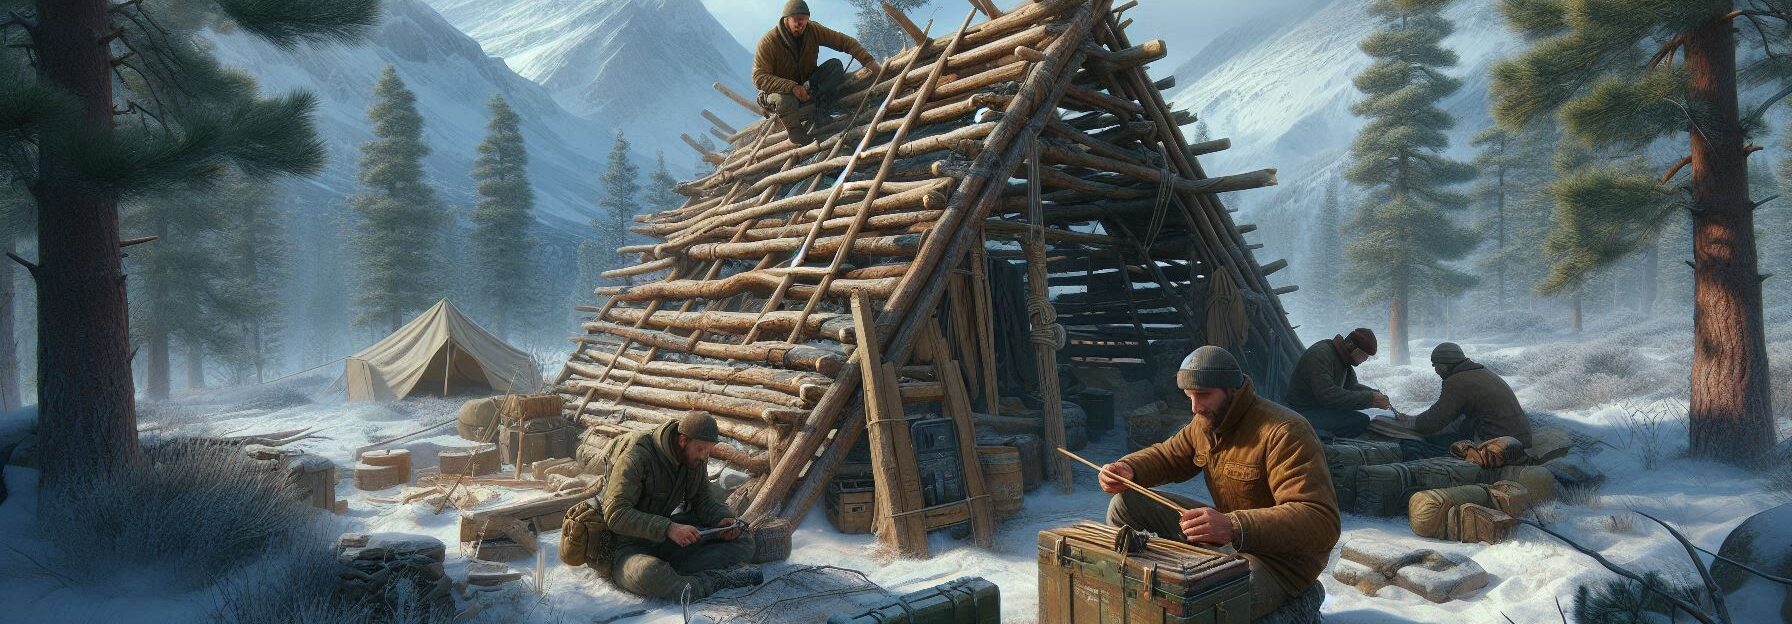
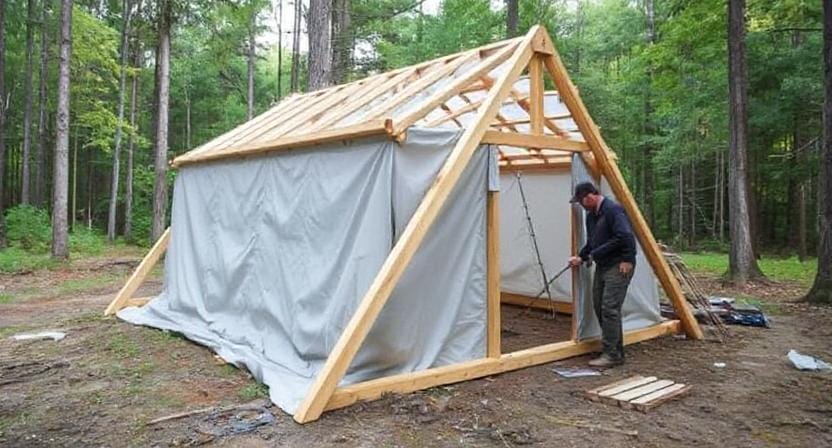
On the other hand, if you’re feeling adventurous—or if you’ve watched too many survival shows—the A-frame style is also great! It looks exactly how it sounds: two slanted sides meeting at the top like an upside-down triangle.
For this one, you’ll need more materials since both sides require covering—but hey, who doesn’t love playing architect while avoiding being eaten by bears?
Insulation & Comfort: Making It Cozy
Once you’ve constructed your shelter skeleton—congratulations! You’re officially ready for some serious outdoor lounging—but wait! We can’t forget about comfort and insulation because nobody wants frostbite ruining their camping memories.
Start by lining the floor with dry leaves or pine needles; think of it as creating a natural mattress that’ll keep you off cold ground. If you’re lucky enough to have extra gear like sleeping bags or jackets lying around (because we all overpack), toss those inside too!
Speaking of which—I once spent a chilly night huddled under nothing but my jacket after miscalculating how warm it would be outside… Spoiler alert: it wasn’t warm at all! So trust me when I say layering is key here; bring whatever fluffiness you can muster!
Stay Dry & Ventilated: Avoiding Moisture Mishaps
Okay folks, here comes another crucial tip—keeping dry is paramount unless you’re auditioning for “Survivor.” Make sure there are no gaps in your shelter where rainwater can sneak through uninvited; after all, nobody likes unexpected showers unless they come from actual showerheads!
To prevent moisture buildup inside (which could lead to regrettable experiences akin to waking up inside a wet sponge), ensure proper ventilation by leaving small openings near the top of your structure without compromising stability.
Fresh air will help minimize condensation from breathing—a surprisingly common issue among tired campers dreaming about hot cocoa instead of dampness.
By now—and assuming everything went according to plan—you should have yourself a solid emergency shelter ready for whatever adventures lie ahead…or simply waiting out until someone finds you staring wistfully into space wondering why life isn’t always this exciting!
Frequently Asked Questions
How do I choose the safest location for an emergency shelter?
Select a spot away from flooding zones, dead branches, and other falling hazards to reduce danger.
What natural materials are best for shelter insulation?
Branches, leaves, pine needles, and grasses are commonly available and provide effective insulation layers.
Why is a sturdy frame important in shelter building?
A strong frame keeps the structure stable in wind and rain, preventing collapse during bad weather.
How do I prevent carbon monoxide buildup in a shelter?
Always maintain adequate ventilation by leaving small openings near the top so fresh air can circulate.
Are lean-to shelters easier to build than A-frames?
Yes, lean-tos require fewer materials and are simpler to assemble, making them a fast emergency option.
Should I practice shelter building before a real emergency?
Yes, practicing in advance builds confidence and reduces mistakes when conditions are stressful.
Is it smart to insulate the ground of a shelter?
Yes, adding leaves or natural padding reduces heat loss to the cold ground, increasing comfort and safety.
Suggested Resources:
Building Emergency Shelters
https://www.wilderness-survival.net/building-emergency-shelters/
How To Build an Emergency Shelter
https://www.survivopedia.com/how-to-build-an-emergency-shelter/
Emergency Survival Shelters
https://www.rei.com/learn/expert-advice/emergency-shelters.html

Kevin Collier is a seasoned survivalist and expert in prepping and homesteading, contributing to WiseSurvive.com. With a deep-rooted passion for self-sufficiency and outdoor survival skills, Kevin shares practical advice, strategies, and resources to help individuals prepare for any challenge. His informative articles cover a range of topics, from essential survival techniques to sustainable living practices, empowering readers to thrive in any situation. Whether you’re a novice or a seasoned prepper, Kevin’s insights will inspire you to take charge of your readiness and build resilience for the future.