Last Updated on November 2, 2025 by Kevin Collier
Top Takeaways and Key Concepts
- Can vegetables by washing, chopping, and sealing in jars for long-term storage.
- Freeze fruits and vegetables after washing, slicing, and spreading on baking sheets.
- Blanch vegetables briefly in boiling water before freezing to preserve color and flavor.
- Label all jars and freezer bags with contents and storage dates.
- Store canned goods upright in cool, dark places and check seals regularly.
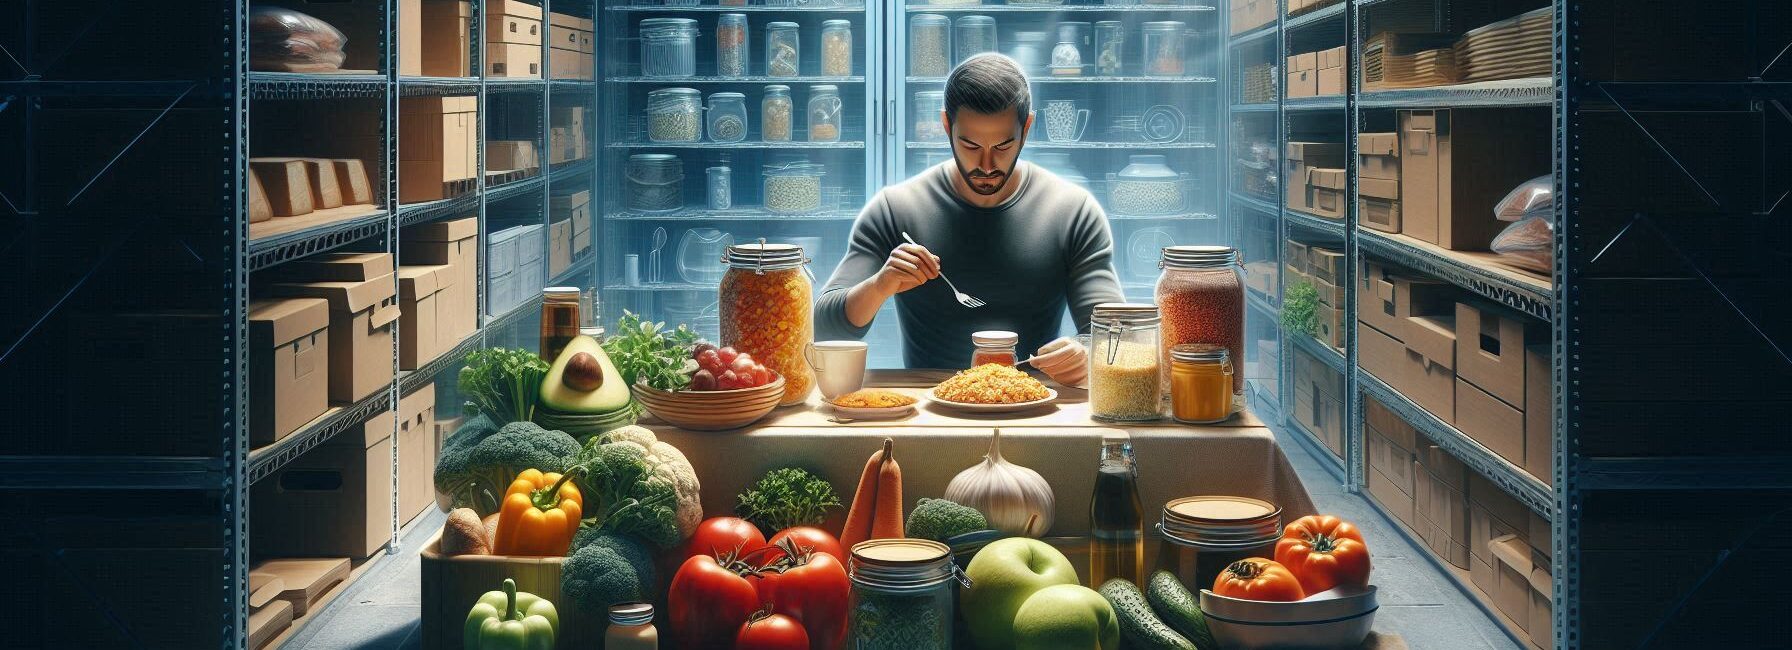
Fresh produce really is like that friend who always runs late. One moment, you’re all excited about those vibrant tomatoes and crisp peppers. Then, it’s like, boom! You turn around, and your veggies are looking sad and droopy, almost like they’ve had a tough day.
But don’t worry! There are ways to save that wonderful harvest so you can enjoy it later. Who wants to waste good food? Not us!
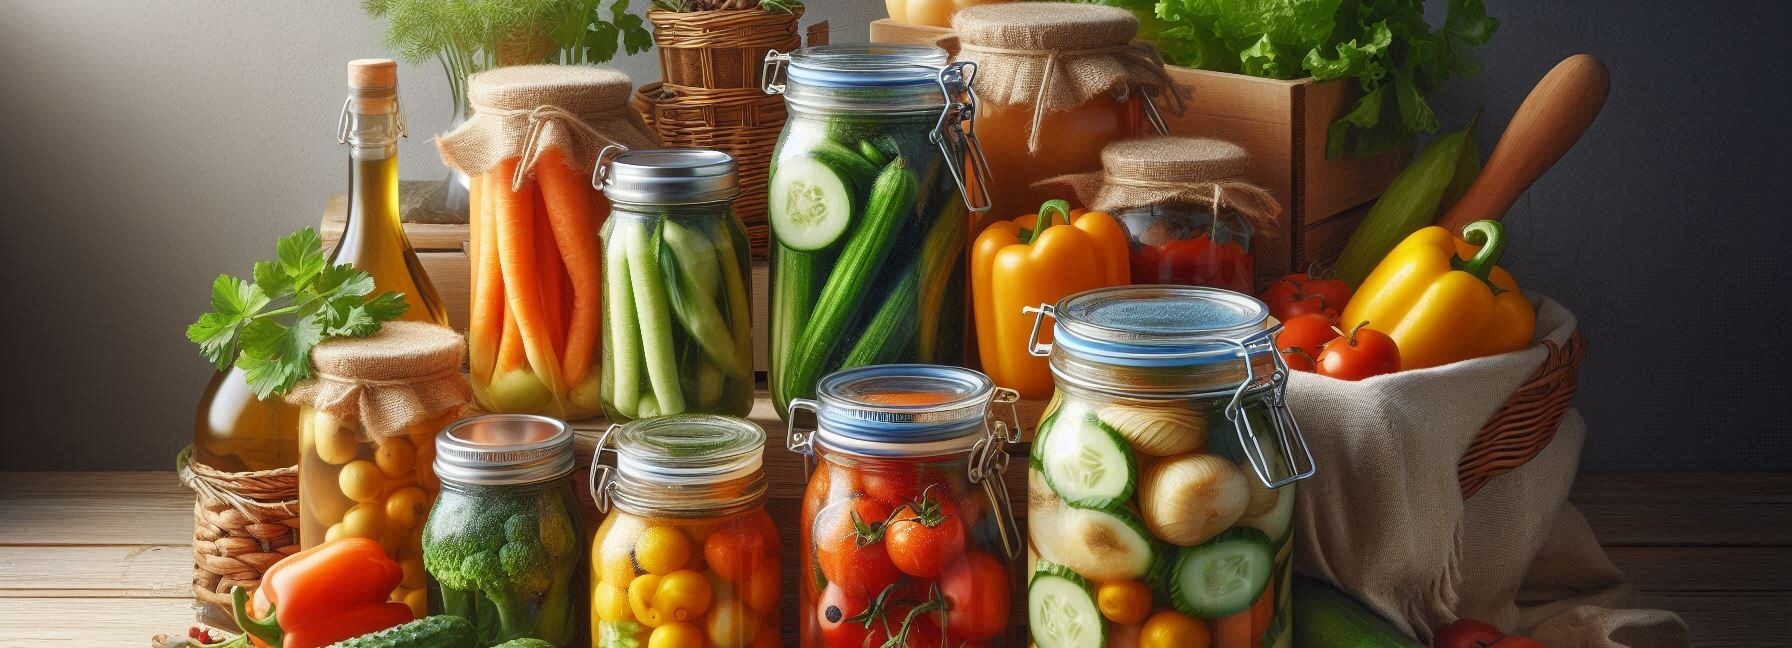
Canning is one way to keep those goodies around. It might sound a bit tricky, but it’s kind of fun. You get to wash those vegetables, chop them up, and then pack them in jars. The best part? You seal those jars up tight, and they can last for months. Picture it: opening a jar of summer goodness in the middle of winter. Hot soup, anyone?
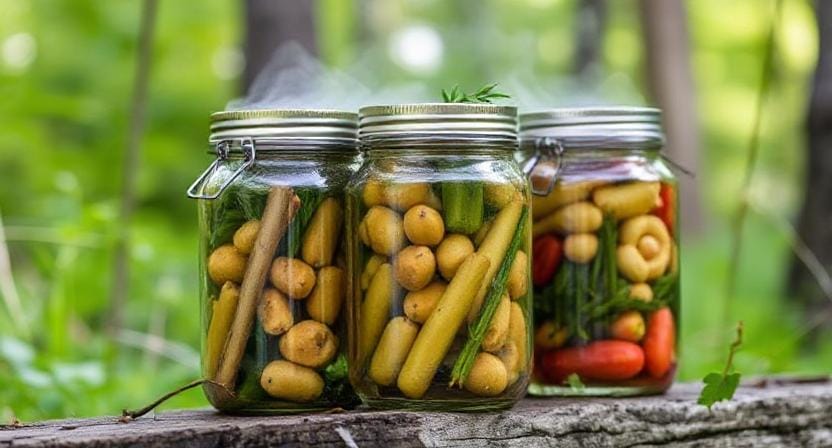
You’ll need some special jars and lids. A big pot is key too for heating everything up. It’s a little like cooking magic. The heat keeps bad stuff away while the fresh flavors hang out. Just think of your future self, enjoying those summer tastes while cozying up on a chilly day.
Then there’s freezing. It’s super easy! You just wash and chop your favorite veggies—broccoli, corn, even those tomatoes. Lay them out flat on a baking sheet for a bit so they don’t stick together. Then pop those sheets in the freezer. After a while, you can toss them into bags and keep them in there.
Imagine opening your freezer and finding a bunch of colorful veggies waiting for you. Toss them into stir-fries or soups. Super simple! Plus, you can grab just what you need. No wasted food here!
It can feel overwhelming at first, but saving those veggies is worth it. No one wants those sad, wilted sorry excuses for produce in the back of the fridge. You’ll feel good knowing you made the most of your harvest. Plus, next time you whip up a meal, you’ll be reminded of those sunny days and the joy of fresh food.
So, grab a snack and think of all the tasty things you can make! Summer’s bounty doesn’t have to fade away. With a little effort, you can keep that deliciousness around for a long time. And trust me, your taste buds will thank you!
The Basics of Canning
Canning sounds fancy, doesn’t it? It’s like something your grandmother did while wearing an apron and humming show tunes. But honestly, anyone can do it!
First things first: gather your supplies. You’ll need jars (the kind with lids), a big pot for boiling water, some tongs (because who wants to burn their fingers?), and, of course, your fresh produce.
Now comes the fun part: choosing what to can! Tomatoes are a classic choice because they’re versatile; you can turn them into sauce or salsa faster than you can say “I should have bought stock in mason jars.” Just wash your tomatoes thoroughly and cut out any bad spots. Then boil them briefly until the skins split—this makes peeling easier.
By the way, don’t forget about those pesky air bubbles! After filling your jars with goodies, give them a gentle shake or use a knife to release trapped air bubbles before sealing them up tight. Remember: if there’s too much air in there, your food might spoil faster than last week’s leftovers.
Freezing Fruits Like A Pro
If canning feels like too much work—or if you just want an excuse to eat ice cream later—freezing is another excellent option for preserving fresh produce. Honestly, what could be easier than tossing berries into a bag and shoving them in the freezer? Let’s see how this works.
Start by washing your fruits thoroughly; nobody wants dirt-flavored strawberries! Next, slice or chop as needed—if you’re dealing with peaches or apples, for instance—and then spread them out on a baking sheet lined with parchment paper.
This step prevents them from sticking together like old friends at a reunion when they realize they still owe each other money.
Once they’re frozen solid (and I mean rock-hard), transfer those beauties into freezer bags or containers labeled with dates. This way, when winter rolls around and you’re craving summer fruit smoothies, you’ll know exactly what’s hiding behind that mountain of ice cubes!
Blanching Vegetables Before Freezing
Now let’s talk about vegetables because they deserve some love too! Unlike fruits that can go straight from farm to freezer without much fuss (lucky ducks), most veggies need blanching first—a fancy term for briefly boiling them before chilling quickly in ice water.
Why blanch? Well, it helps preserve color and flavor while also slowing down enzyme activity that leads to spoilage. Think of it as giving your veggies a spa day before sending them off on vacation in the freezer!
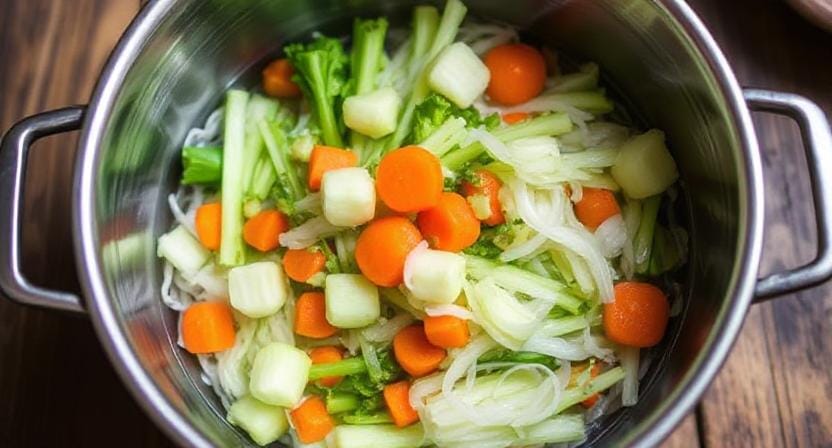
To blanch properly: bring water to boil in one pot while preparing an ice bath in another bowl nearby (ice cubes optional but highly recommended). Toss those chopped veggies into boiling water for just 2-5 minutes depending on type (carrots take longer than peas). Then quickly move them into the ice bath—it’s their reward for being such good sports!
Labeling Your Preserves
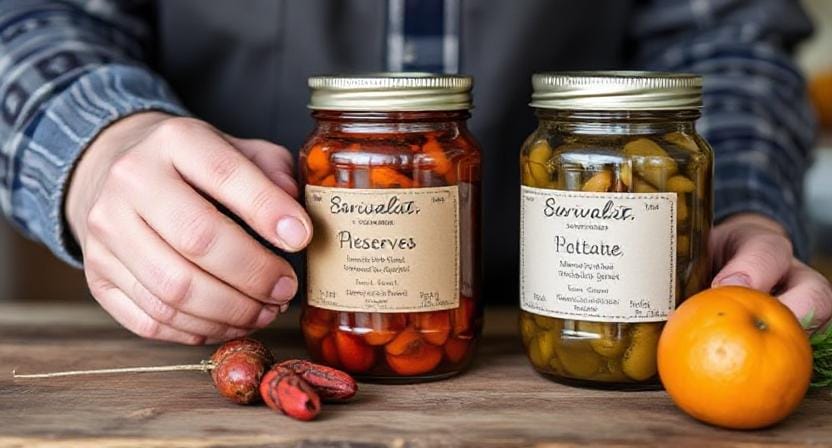
After all that hard work preserving food goodness comes one last crucial step: labeling everything! You might think this is unnecessary until you find yourself pulling out mysterious bags labeled “something green” six months later during an epic snowstorm when pizza delivery isn’t an option.
Use waterproof labels or permanent markers on freezer bags/jars indicating contents along with dates stored away safely inside chilly realms where frostbite thrives! Trust me; future-you will thank present-you when rummaging through frozen treasures feels more like treasure hunting rather than playing guessing games.
Storing Canned Goods Correctly
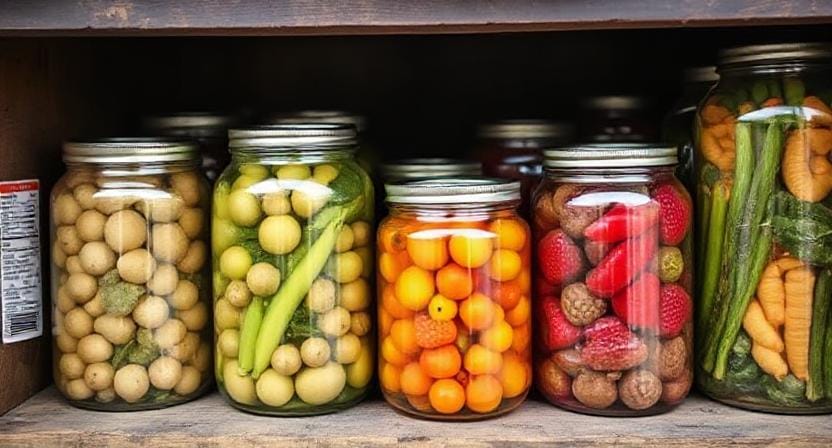
So now you’ve canned some deliciousness—what’s next? Proper storage is key here! Store those jars upright in cool dark places free from direct sunlight (think basement pantry—not under bed unless absolutely necessary). Avoid stacking too high unless willing risk jar avalanches akin to dominoes gone wrong!
Also worth noting: check seals periodically; if any lids pop up unexpectedly during storage… well that’s not good news my friend! Consume immediately if discovered so as not tempt fate further down road toward culinary disaster tales worthy only of horror movies featuring rogue cans attacking unsuspecting chefs!
Enjoying Your Harvest Year-Round
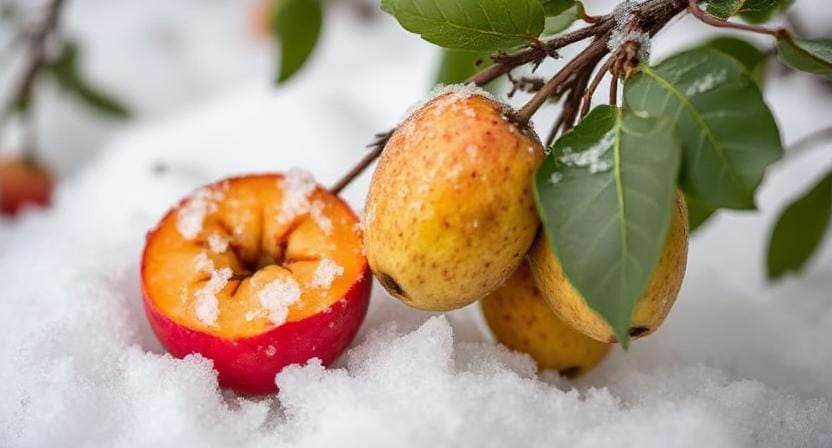
Finally—and this is perhaps my favorite part—you get to enjoy all this hard work year-round! Whether it’s cozy soups made from home-canned tomatoes during winter nights or smoothies bursting with summer flavors thanks frozen berries—they’ll remind us why we spent hours preserving these gems instead letting nature run its course unchecked.
So, here’s the deal, my fellow food savers! You should try both methods of preserving right away because they each have their own benefits. Canning allows you savor those summer flavors even when it’s freezing outside, thanks to its wonderful jars. Picture this: you open a jar of your own tomatoes just as the snow starts to fall. So comfy!
Freezing is also really cool. It’s simple and quick. It’s not a big deal if you need some vegetables right away. Great for times when you don’t have a lot of time to cook. Also, the vivid colors in your freezer will make you happy, even when it’s gray outside.
Everyone who loves food has their own way of doing things. You might cherish the custom of making jam while you can. Or maybe you like how easy it is to throw things in the freezer as you watch your favorite shows. No matter what you like, you’re getting the most out of that garden goodness.
Nothing tastes better than homegrown vegetables eaten with family and friends. It’s like a small bit of sunshine that you can save for later. It’s true that some of them don’t seem ideal, but that’s what makes them unique. You own them!
So go ahead and enjoy this adventure. Your future self will be grateful for the tasty meals. And hey, have fun with it! You’re not just keeping food fresh. You’re making memories. Let’s keep that homegrown sweetness around for all the seasons to come. Here’s to good food in the future!
Frequently Asked Questions
Why should produce be washed before canning or freezing?
Washing removes dirt and bacteria, helping prevent contamination and ensuring safer long-term storage.
Why is blanching recommended before freezing vegetables?
Blanching briefly stops enzyme activity, helping preserve texture, color, and flavor during long freezer storage.
Can I freeze produce without spreading it on a baking sheet first?
You can, but spreading pieces on a tray prevents clumping, making it easier to portion later.
How long do properly sealed canned vegetables last?
Most canned goods remain shelf-stable for months or longer if stored in a cool, dark location and properly sealed.
Should canned jars be stored upright?
Yes, upright storage helps maintain proper seals and reduces the chance of leakage or lid failure.
Why is labeling so important when preserving food?
Labels help you track contents and storage dates, preventing guesswork and reducing wasted food.
Is freezing easier than traditional canning?
Freezing is typically simpler and faster, requiring less equipment, making it a great option for beginners.
Suggested Resources:
Home Canning Basics
https://www.extension.iastate.edu/publications/PM307.pdf
Freezing Fruits & Vegetables
https://nchfp.uga.edu/how/freeze.html
The Complete Guide to Home Canning
https://www.fsis.usda.gov/wps/wcm/connect/1fbc13b9-0d7a-4b56-b67e-29cd3c6cf8ec/Canning.pdf

Kevin Collier is a seasoned survivalist and expert in prepping and homesteading, contributing to WiseSurvive.com. With a deep-rooted passion for self-sufficiency and outdoor survival skills, Kevin shares practical advice, strategies, and resources to help individuals prepare for any challenge. His informative articles cover a range of topics, from essential survival techniques to sustainable living practices, empowering readers to thrive in any situation. Whether you’re a novice or a seasoned prepper, Kevin’s insights will inspire you to take charge of your readiness and build resilience for the future.